I am a hopeless carnivore. I love just about any kind of meat, but one of my favorite dinners is a generous serving of canned venison, combined with brown gravy served open face over oat bread, with a side of homemade French fries. Yum.
I discovered this “man food” by virtue of learning how to can my own meat, as an extension of the Y2K scare when our whole world was going to turn upside down because computers would not be able to handle the 2000 date.
A couple of years earlier, I had fenced a portion of my acreage to support a few head of cattle. After the mad cow scare, I wanted both my own supply of clean, grass-fed beef, and animals to mow the grass, a duty of which I had become very weary.
When the possibility of electrical grid collapse and losing the ability to keep beef in a freezer arose, I decided to learn how to can beef for long-term storage.
To my surprise, I discovered that through the canning process, even the toughest, stringiest old cow could be turned “pot roast tender.” Once I learned how to can my own supply of delectable protein, I started experimenting with all sorts of other meat. Over the last few years, I have canned pork, chicken, turkey, salmon, bacon, hot link sausages (not recommended), and my favorite, venison.
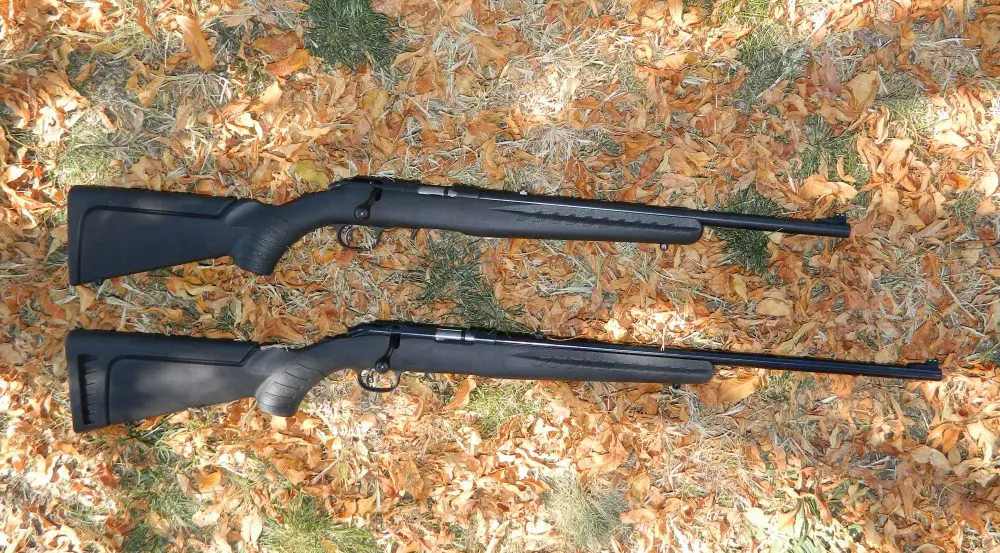
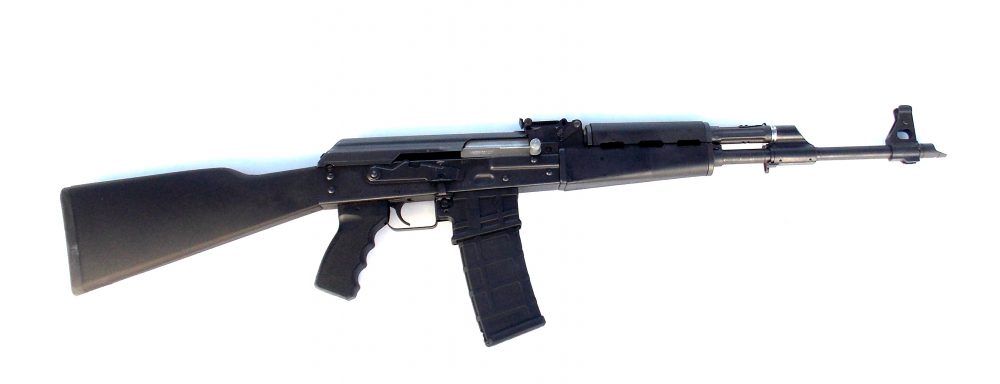
Both my wife and I hunt, and sometimes we even manage to kill our own venison, so we usually have a good supply of various meats in the freezer. We typically also process our own game, unless we are hunting away from home, and have sought out a good local meat processor.
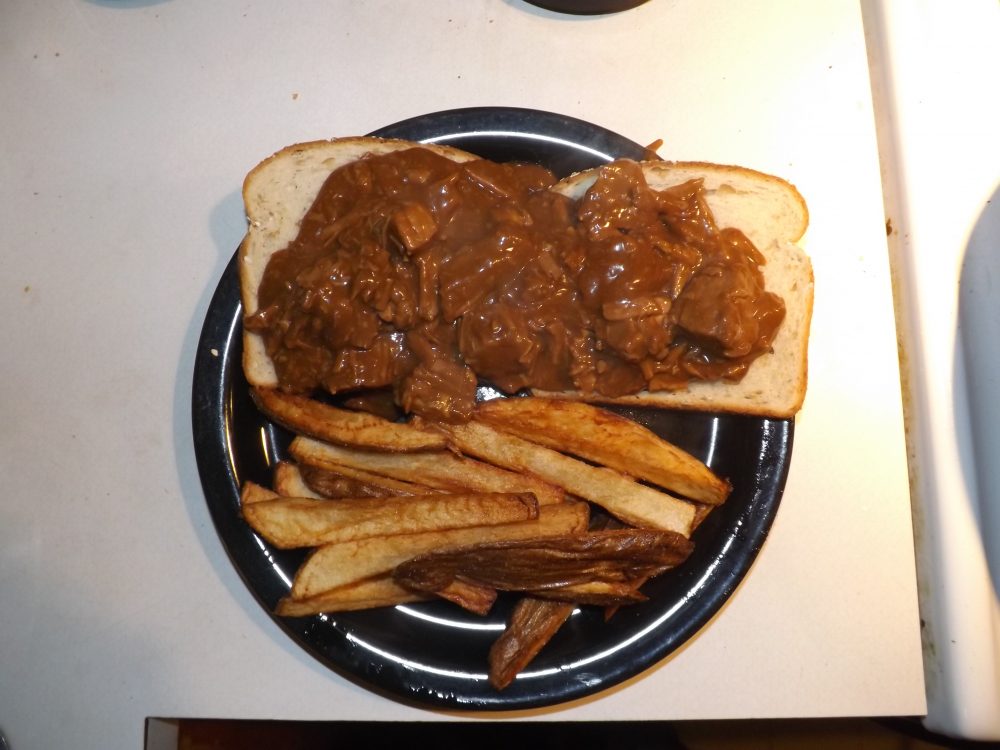
An awesome meal for a carnivore.
In any event, along with the obligatory cuts of backstrap, tenderloin, roasts and round steak come many packages of stew meat. We don’t grind our venison into burger because that means adding beef fat from someone else’s cows—not a good practice in my book.
Since neither my wife nor I much enjoy cooking, we rarely if ever make stew. However, those packages of stew meat, along with the round steak, make excellent canned venison, which not only does not go to waste, but is also something I really enjoy.
Table of Contents
HOW TO CAN MEAT
Step One
Acquire the proper equipment. This means a pressure canner and Mason jars, either Ball or Kerr brand. Do not attempt to use other types of jars, as many jars cannot handle the high heat and pressure involved in canning.
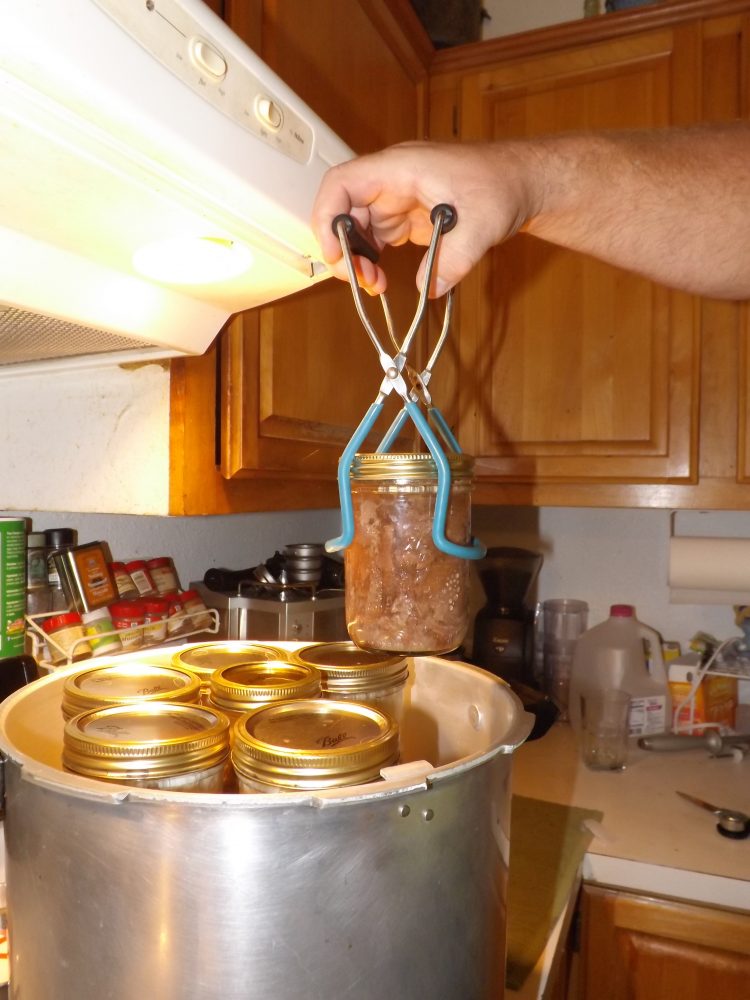
You will also need lids, rings, and a jar lifter to pluck the steaming hot jars out of the canner when processing has been completed. Total cost should be under $200.
Step Two
clean, and then clean again. The old saying “Cleanliness is next to Godliness” is especially true in canning. Make sure your jars are dishwasher clean, especially the rims of the jars. Everything should be washed twice and then care taken throughout the process to keep all items sterile.
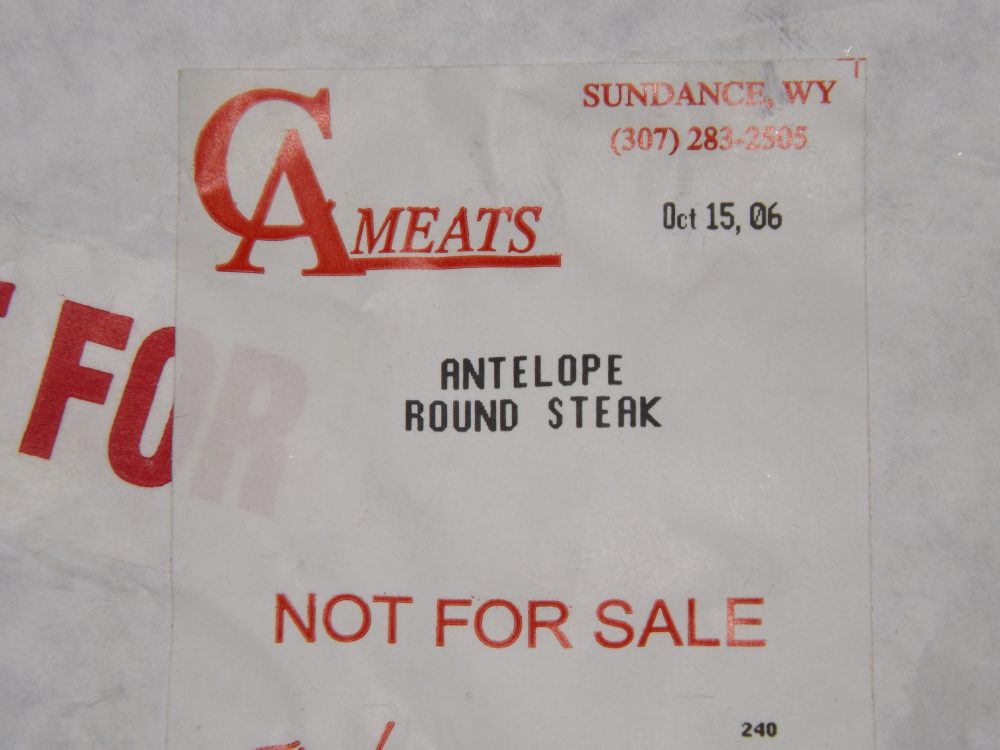
Five-year-old pronghorn turns into tender meat through canning.
Step Three
Boil water—lots of it. We are sanitizing everything that touches the insides of those jars. I usually have three large pots of boiling water plus one small pan going when I can meat.
While the pictures in all the canning instruction manuals show this process being accomplished on a kitchen stove, it could be done on an outdoor propane burner or even, I suppose, an open fire. Someday I will have to give that a try.
Step Four
Set out the clean Mason jars and fill them up with boiling water, all the way to the brim. This helps keep the jars sterile until you fill them with meat. At the same time, boil the lids for five to ten minutes in a small pan of water.

First batch of jars, filled with boiling water and waiting to be filled with meat.
Step Five
Pour out the hot water and fill the jars with meat. Before getting to this step, you had to thaw the frozen meat and cut it up into bite-size pieces. Make sure it is thawed! Don’t put frozen meat into your canning jar.
As a rough guideline, expect each one-quart canning jar to hold one pound of meat. Before adding meat, pour an inch of boiling water into the jar, then add the meat, leaving two inches free between the top of the meat and the top of the jar. Cover the meat with boiling water and leave an inch of air between the top of the water and the top of the jar.
Step Six
Seal the jar. Remember the lids boiling in the small pan of water from Step Four? Have they been boiling for ten minutes? If they have, put those lids on top of the jars, after making sure the rim of the Mason jar is clean of all meat and anything else you might have gotten on it as you spooned in the contents.
After the lids are positioned atop spotlessly clean jar rims, put the rings on, tightening only until they are snug—not as tight as you can make them, but snug. While the jars are in the canner, you want the air to be able to escape from the jar as it warms up, then when temperatures cool, the rubber in the lid seals the jar. The rings are put on snugly so some expanding air can escape, but not so tightly that the air is trapped inside the jar.
According to author’s pressure canner instructions, process at 13 PSI for 90 minutes. Warm-up and cool-off times do not count.
Step Seven
Processing. This is the fun part. Put a couple inches of water in the bottom of the pressure canner and turn on the heat. As the water heats up, start putting the Mason jars into the canner. Make sure the jars don’t contact each other or the sides of the canner.
Seven quart jars typically fit into a normal pressure canner, and if you want to maximize your canning time, seven pint jars will sit nicely on top of the quart jars if the canner is tall enough.
Here is where you must follow to the letter the instructions that came with the pressure canner. No deviations. I have read half a dozen books on canning, and they are all generally the same. And based on what I have read over the years and my successful experiences, here is what I do when processing meat.
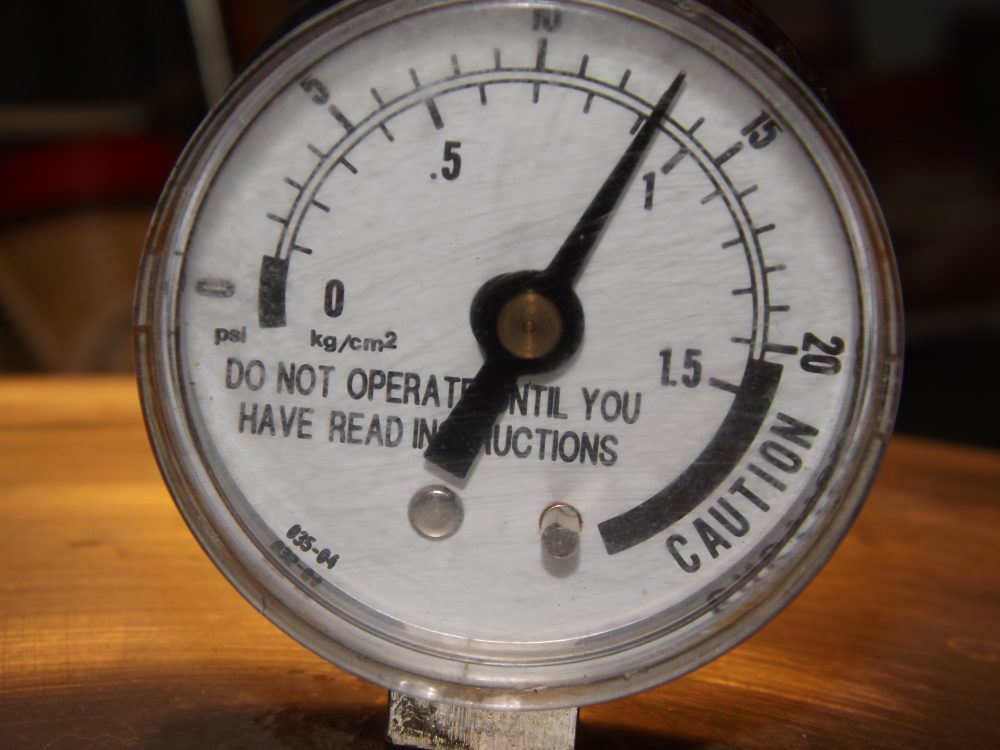
With the heat on “High,” let the temperature rise in the canner until steam is coming steadily from the vent pipe. This tells you that the water inside is boiling. Put the pressure regulator on the vent pipe (which will stop the steam from escaping) and within a few minutes, the pressure will start building in the canner. I let the pressure rise to 13 PSI (Figures are for my canner—you must follow the directions for yours explicitly).
Continually monitor the pressure dial gauge and adjust the stove burner to keep the pressure between 12 and 13 PSI for 90 minutes (or however long your pressure canner’s instructions specify). Don’t get too concerned if the pressure falls below 11 PSI—just turn up the heat slightly and raise the pressure. Don’t count that time in your 90 minutes, and your jars will be all right.
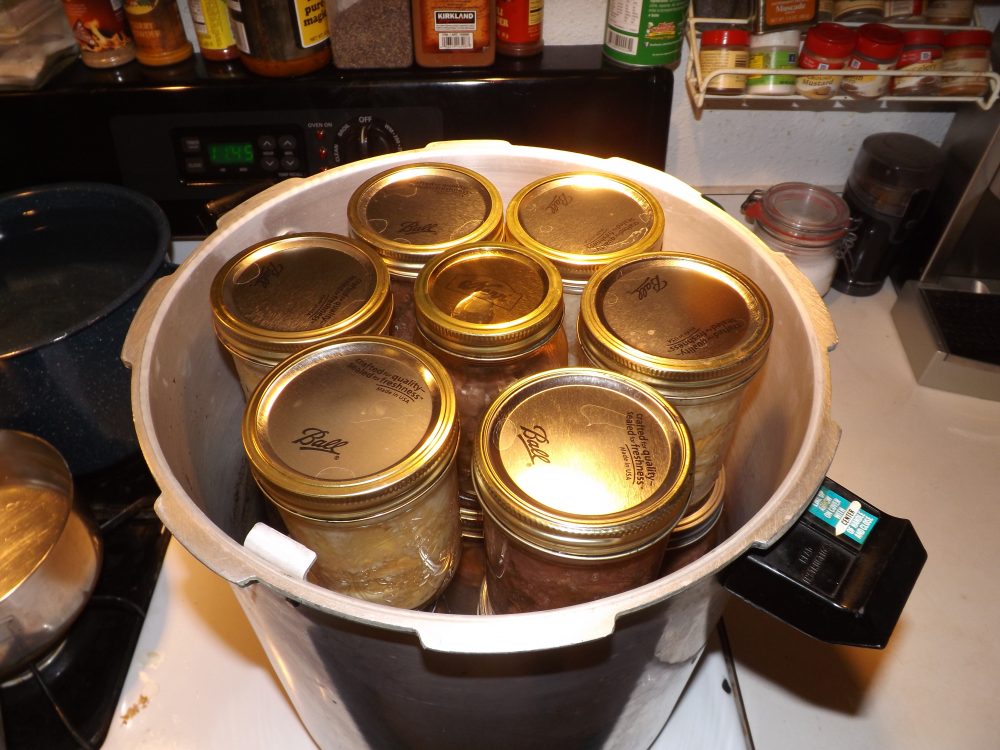
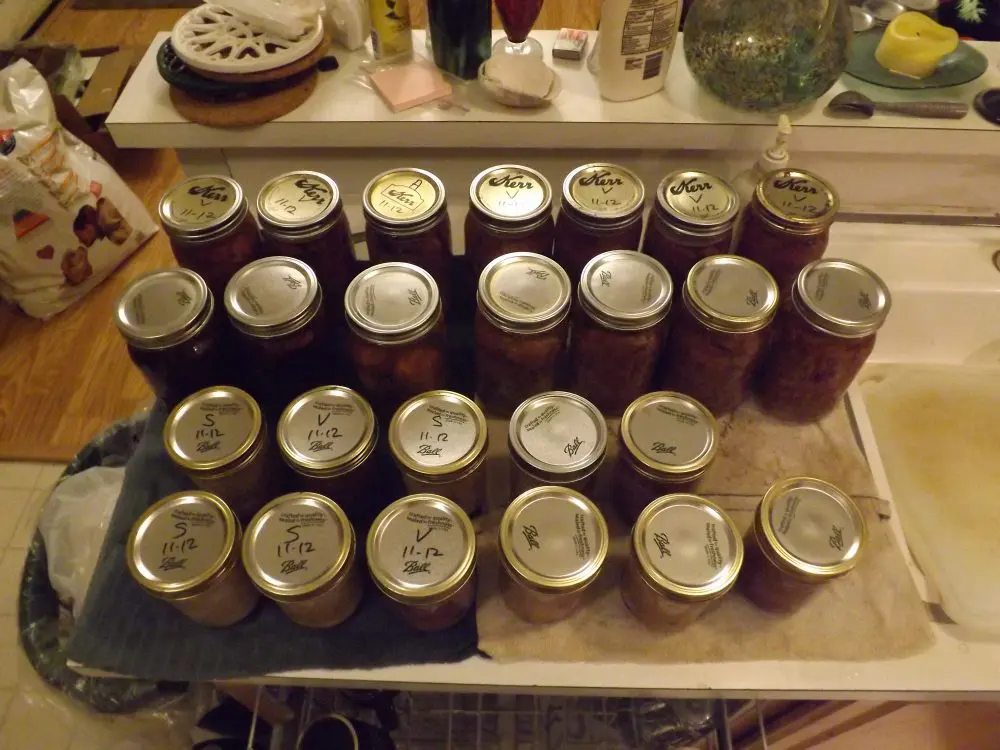
Finished! Seven quarts and seven pints, cooled down and ready to take out of the canner.
Step Eight
After 90 minutes at 13 PSI have passed, turn off the heat source and wait, probably about an hour. The pressure will slowly decrease. When the pressure gauge finally reads zero, you are done. Open the lid, exercising care that the steam does not burn your hands or arms.
Using the jar lifter, remove the jars very carefully and set them on a dry towel on the countertop. You will still see a little liquid boiling in the jars—that is normal. As the jars quickly cool, the lids start sealing, making an audible “pop.”
When the jars are cool, I mark the lids with the type of meat and the date canned. It is amazing how quickly a year or two passes, and unless you have been labeling the meat, you will likely become confused about what to eat first. Kept in a dark cabinet, canned meat will store nicely for many years.

A full day’s work in the kitchen results in 41 meals that will last for years if kept cool and dark.
CONCLUSION
Over the years, I have canned hundreds of quarts of meat and served the hot beef, venison, turkey or pork in gravy to many guests. In addition, canned meat makes great “fast food” on days when my time is overcommitted.
I find canning meat a satisfying task, not only because it puts to good use all that stew meat and other trimmings, but also because when the steaming plate of home-canned meat is served up, I know exactly where and how the food on the table was prepared.
A word of caution: Eating improperly canned meat may result in food poisoning, which can lead to sickness or death.
I strongly advise you to use this article only as a general guideline about how to can meat. Before undertaking it yourself, study a book or two about canning meat, and be sure to follow the directions included with your pressure canner. Your local county extension agent is another excellent source of canning advice.