Over the past 20 years, bedding rifles has developed much like everything else in the gun industry. Most of these bedding techniques have vastly improved the rifle/stock relationship and repeatability in a tactical or precision rifle.
When I first had a sniper rifle placed in my hands, it was barely more than a hunting rifle—a Remington 700 with a bull barrel and Leupold 3-9X40 scope. The only “tactical” things about it were the wood stock and that the action was sprayed Flat Black. It was, however, capable of delivering ragged holes at 100 yards.
Even though we were back in the Stone Age of sniper equipment, shooters realized the value of floating the barrel and bedding the action for improved repeatability and accuracy.
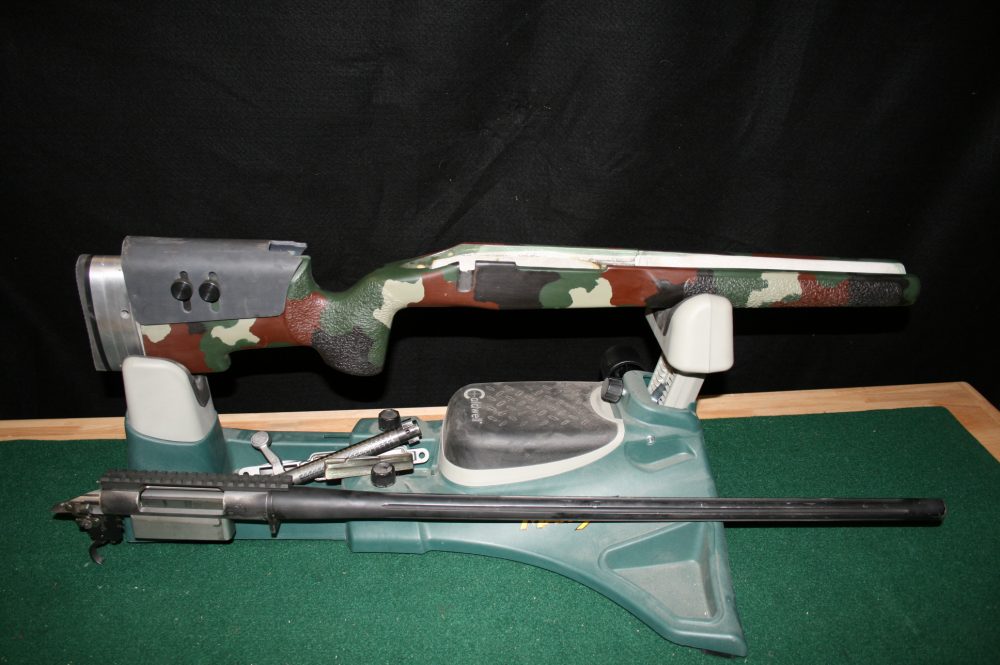
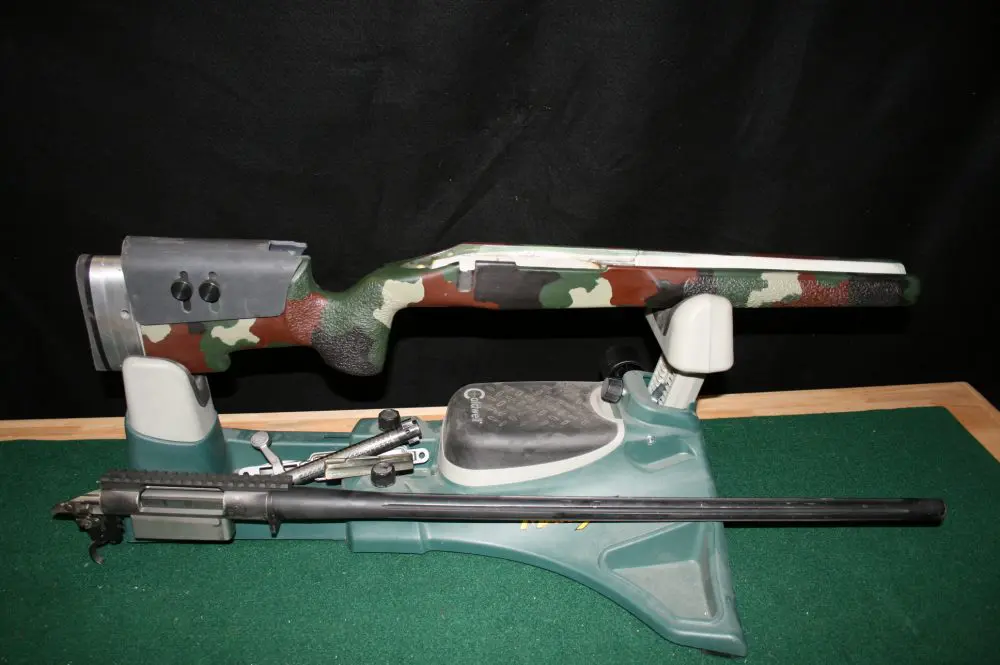
Barreled action and McMillan A-5 stock. A-5 is high quality, but this one just had holes through it to bolt the action in. Installation of pillars will make a more solid bedding.
Bedding compound was, and still is, a two-part epoxy-type mixture that dries as hard as steel and is impervious to solvents, moisture and rough handling. It made the wood of the stock stronger, and a line of it along the barrel channel kept the wood from warping due to climate changes, thus keeping the same pressure on the barrel.
The advent of composite stocks changed everything. There were some composite stocks in the old days, but not made from the quality materials we see today. A high-quality stock, like an HS Precision or McMillan, will really add to the performance of your rifle. If it is a work machine, it must be ready for any mission at any time and remain constant until that mission is over. And if it is on a once in a lifetime hunt, failure to connect because of the rifle shifting in the stock will not cut it.
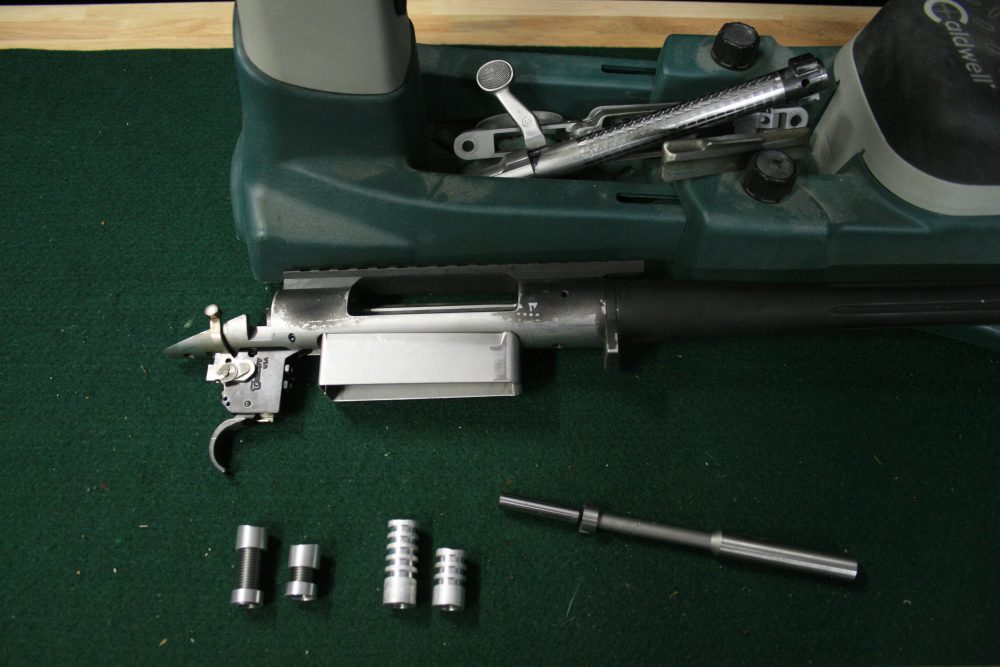
Action, two sets of pillars—adjustable on the left and solids on the right—and Forster pilot bit.
Table of Contents
BEDDING METHODS
There are many ways to achieve this all-metal fit of the stock to the action. Aluminum V blocks can be machined and embedded into the stock to come up with a more solid action to stock bed, and an aluminum block completely machined to accept a particular action can be glued into a channel made in the stock for an all-metal contact.
These make a repeatable bedding of the action because the screws tighten up against metal and can be torqued consistently. HS Precision makes their stock with the aluminum block molded right into the stock when it is formed and is machined to the action used. The aluminum runs from the pistol grip of the stock to the front sling swivel. These are great metal-to-metal fits and can be glassed in with Brownells Acraglas® for a rock-tight fit of the stock to the action.
Another method of securing a quality bedding job is with pillar bedding. These are thick-walled aluminum tubes installed into the stock from the bottom to the action bolts, which are installed inside the tube to hold the metal-to-metal fit.

Set up on the mill to bore out the holes using a machinist level to precisely level the stock for a straight hole.
I did this on a hunting rifle I re-barreled several years ago. I wanted to keep the wooden stock because it was still in good shape, but I also wanted a well-bedded rifle. For that rifle, I machined the pillars out of some thick-walled aluminum tubing, but it is easier to buy the pillars from Brownells. I ended up with a wooden-stock hunting rifle with the accuracy of a precision rifle.
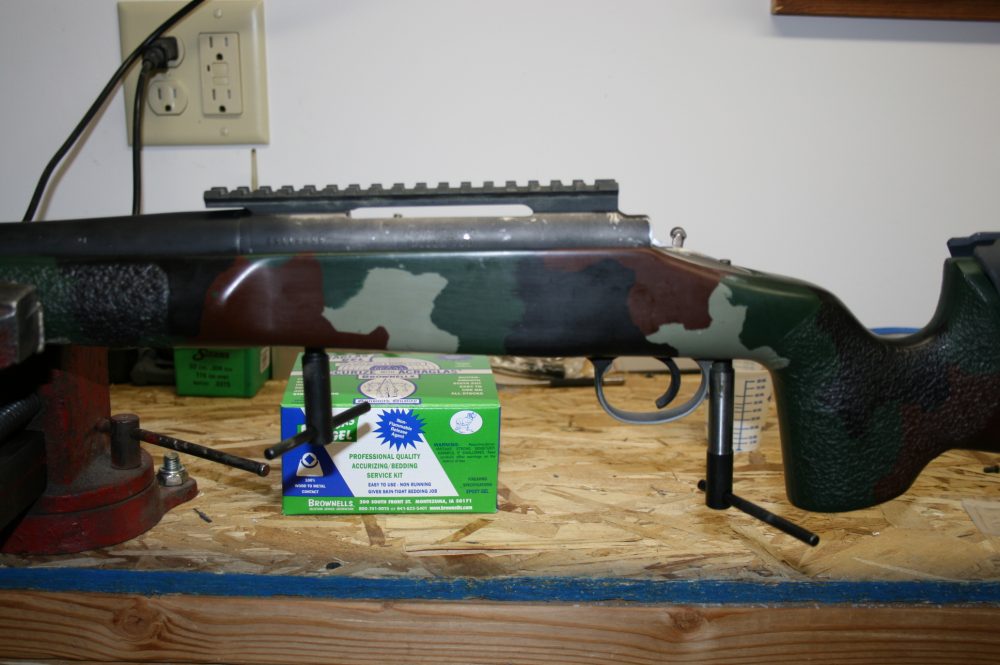
Recently a customer came into the shop wanting to bed a .300 Winchester Magnum rifled action in a McMillan composite stock. The stock was one of McMillan’s A-5 models, which are high quality with adjustable length of pull and a thumb-screw adjustable cheek piece. The stock had no aluminum in it and he wanted the action bedded to the stock. He wanted rock solid bedding for the extremely accurate barreled action, so I decided to pillar bed it and glass the action with a full float to the barrel.
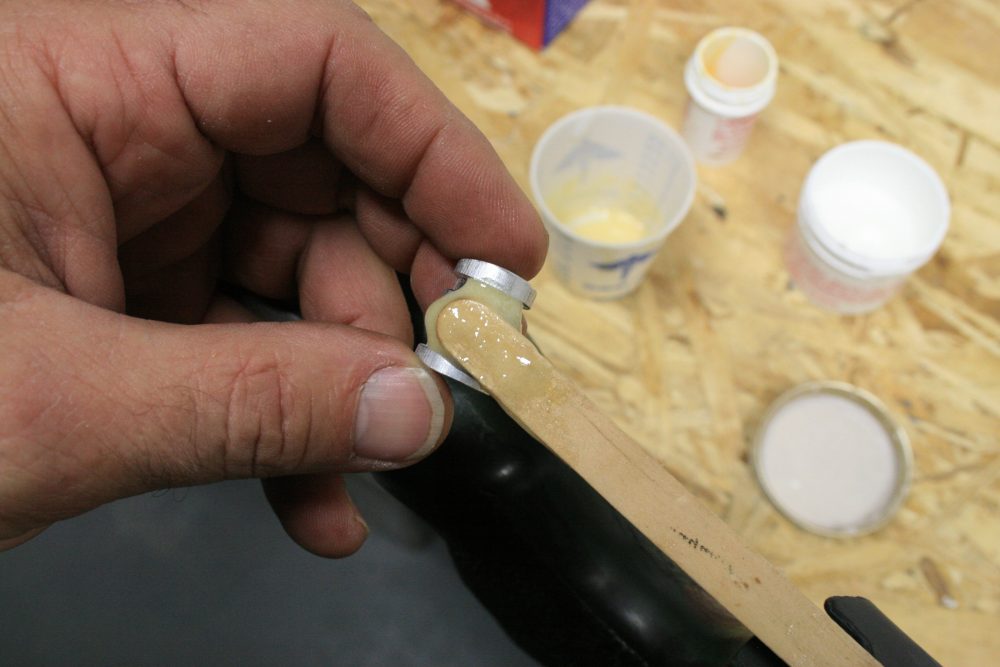
Coat grooves completely with Acraglas, then fit them into the holes.
PILLAR BEDDING, STEP BY STEP
The first step was to get into the Brownells catalog for the pillars and Acraglas bedding compound. Brownells tech support is always there to help you get the right products for the job and offer guidance on how to do the job.
Pillars come in both adjustable and solid. The adjustable ones can be made to fit without excessive filing or machining. Once they’re glued in with epoxy, they’e as strong as the solid ones. I have used both and really don’t have a preference unless the customer does.
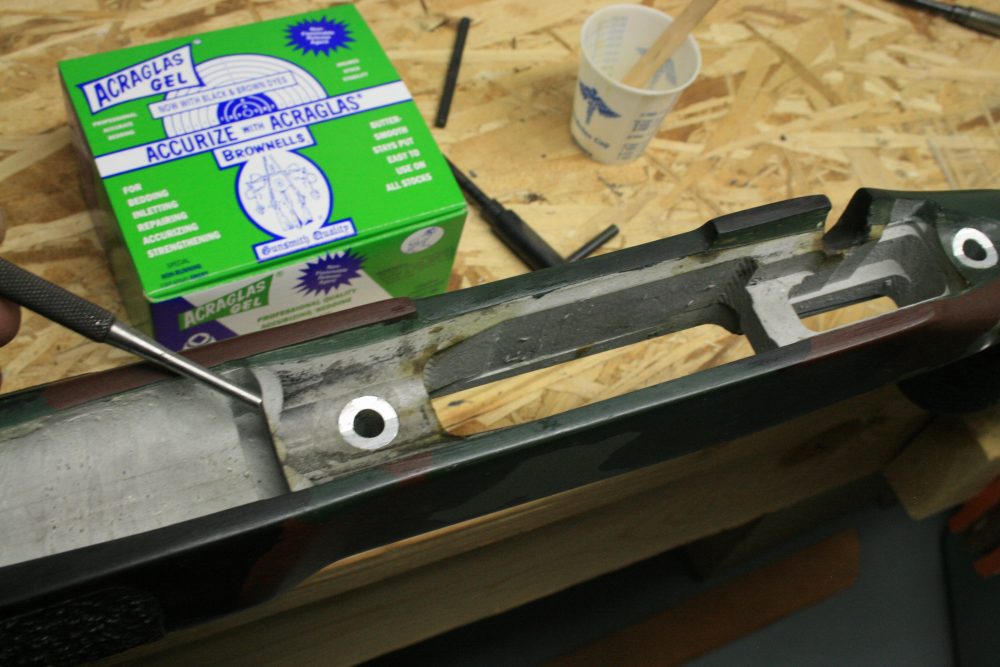
The Remington pillars I used for this project came from Brownells and were solid and machined to the contour of the rounded action. The pillars are larger than the action bolt holes and will be installed in the same place in the stock. The center of the pillar and the center of the existing hole must be precisely the same. These can be drilled out on a drill press or by using a special bit that has a pilot that lines the bit up in the hole. This bit makes the hole the correct diameter for the pillars with some room for glue.
I still recommend using a drill press or mill to do this to hold everything level. One at a time, I line up the holes with the bit and level the stock in the vise on the press. I don’t want the hole going in at an angle. This can be done without a drill press with the pilot bit, but keep it as straight as possible, because there’s a little play between the screw and the inside of the pillar. I don’t depend on this and get it as precise as I can.
Clamp the action in place with the action screws or a set of “T” handled screws.
Once they’re drilled, check the fit with the pillars. The short one goes in the front hole next to the recoil lug. The pillars were a bit long, so I measured them and faced them off on the lathe to the correct length. I took the material off the bottom so it would rest against the flat surface of the bottom metal, another good reason to buy the adjustable pillars if you don’t have a lathe.
The piloted bit made the hole just right to the size of the pillar. The Remington pillars are .562 inches in diameter so these holes can be cut with the appropriate end mill, but the piloted bit from Brownells cut it perfectly. The pilot can be changed to accommodate different sized holes in the stock.
Once the pillars are ready, apply the Acraglas. I like to fill all the grooves with epoxy and slide it into the hole in the stock. The pillar will fit just right, so any epoxy that is over the groove will shear off on the stock. I just wipe this up so it won’t stick to metal when I put the action and the bottom metal on and screw them together.
If you’re really neat with the epoxy and don’t get any on the stock, you can tighten these together without putting release agent on the metal. If you get epoxy on untreated areas, the metal will become welded to the stock.
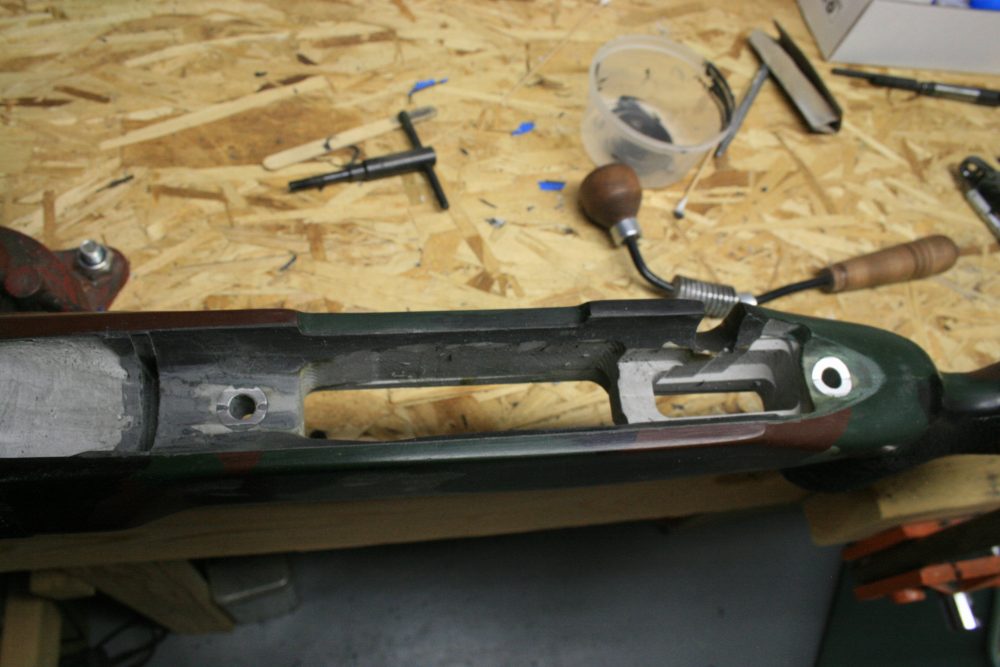
Pillars are glued in place. Large recoil lug hole should be filled with epoxy and the action pressed in for a precise fit.
GLASS BEDDING THE ACTION
When the epoxy sets, the pillars are done and, if the screws come to a halt when tightened, the pillars are flush with the stock material and complete. This customer also wanted the action glass bedded into the stock with the recoil lug hole glassed, which I recommend on all pillar bed jobs.
The stock/metal fit on this rifle was really tight, but the recoil lug hole needed some glass to tighten it up. This can all be done in one operation and the glass poured in when the pillars are set, but I like to do it in two steps.
The action would actually move back and forth in the channel one-quarter of an inch or so. I planned to use some of Brownells Steel Bed in the recoil lug hole and along the sides of the stock where the action rested against to get a super-tight stock-to-metal fit.
On this step, I used the spray-on Acra Release compound from Brownells to keep the action from being glued into the stock. It comes in an aerosol can and is easy to use. The epoxy will not stick to it and the action will pop out of the stock when the epoxy dries.
Set the action in and tighten the action screws until the epoxy squeezes out and the action is bedded.
Prior to glassing the recoil lug, the surface needs some roughing up to make for a good purchase between glass and the stock. Also, the area around the recoil lug should be relieved so the remaining glassed recoil slot is strong and welded to the stock material.
I use a V-shaped chisel to work some of the composite material away, leaving the V marks for the epoxy to fill in and adhere to. If I’m going to glass the stock all the way out the forearm, I rough up the stock all the way out for the epoxy to fill in. This makes a wood stock stronger and less prone to succumb to weather and warp.
When glassing the action and recoil lug, I tape off the sides of the stock to catch any epoxy squeezing out the sides. The Acra Release was sprayed on liberally all around the action where the epoxy would contact. I also like to put some Vaseline on the screws before I tighten them into the action so if any epoxy gets in there, it won’t seize them up.
It is wise to remove the trigger assembly and replace it with a Delrin dummy trigger designed to keep epoxy out of the trigger channel.
Once the epoxy is applied where it’s needed, the action is placed in the stock and tightened up until the epoxy squeezes out around the action. I use Forster “T” handle Stockmakers screws rather than the action screws as they enable clamping the action. This ensures all the nooks and crannies get filled with epoxy. It is very unlikely the epoxy will set without some air bubbles the first time. I figure on touching up the air spaces at least once.
This one didn’t disappoint me, as there was an air bubble right at the recoil lug. Just a little touch up around the lug and it was perfect.
Finished job ready for a coat of paint. Barreled action to be tightened in at 60 inch pounds. Torque will be precisely repeatable when stock is removed.
FINISHING TOUCHES
This rifle is going to be bead blasted and powder coat finished, but I still used masking tape to protect the stock and metal that I didn’t want epoxy on. Once the epoxy dries, the barrel can be removed from the stock by rapping the muzzle on a padded table while holding the stock in both hands. Sometimes it will be tight and need a good rap.
If not enough release agent was put on the metal or a spot was missed, sometimes placing the entire rifle in a freezer to cool it down will help break it loose. When it is removed, the squeezed-out epoxy can be trimmed off flush with the stock. This can be done with a small razor knife or some sandpaper.
If the pillars are not perfectly flush with the top and bottom of the action channel, a touch-up with sandpaper will help. If the pillar is slightly above the stock material, the action will not make 100% contact with the bedding job. I like to make a metal-to-metal contact all the way through the stock material and have the action rest completely in the action channel.
A coat of spray paint will make it look finished, while coloring the epoxy is another way to finish off the look of the job.
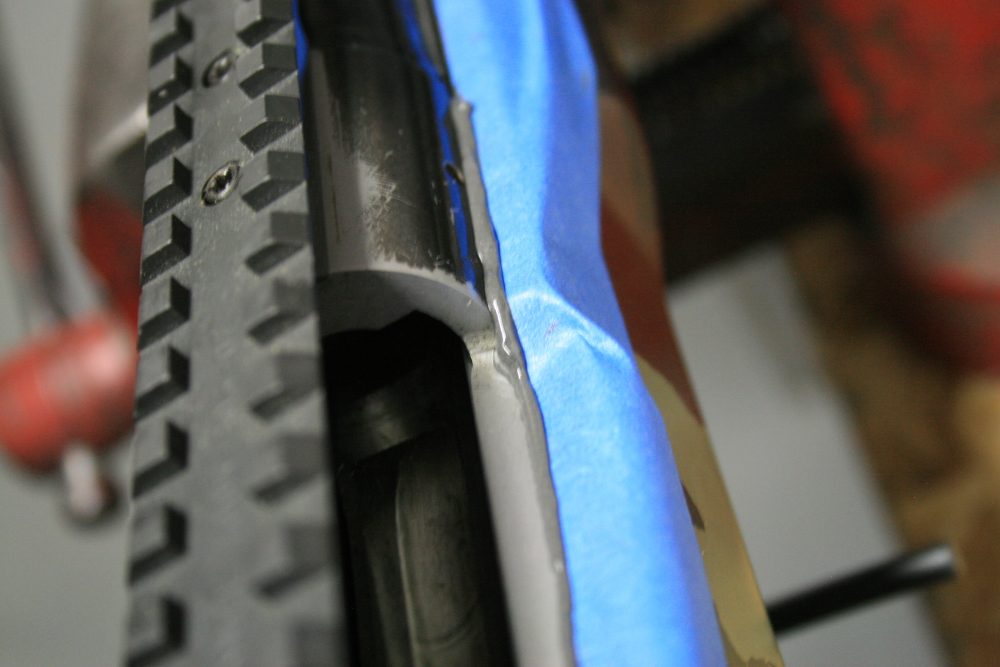
The barrel wound up with a generous 1/8-inch float without me having to do anything to achieve it. Since it’s a composite stock, I didn’t glass it all the way out like I would a wooden stock. I like a clean float to a precision rifle from the recoil lug out, so no part of the barrel touches the stock. I torque the action bolts to 60 inch pounds. Now with the pillars in place, the torque will be precisely repeatable when the stock is removed.
The pillar bed is a great way to solidly bed an action in either wood or composite stock. I prefer to use stocks like the HS Precision that have the aluminum block formed into the stock, but for a wood stock or composite that has no metal in it, the pillars help the shooter get the best of both worlds.
SOURCE:
Brownells Inc.
(800) 741-0015
www.brownells.com