
Author begins each class he teaches with zero confirmation and a refresher on basic rifle marksmanship. Not only does it provide an opportunity to confirm zero, but it also offers a chance to work on fundamentals.
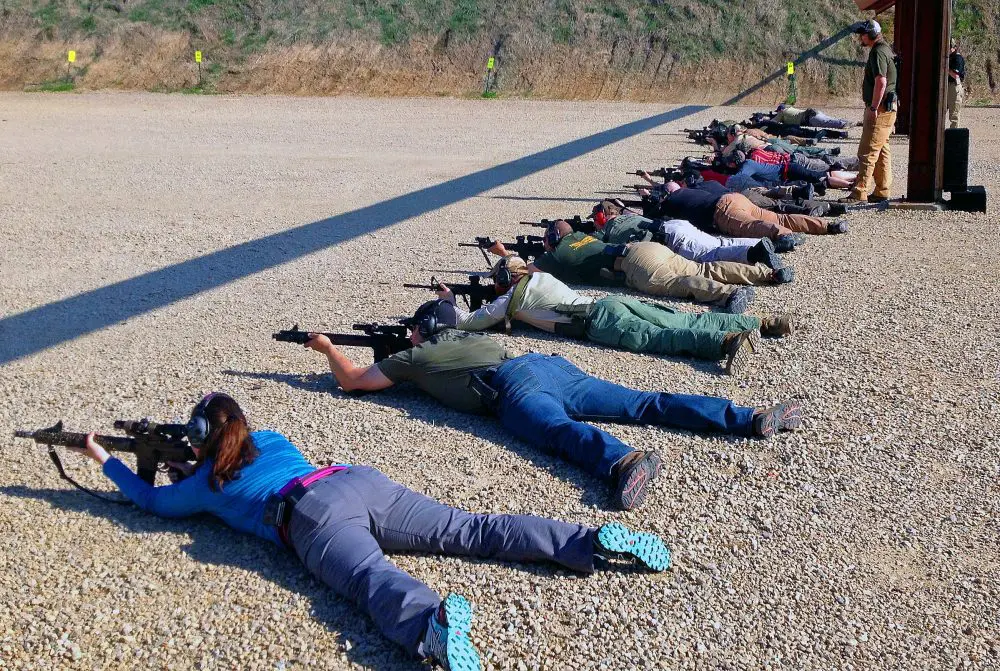
One of my favorite drills to start a training session is a prone, slow-fire, five- to ten-round group on an NRA B-8 bullseye at 100 yards.
First, it checks or confirms that a rifle is still zeroed, as zeroes can drift over time due to a variety of factors including weather changes and impacts to the weapon or sights.
Second, it’s a great way to practice the fundamentals of basic rifle marksmanship (BRM) and is a reminder of the importance of executing those fundamentals, regardless of how you are deploying your rifle.
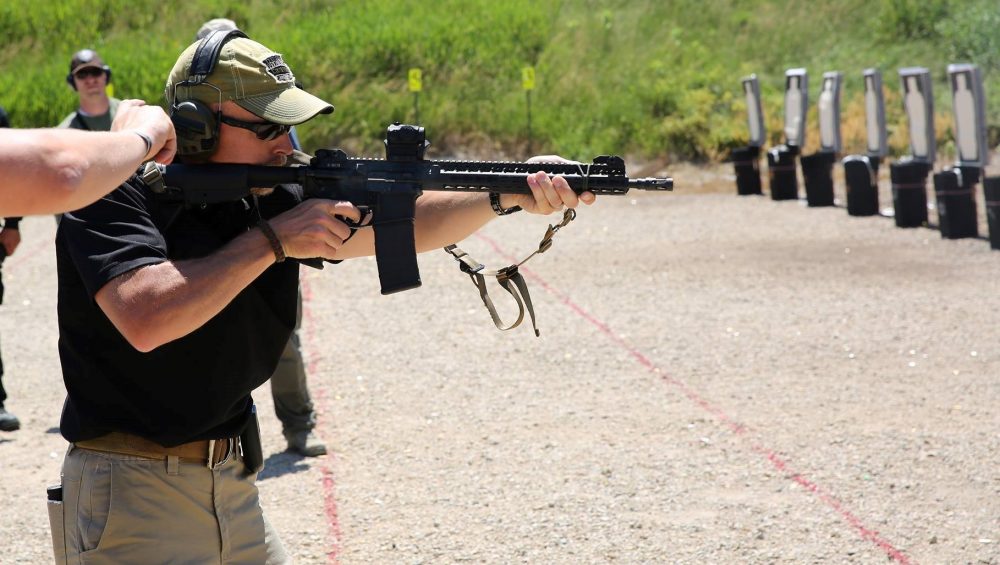
“Advanced” skills are nothing more than applying the fundamentals at faster and more consistent speeds. Stance, grip, trigger control, sight alignment, sight picture, and follow through still apply even from unconventional positions.
Table of Contents
BASIC RIFLE MARKSMANSHIP
To recap, BRM includes: stance (even in the prone position), grip, sight alignment, sight picture, trigger control, and follow through. I’ll add that breathing and natural point of aim are also critical concepts to understand in order to shoot a rifle to its full accuracy potential.
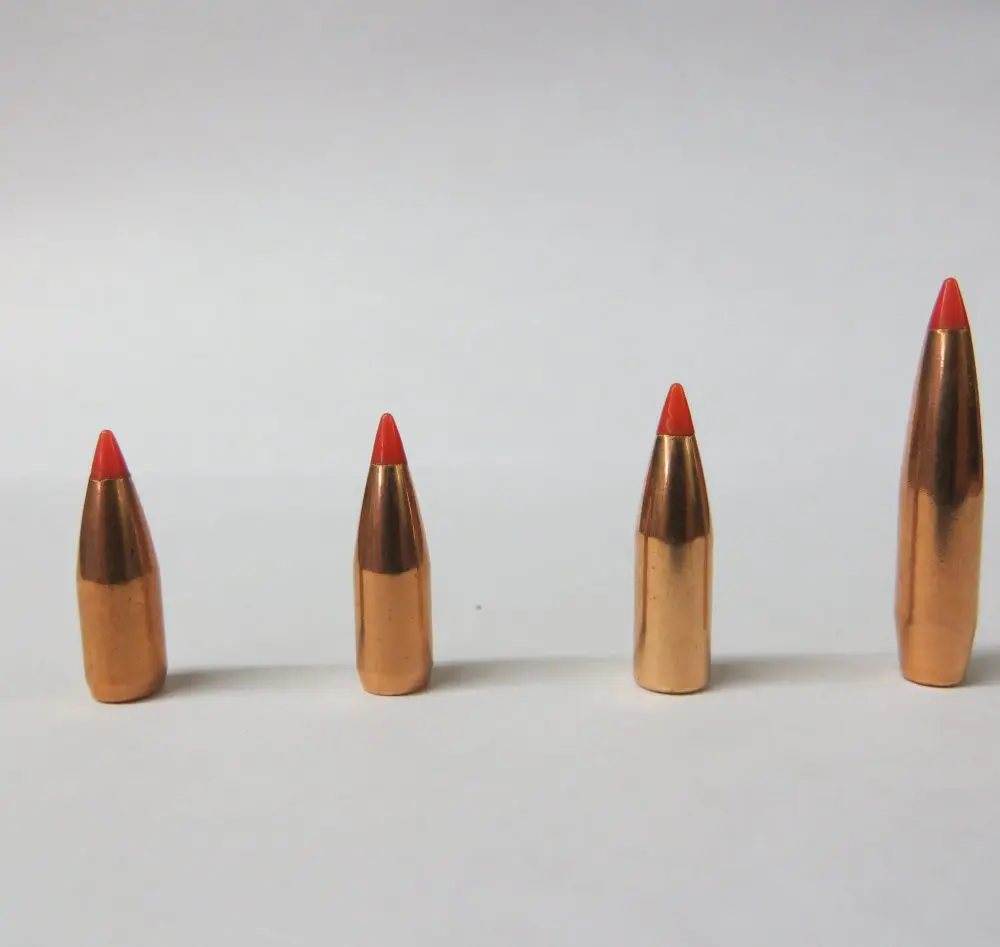
What is the full accuracy potential of an AR-15? That varies, of course, but in my experience, a top-quality milspec fighting carbine such as the BCM I run should be capable of producing mechanical accuracy of about two MOA when shooting ammunition of reasonable quality. That doesn’t mean you’re going to shoot a two-inch group all the time. It simply means your carbine is likely capable of that.
In the prone position, your body should be extended out almost directly in-line behind the rifle, lying flat on your stomach with the instep of your feet flat on the ground. This alignment of the body behind the rifle provides excellent recoil control and the most stable platform.
The stock should be extended and your support hand holding the handguard as far forward as comfortable, with the 30-round magazine resting on the ground. By extending the stock and moving the support hand farther forward, you create a wider and more stable base with your rifle.
The support hand should be pulling the stock comfortably into your shoulder, with your strong hand positioned high on the pistol grip. If you are running an adjustable two-point sling attached to a free-floated handguard, tightening down on the sling may also increase your stability. Your face should rest comfortably on the stock as if you were going to take a nap.
Once in position, align your sights on target, whether you are shooting irons or an optic. Then check your natural point of aim, which is best defined as where the skeletal structure of your body naturally aligns your rifle without muscular input. This becomes especially critical when firing a string of multiple rounds.
Whether at ten or 100 yards, line up your sights and press the trigger without disturbing those sights.
If you do not position yourself on target utilizing your natural point of aim, your rifle will move off target during recoil, and you will have to use muscular force to drive it back onto target and hold it in place as you fire your next shot. This can produce inconsistent forces on the rifle, yielding inconsistent groups.
Though not considered a marksmanship fundamental, breathing can play a role in your accuracy. Attempt to smoothly break your shot after you have fully exhaled, during your natural respiratory pause. This way your body will rest on the structural support of your rib cage, as opposed to what are essentially two inflated balloons of air in your chest.
If you are not able to break the shot within a few seconds of exhaling, take another breath, exhale, and try again. After more than five to eight seconds without breathing, your eyesight degrades, your heart rate increases, and other bodily functions are altered, which can negatively affect your accuracy.
Sight alignment and trigger control are the same as any other type of shooting you may do, and I’ve found it is best to get into a comfortable rhythm of exhaling, breaking a shot, following through, resetting the trigger, inhaling, and repeating the process.
Your groups can tell you a lot about how you are shooting, especially under the eye of an experienced instructor or observer. I dislike charts that show where your rounds impact and then give a reason for the rounds being there, without additional information or context.
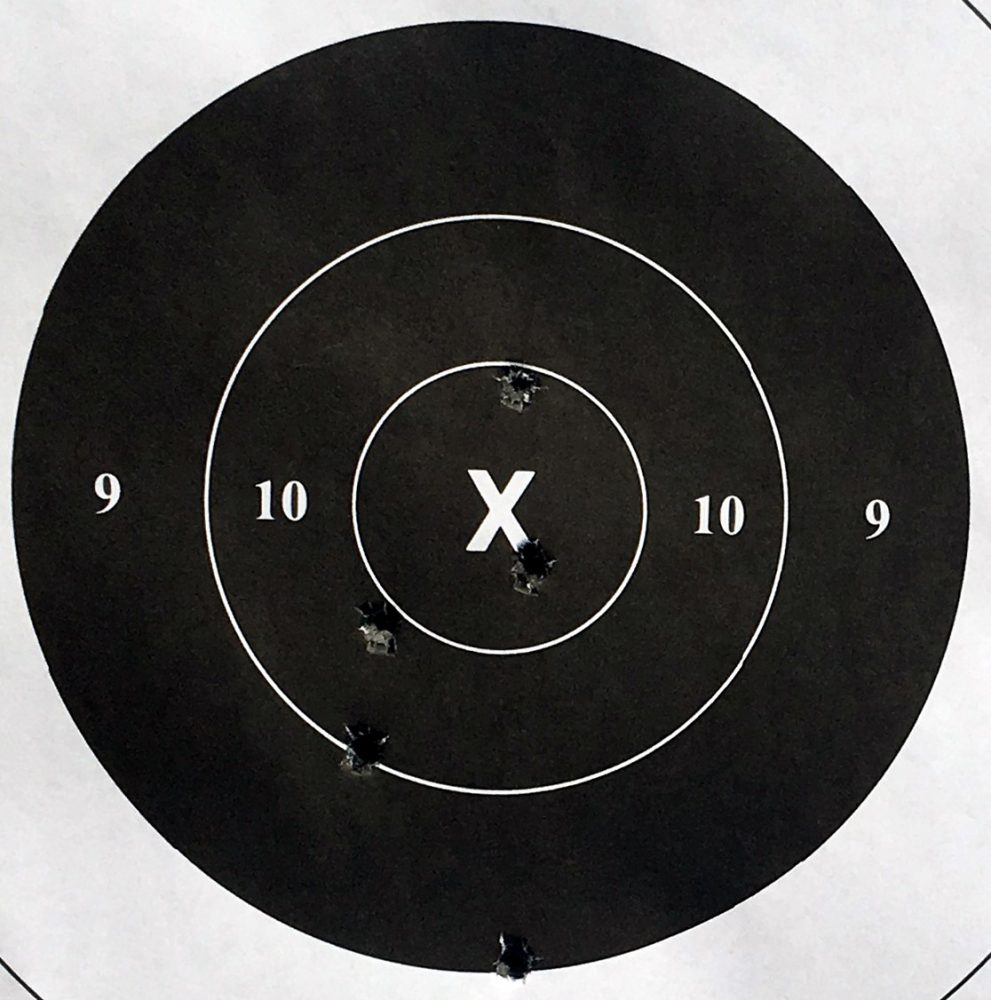
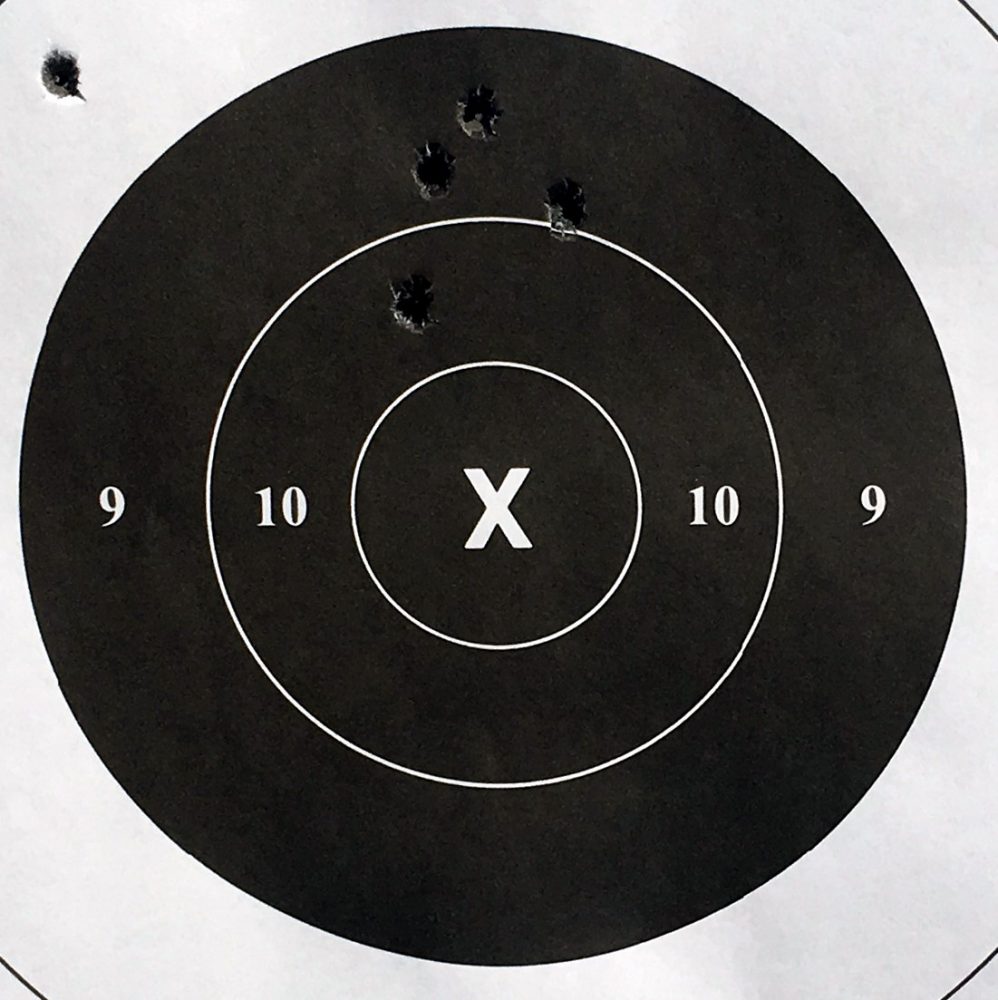
VERTICALLY DISPLACED GROUPS
With rifle shooting, the vertically strung group is the best example of an often misunderstood group. Almost universally, firearms instructors tell their students who shoot a group in vertical alignment that it is the result of their “breathing”—the idea being they were breathing while they pressed the trigger.
In my experience, I have found that breathing is usually not the cause of the vertically strung group. More often it is a result of a weak or inconsistent grip on the rifle. This could be caused by inconsistent hand placement on the handguard, inconsistent pressure of the head on the stock, or failing to pull the rifle back into the shoulder. Something the shooter is doing is affecting how the weapon is aligned along a vertical axis as they are breaking their shots.
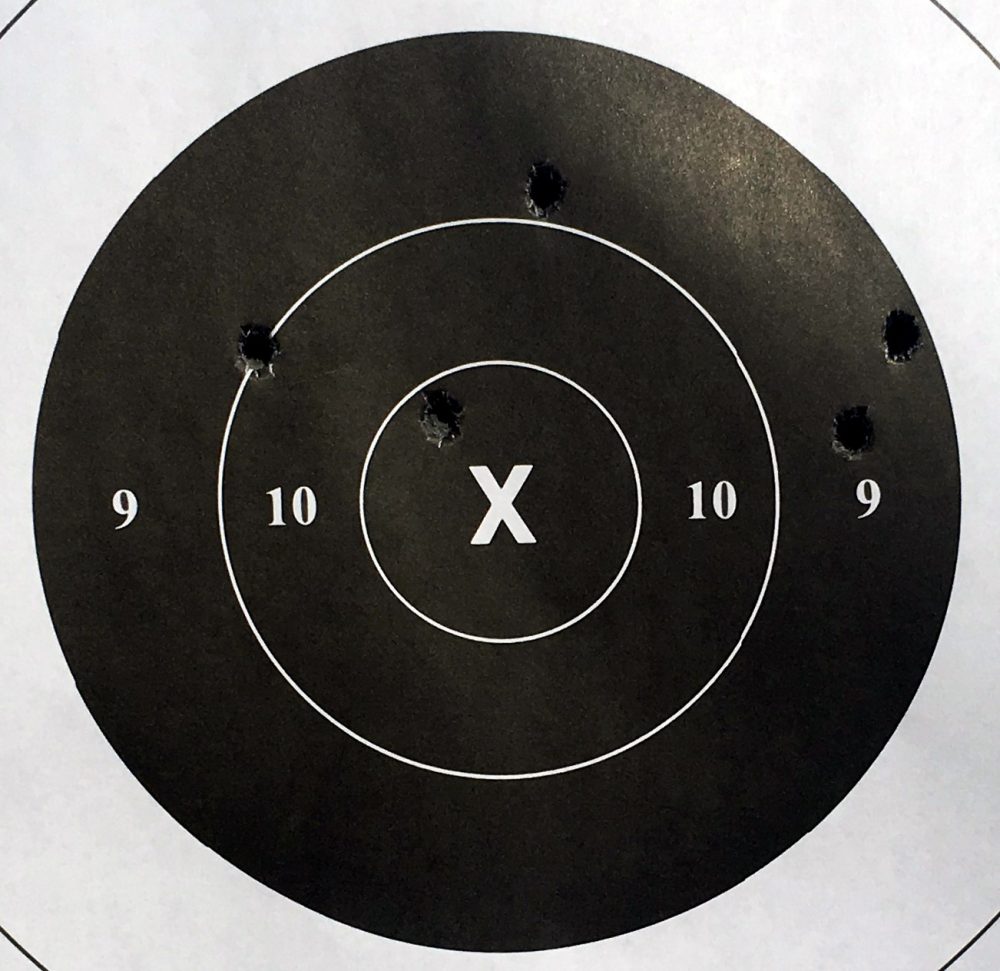
HORIZONTALLY DISPLACED GROUPS
Another problem is the horizontally strung group. A shooter failing to find and confirm their natural point of aim is a common cause. As described above, as the shooter fires a round and the rifle recoils, he has to muscle the gun back onto target and then use muscular input to hold the gun in place.
As more rounds are fired and fatigue begins to set it, the tendency for inconsistent pressure to be applied to the horizontal aspect of the gun increases, and the rounds scatter from left to right.
In some instances, this can also be caused by a shooter who is changing grip pressure as they are pulling the trigger, or by failing to pull the trigger straight to the rear. With the relatively light triggers on the AR-15 (relative to the weight of the rifle), inaccuracy caused by lateral pressure on the trigger is almost always accompanied by a weak purchase on the rifle.
Still, failing to check natural point of aim is the most frequent cause of the horizontally displaced group.
TWO GROUPS IN THE SAME STRING OF FIRE
When a five-round group looks to be split into two distinct groups, this is often the result of the shooter changing something about their shooting position midway through the string of fire. For instance, a shooter may re-position their support hand from the handguard to the magwell halfway through the group.
In this specific instance, I often see one group higher than the other. The shooter could also have simply jerked the trigger a couple times, so watching the shooter or reviewing several groups can help determine if this is the case.
This is why I avoid having students fire three-round groups. In a three-round group, this problem is likely to be dismissed as a random flier when it could be indicative of an inconsistency in the execution of marksmanship fundamentals.
TWO IN DIFFERENT POSITIONS
This can be one of the most frustrating occurrences for both instructors and students, especially when trying to zero a rifle. It shows that the shooter is properly executing the fundamentals of marksmanship during each complete string of fire, but there is some inconsistency in between their shooting positions.
For example, the shooter may fire a complete five-round group with their sling tightened, but next time they get down into position and fail to tighten their sling. Other common causes of this phenomenon are changing the stock position or changing the position of their support hand on the handguard. Even different cheek welds can cause the shooter to align the sights differently.
THE LONE FLIER
We all yank a shot from time to time, and most likely this is what happened. When a shooter has four rounds tightly grouped together and one round that seems to be a little off, they can often tell which shot it was—one that broke a little early and caught them by surprise, one they felt they yanked the trigger, or a round where they saw the sights move as they broke the shot.
On precision rifles with a higher degree of accuracy, I have seen this caused by equipment or ammunition issues, but generally the effect this has on the AR-15 is not noticeable.
THE LARGE GROUP
The large group could be the result of poor sight alignment, poor sight picture, poor trigger control, or a combination of several problems in executing the fundamentals.
It could also be an equipment issue—a poor quality optic, a loose handguard, bad ammo, or a handful of other problems. I have seen students arrive at class with all those equipment problems and more.
It is a common misconception that red dot sights are truly “parallax free.” This is not necessarily true, and when trying to shoot small groups at 100 yards, if you fail to look through even a high-quality optic consistently, keeping the dot centered in the optic, you could potentially change your point of impact. You need to test this with each of your red dot sights.
The only way to determine whether the cause is shooter or equipment related is to break things down and address each item one at a time. I’ve spent hours with shooters making one minor tweak to their shooting position each group, walking downrange to examine the results, and returning to the firing line to tweak something else.
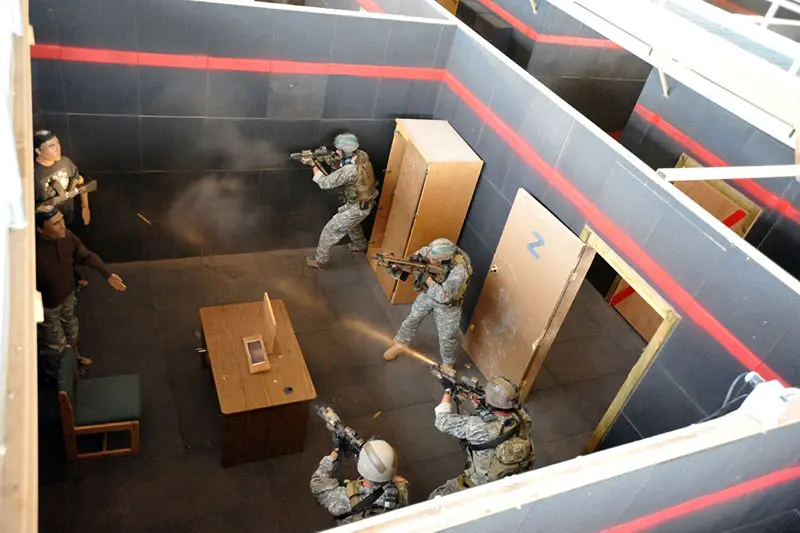
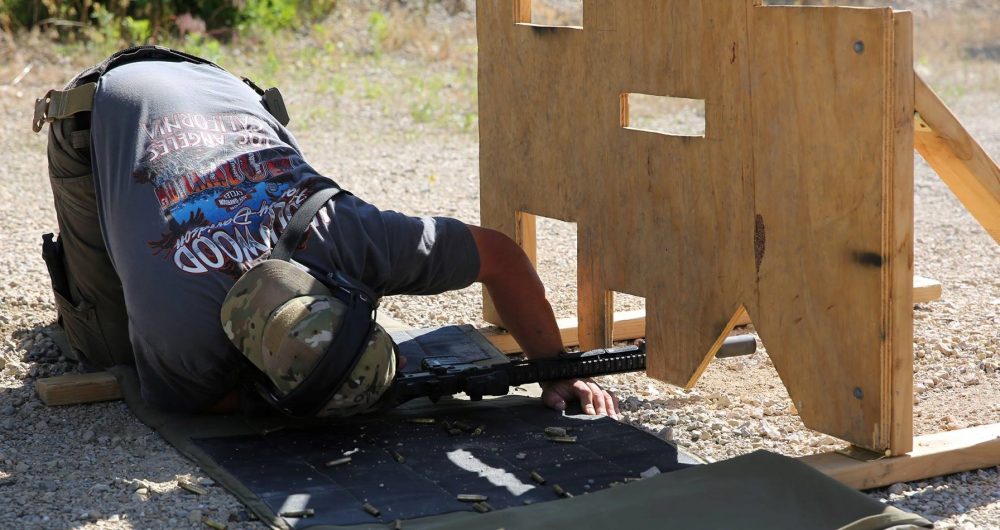
CQB requires placement of one well-executed shot after another, as it does at farther distances—it just has to happen a little faster.
CONCLUSIONS
The location of our rounds on target can be useful in diagnosing potential pitfalls in our execution of the fundamentals of basic rifle marksmanship, but without being able to watch yourself shoot, your groups may only tell part of the story.
If you lack a knowledgeable friend or instructor to assist by watching you (not the target) as you shoot, setting up a video camera close in to your rifle and face to review later may provide some answers.
The key to accuracy is the consistent application of the fundamentals of marksmanship. If your accuracy is lacking, seek out the inconsistencies and correct them.
Adrian Alan is a police officer in the state of Wisconsin and owner of Performance on Demand Shooting. He has served as a law enforcement officer for over a decade in both rural and urban jurisdictions.