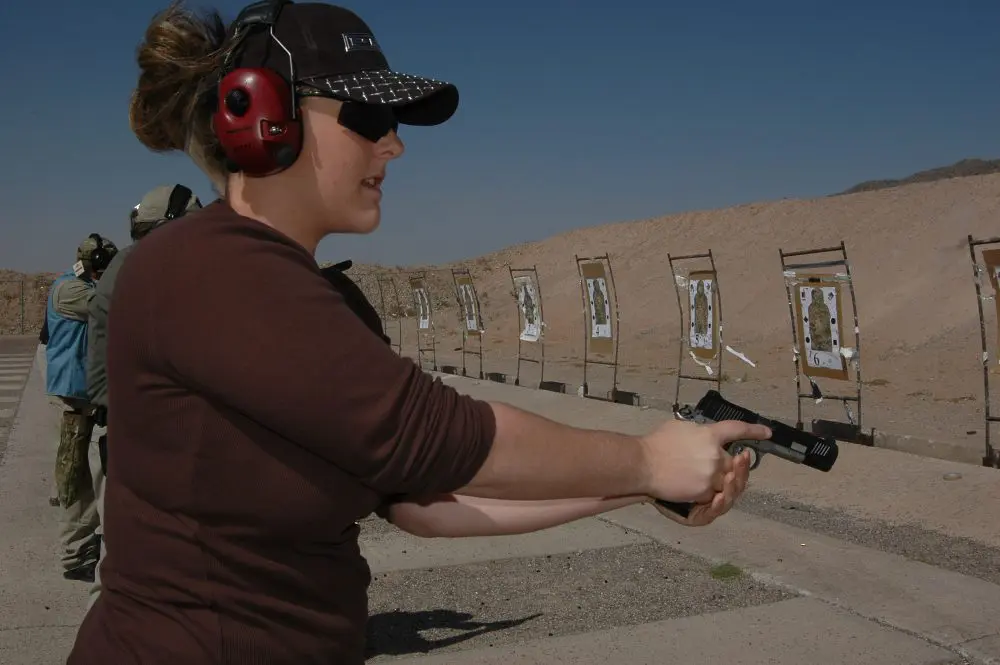
Shooting — whether competition, hunting or of the tactical variety — is the domain of men. Not!
Recently my dad, Denny Hansen, received a new Kimber pistol—the Kimber Custom Crimson Carry II—for test and evaluation. Rather than just conduct a range evaluation, and since we were scheduled to attend an EAG Tactical Pistol Course followed by a Carbine Operators Course with Pat Rogers, Pops suggested that I practice with the Kimber before the classes and then use it in both courses. And that’s exactly what I did.
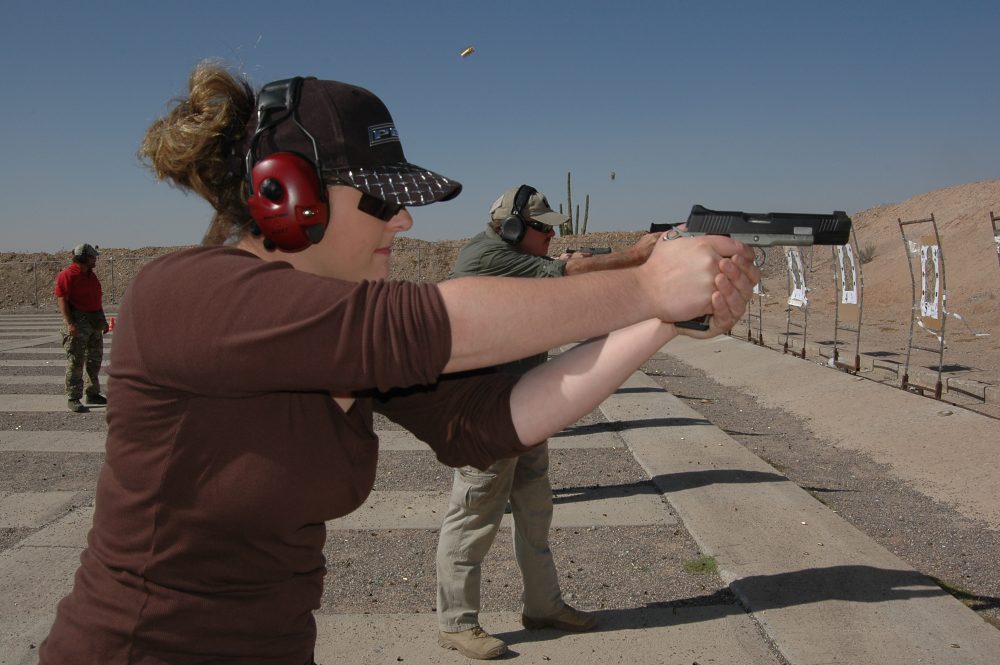
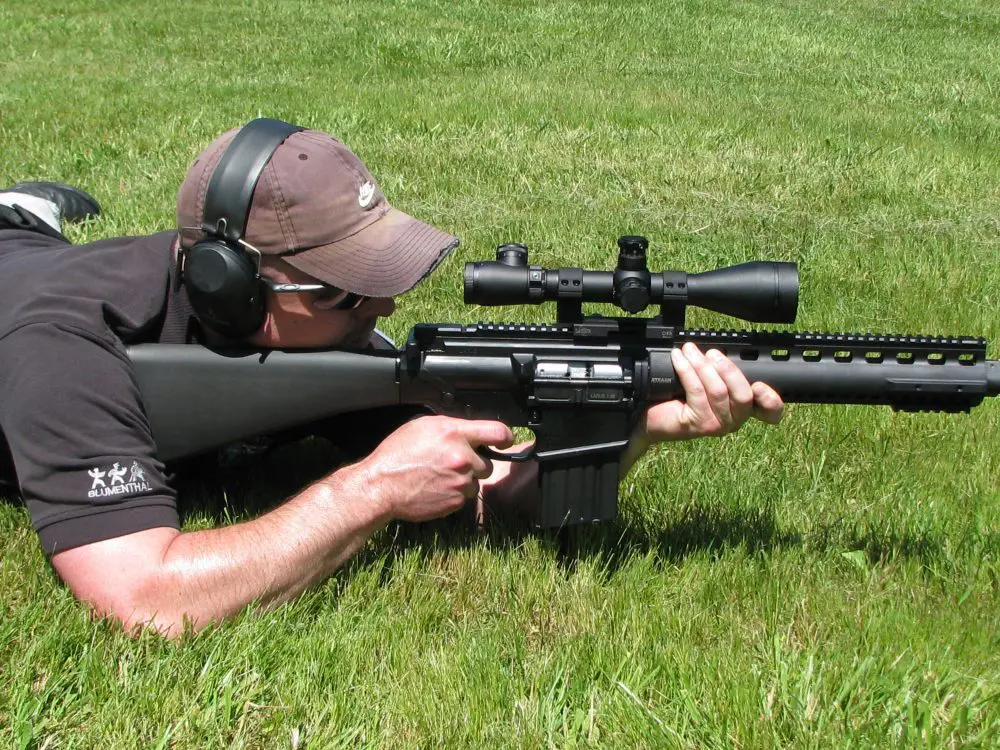
Photo: Pat Rogers
First, a bit about the pistol.
Table of Contents
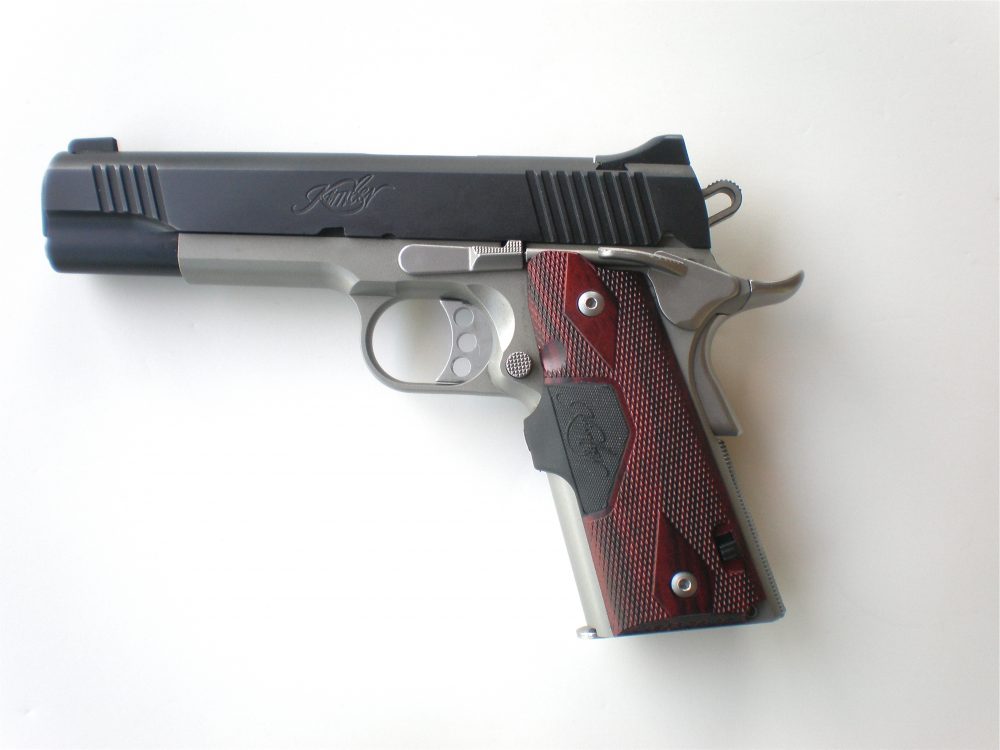
CUSTOM CRIMSON CARRY II
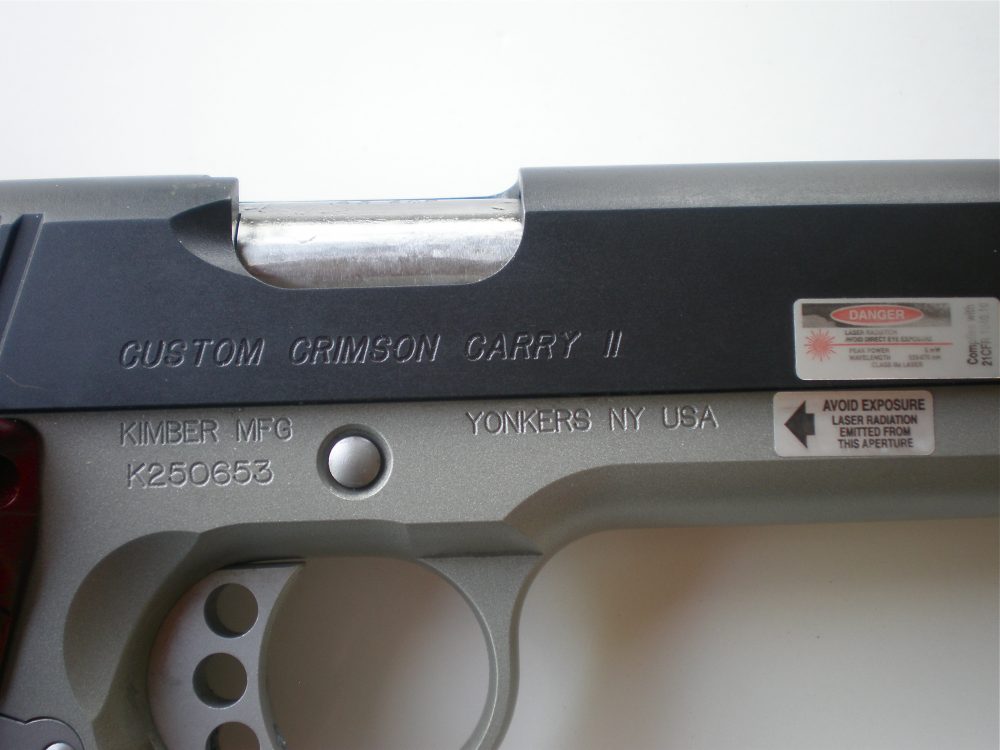
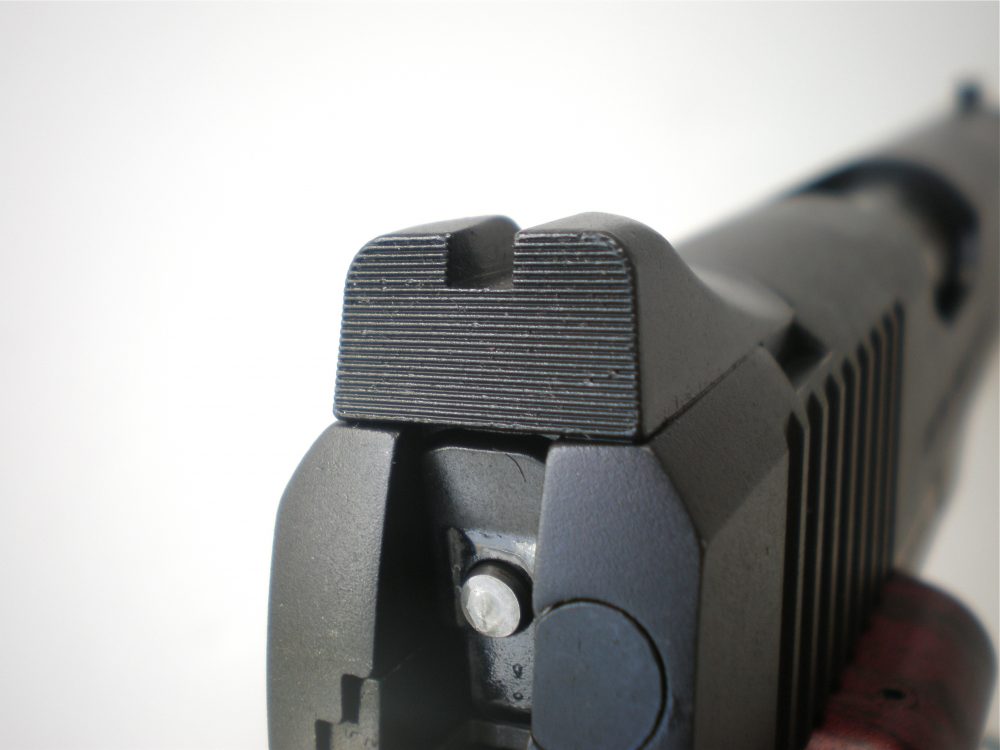
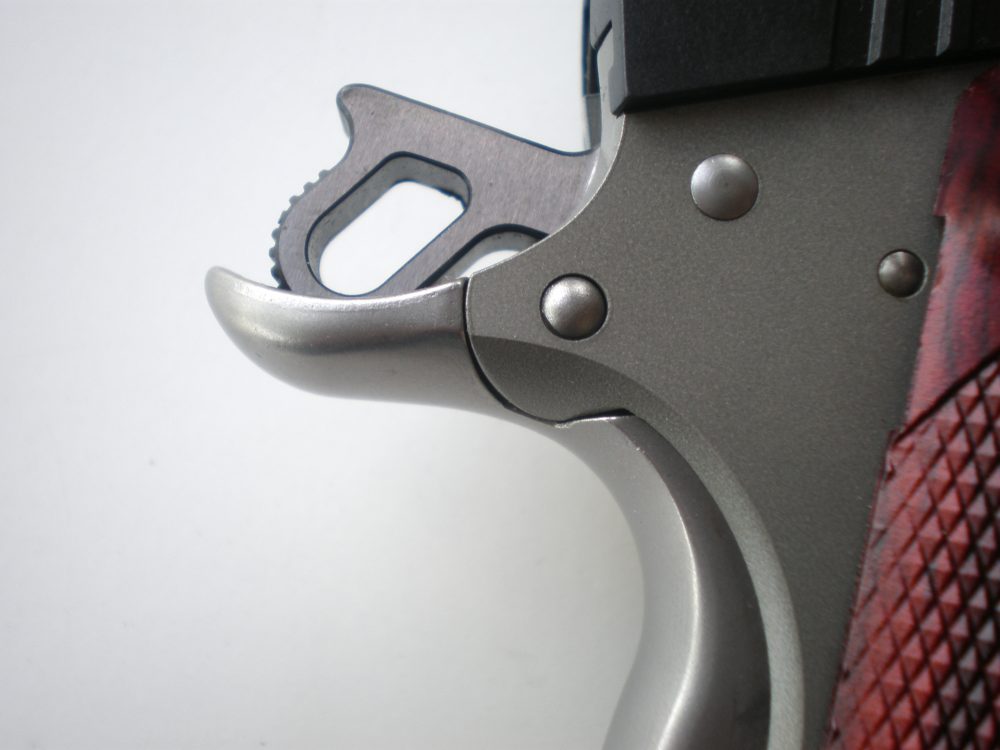
The Crimson Carry is a full-size 1911-type pistol chambered for .45 ACP, but has the weight of a compact due to its lightweight aluminum frame. Like all Kimbers, the Crimson Carry has a match grade barrel and trigger and a full-length guide rod. It features a two-tone finish: the slide has a matte black finish while the frame has a matte stainless appearance. While looks have nothing to do with functionality, I found the contrast to be very pleasing to the eye. This pistol definitely has the GDI factor.
One thing that sets this Kimber apart from others is the Crimson Trace Lasergrips, which have a rosewood finish that is an exclusive with Kimber. The slide stop pin on the Crimson Carry is also different, in that it fits flush with the frame so as not to interfere with the beam of the laser.
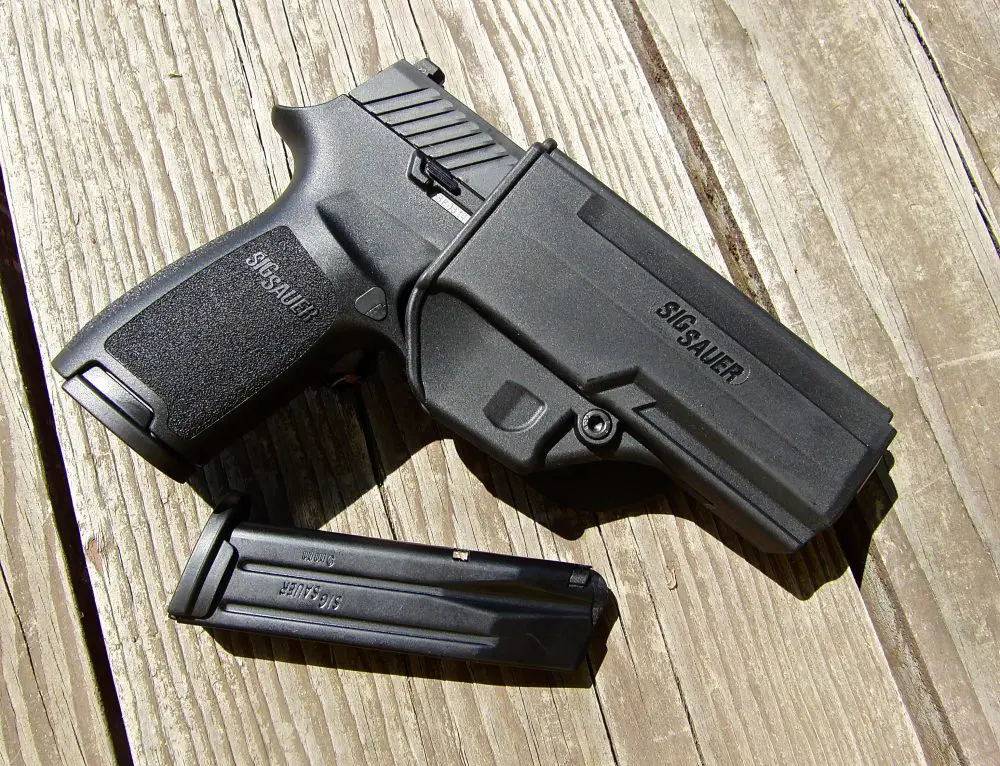
During the pre-course practice and the two courses, I used a Blade-Tech Drop & Offset Kydex holster on an Eagle Industries Duty Belt with Secure Buckle. I also used a Blade-Tech double magazine pouch for pistol mags and a single pouch for an AR-15 magazine along with an Eagle Industries dump pouch.
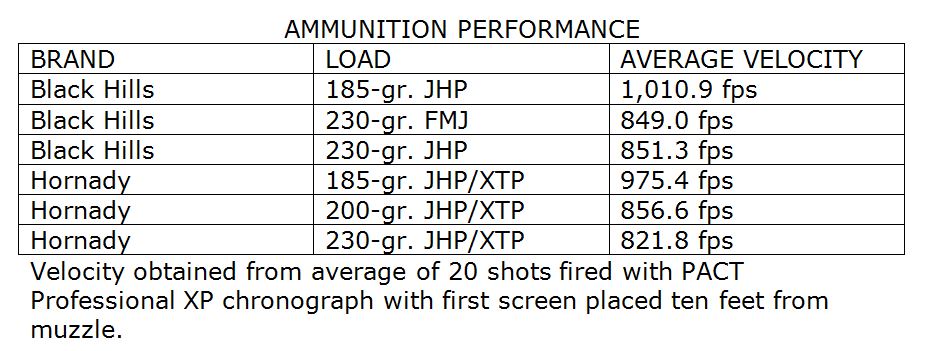
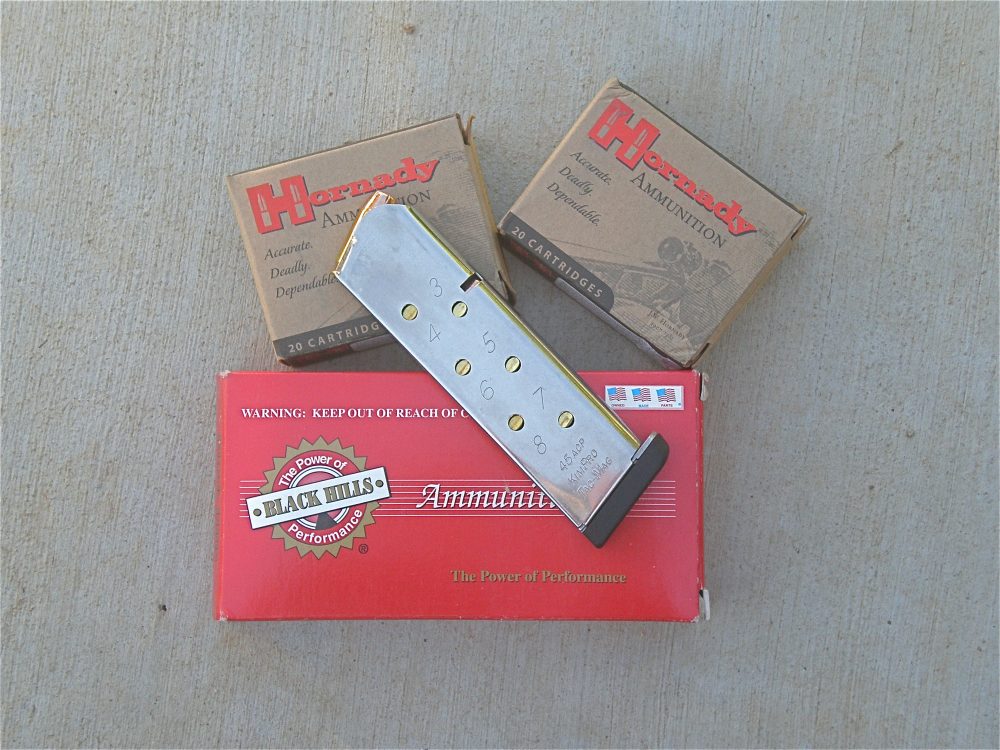
To determine how well the Crimson Carry would function with a variety of loads, three different loads from Black Hills Ammunition and three loads from Hornady were evaluated, with bullet weights including 185-, 200- and 230-grain hollowpoints and 230-grain full metal jacket. The velocity for each load was checked with a PACT Professional XP chronograph, with the results in the accompanying table.
A total of 422 rounds were fired in preparation for the EAG courses, and function was 100% with no malfunctions encountered using both stainless steel eight-round KimPro Tac-Mags and blue finish eight-round ACT magazines.
Pops has told me that people perceive recoil differently, but in my opinion the Crimson Carry—with its lightweight aluminum frame—had noticeably more recoil than the steel frame 1911 pistol I normally shoot. It was, however, much more comfortable after a full day of practice, and the trade off between recoil and ease of carry will probably be important to many people.
EAG LEVEL TWO TACTICAL PISTOL COURSE
The lead instructor for the two-day EAG Level Two Tactical Pistol course was Pat Rogers. He was ably assisted by Mike Hueser.
We started out the first day with a lecture on what we would be covering in the class—it was stressed that this was a fighting course, not a shooting course. Pat covered the safety rules and the four conditions of readiness for a pistol. Because the class was being held in the desert, the importance of hydration was covered. Pat and Mike also went over equipment and took a look at all the students’ gear to see what everyone would be using.
My equipment for the course was the same that I used in practice, with the exception that I used only the Black Hills 230-grain FMJ load for both the Pistol and the Carbine Operators Course. (I also used Black Hills 55-grain .223 ammunition for the carbine course, loaded in the excellent Magpul PMAGs.)
After the instructors evaluated all of the students’ stances, the class began practicing the drawstroke, which consisted of five different motions: Grip, Clear, Rock, Smack and Look. “Grip” is obtaining a firing grip while the pistol is still in the holster. At “Clear” the pistol is drawn just enough to clear the top of the holster. At “Rock” the elbow is bent and the forearm is 90 degrees to the body—the pistol can be fired from this close-retention position. At “Smack” the weak hand joins the strong hand on the pistol. Finally, at the command “Look” the pistol is punched straight toward the target, the mechanical safety (if applicable) is released, a sight picture is obtained and the trigger is pressed. Repetition makes for smooth, and smooth will eventually lead to fast, and we performed numerous drawstrokes dry fire to ensure we had it down.
Pat demonstrated both tactical and speed reloads. It was stressed that one should always top the pistol off with a tactical reload before reholstering.
We proceeded to live fire shooting with dedicated pairs (two shots with two sight pictures) and hammers (two quick shots using only a flash sight picture for the first shot).
Positional shooting included standing, braced kneeling, unbraced kneeling and double knee kneeling (also known as Monica).
We were then shown other techniques, such as the non-standard response or NSR, which requires multiple shots to be fired at the target. For the purpose of this class, an NSR was five shots. We also covered Failure Drills (two shots fired to the body and one to the brain), Roadhouse Rules (one shot to the body of your first target, two to the body of your second, and one back to the body of your first target), and Box Drills, which can be thought of as a double Failure Drill (two shots fired to the body of your first target, two to the body of your second target and a brain shot on each target).

Roadhouse Rules is a really great drill if you have more than one threat, as is the Box Drill. We were taught to assess our surroundings after we completed shooting to make sure that there weren’t any more threats that needed to be addressed, and also to look for good guys who might be coming to our assistance.
As it is possible off of a square range environment that an arm may be injured or you have to use a hand to hold onto a child, open a door, hold a phone while calling 911, etc., we did some shooting with our strong hand only. We also shot one handed with our weak hand in case our strong hand could not be used in a fight. Shooting weak-hand only was a little bit different, but was really great to learn in case I ever have to do so. Pops has ambidextrous safeties on all of his 1911 pistols and now, after shooting with the weak hand only, I understand why. I think I’ll have him install one on mine…

Just before it got dark on the first night, Pat and Mike went over different types of flashlights and the pros and cons among these lights. We were also shown techniques to use with flashlights and shooting the pistol. The three different types that we were shown were the Harries, the Rogers/Surefire, and the neck/jaw index. All three of these are great techniques, but you really have to find the one that you are most comfortable with—and one may work better in some instances than in others. The earlier drills of shooting with just the strong hand or weak hand really came in handy for the night shoot.
On Day Two, Pat and Mike started us out with warm-up drills. We did shooting on the move with multiple target engagement, using Hammers, Box Drills, Roadhouse Rules, and speed reloads on almost every drill. Most of these drills started from the ten-yard line and moved up to the three-yard line. Trying to stay in the state of mind that I was in a fight, I found shooting on the move with speed reloads took a lot of concentration. Pat explained that, rather than trying to multi-task, we should “think about shooting when you’re shooting, and think about loading when you’re loading.” Following this advice made it a bit easier, but shooting two rounds (or more) with a speed load and then firing again—in the short space of seven steps—there was a definite need to balance speed and accuracy.
At the end of Day Two, we shot the MEU(SOC) Pistol Qualification course—once for practice and then for actual score. This was not a pass or fail course, but it was very important to see what I had become good at and what I may need more practice at.
SUMMARY
The Crimson Carry was not cleaned during the initial evaluation or the two EAG courses, although it was lubricated after the initial evaluation. In addition to the 422 initial testing rounds, I fired almost 800 rounds during the pistol course, another 250 rounds during transition drills in the carbine course and another 200 rounds after the courses, for a total of almost 1,700 rounds. I did not experience a single malfunction—not one.
Considering that between the initial evaluation, the two courses and dry fire, I probably performed between 800 and 1,000 drawstrokes, the finish on the Crimson Carry held up very well, with barely noticeable wear on the slide. Although my experience is not as extensive as some people’s, I feel confident in saying the Kimber Custom Crimson Carry II is good to go.
Both the pistol and carbine classes were great learning experiences—especially for someone like me who hasn’t shot a pistol a whole lot, at least as far as self-defense is concerned. They clearly and thoroughly teach the basics and get the students in the mindset to be aware of what’s going on during a gunfight. Pat and Mike were both very helpful, patient and understanding. I heartily recommend the training provided by EAG—for both men and women.
SOURCES:
Kimber Mfg., Inc.
Dept. S.W.A.T.
One Lawton Street
Yonkers, NY 10705
(800) 880-2418
www.kimberamerica.com
EAG Tactical
Dept. S.W.A.T.
P.O. Box 3000
Chino Valley, AZ 86323
(928) 636-6686 (fax)
Crimson Trace Corporation
Dept. S.W.A.T.
9780 SW Freeman Drive
Wilsonville, OR 97070
(800) 442-2406
www.crimsontrace.com
Black Hills Ammunition
Dept. S.W.A.T.
P.O. Box 3090
Rapid City, SD 57709-3090
(605) 348-5150
www.black-hills.com
Blade-Tech Industries
Dept. S.W.A.T.
2506 104th Street Court South
Building H
Lakewood, WA 98499
(877) 331-5793
www.blade-tech.com
Eagle Industries Unlimited, Inc.
Dept. S.W.A.T.
1000 Biltmore Drive
Fenton, MO 63026
(636) 343-7547
www.eagleindustries.com
Hornady Mfg. Co.
Dept. S.W.A.T.
Box 1848
Grand Island, NE 68802-1848
(800) 338-3220
www.hornady.com
PACT Inc.
Dept. S.W.A.T.
P.O. Box 535025
Grand Prairie, TX 75053
(800) 722 8462
www.pact.com