Face it: if you own or carry a gun for self-protection, you may be shot by the very threat you are armed against.
This doesn’t mean you will be killed or even incapacitated before you can effectively take your attacker out of the fight, but it does mean you should be prepared to deal with the possibility that you or someone around you may be wounded. That wounded person may be your partner, friend, spouse or child. It makes sense for you to be able to increase their chances of survival.
When you consider that ambulance crews typically do not enter the scene of a shooting before receiving the all-clear from responding officers, it becomes even more important to be able to render medical care right away.
History is replete with both good and bad guys who have kept fighting after receiving lethal wounds. It is also filled with people who died of wounds that might have been survivable had they received the correct immediate care. Some wounds are only survivable with rapid intervention and immediate action.
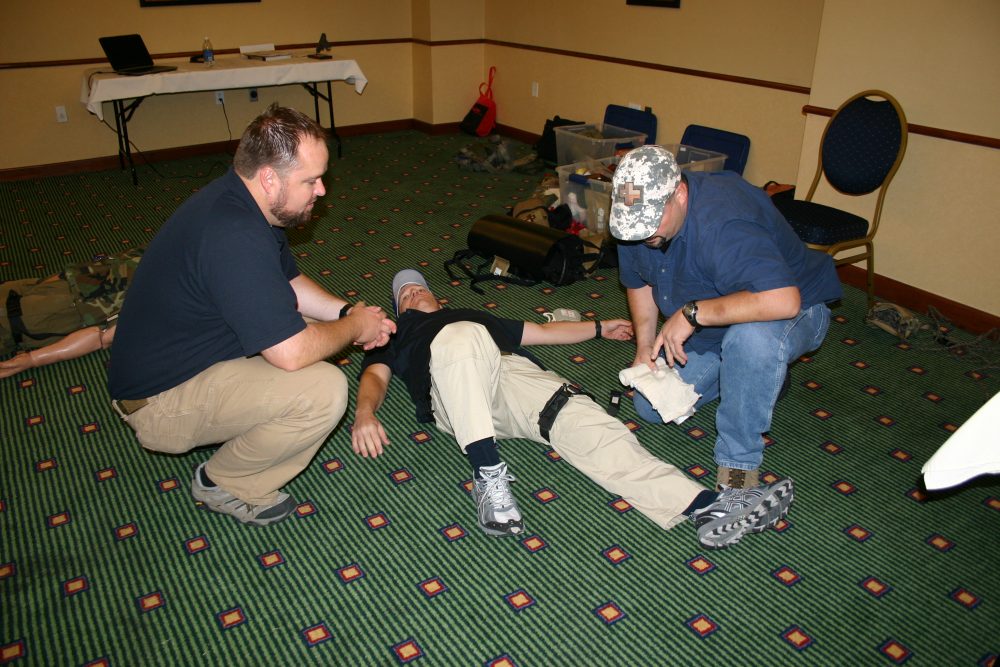
Practicing leg tourniquet on student in classroom. Instructor Caleb Causey looks on.
Table of Contents
TACTICAL MEDICINE
While not nearly as prevalent as courses that teach firearms, tactical medicine classes are available and should not be overlooked as part of your overall safety preparations. While perhaps not as “exciting” as firearms training, it could prove just as important to your survival or that of a loved one.
Last summer I attended Medicine X, a two-day course offered by Lone Star Medics of Arlington, Texas. Lone Star Medics is run by Caleb Causey, whose background includes service as a Combat Medic in the U.S. Army and work as an EMT with a local fire department and SWAT team.
Caleb was assisted by Kyle Omberg, who brings experience as a Marine, firefighter, EMT with a fire department and SWAT team, as well as sniper team leader.
Also on the teaching team was Andrew Brady, proprietor of Lone Star Armory and himself a veteran of the 82nd Airborne and Iraq.
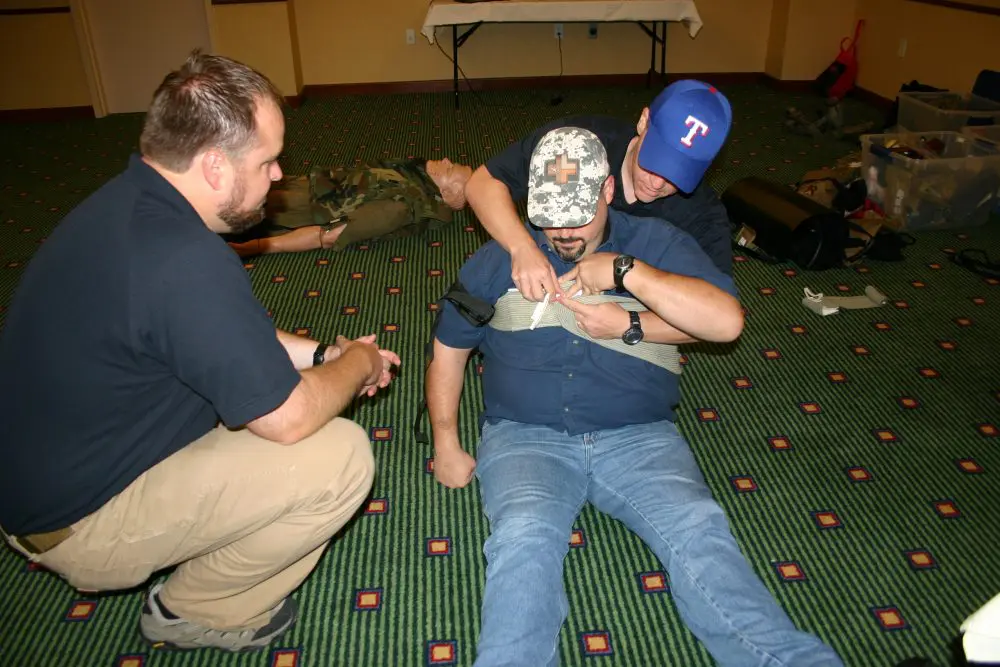
Practicing chest wound dressing on fellow student as Caleb observes.
MEDICINE X
The first of the two days was spent in the classroom and interspersed lectures with practical exercises and scenario work. The goal of the class is to teach people to care for others as well as administer self-aid for gunshot wounds and other penetrating trauma.
Unlike a course that teaches simple wound care, this class frames things from the perspective of a gunfight—that is, a gunfight that is in progress or has just ended. Caleb stressed that the first thing to do if a threat is still present is decide whether to engage the threat, seek cover, escape or evade—whichever makes the most overall sense for you in the situation.
If you do engage, Caleb rightfully stressed that you need to make sure the threat has been neutralized before you do anything else. Once this has been accomplished, make sure your position is secure or move to a more secure one before treating any wounded, who should be moved to cover if at all possible.
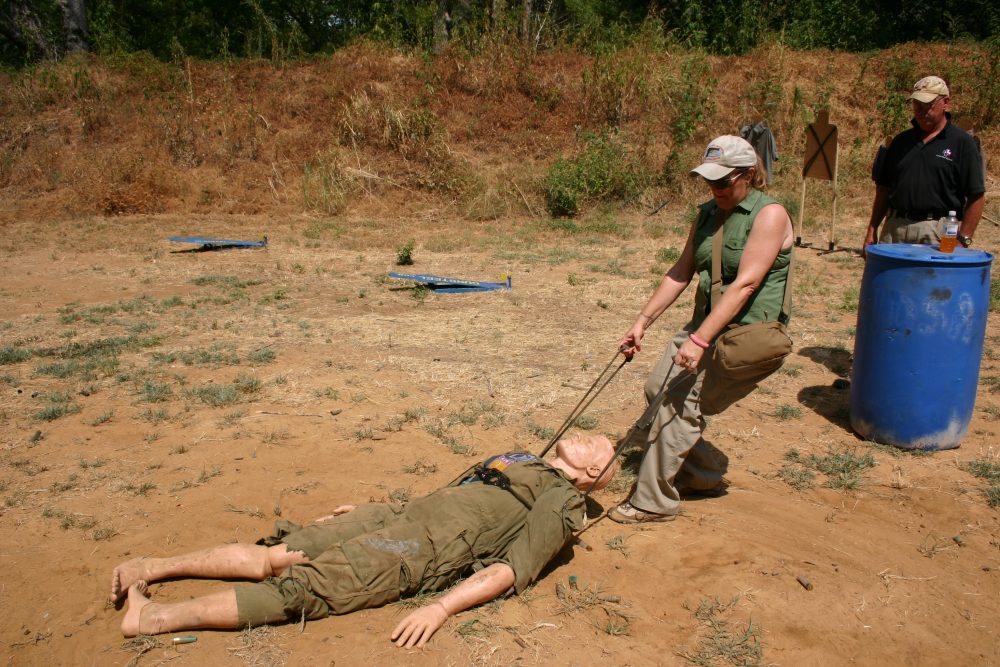
With this in mind, we began by learning one- and two-person manual drags and carries on class members and a 170-pound dummy. Trying to apply a fireman’s carry on the dummy certainly put any romantic notions of throwing an injured buddy over your shoulder into perspective.
Next we covered what to do once the wounded have been brought to cover. This began with checking for wounds and progressed to treatment. Most important was to constantly keep scanning for additional threats even after the injured person is behind cover.
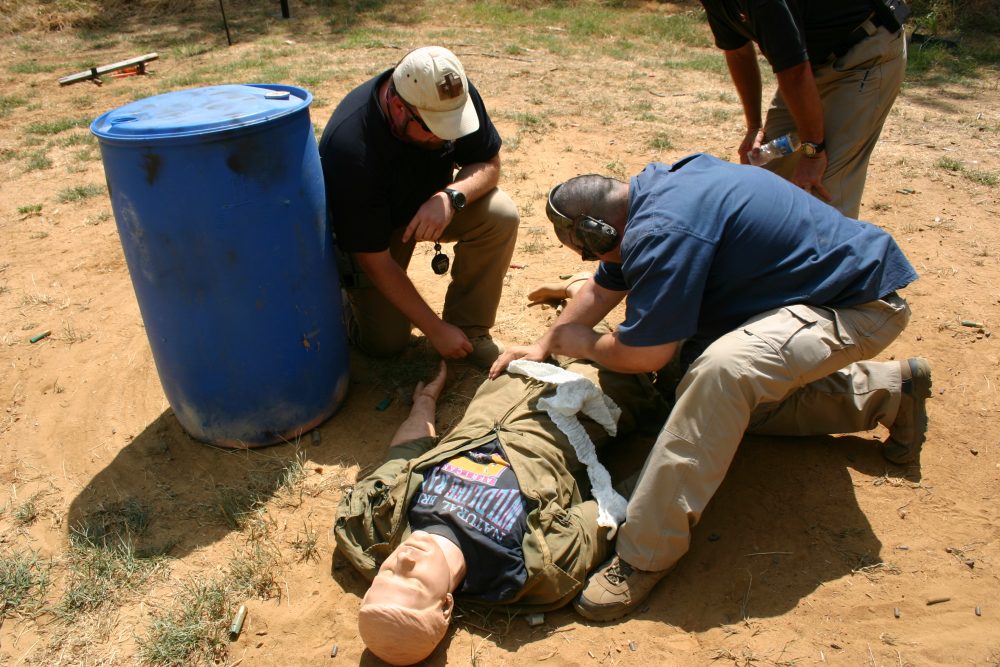
Patching lower abdominal wound.
TOURNIQUETS
Since a major cause of preventable deaths is blood loss, we examined the often-misunderstood tourniquet, which in a tactical environment is the most effective means of controlling blood loss to limbs.
It’s still commonly thought that using a tourniquet will result in loss of a limb. The tourniquet developed a bad reputation during World War I, when transportation was limited and relatively primitive, and a casualty might languish with a tourniquet on for a day or more before a physician treated him.
Since the mid 1990s, there has been a major revision in casualty care. This recognizes that with modern transportation and quick medical treatment, a tourniquet does have a major role as a first-line treatment for trauma wounds. Details of situations will vary, but as a general rule, if the tourniquet is on for no more than four hours, there is minimal concern. The tourniquet should be put on and left on, and removed only by paramedics or ER personnel.
The tourniquet must be applied as high up on the limb as possible and above the knee or elbow, even if the wound is to the lower part of the limb.
The two biggest problems with tourniquets, Caleb informed us, are placement too low and failure to apply them until it is too late. Makeshift tourniquets don’t work nearly as well as purpose-designed ones.
Storage of the tourniquet is critical. It should be the first thing you can reach when you open your Individual First Aid Kit (IFAK).
While the tourniquet is often applied first to limb wounds because of its capacity to control bleeding, this doesn’t eliminate the need for dressings. Caleb covered various dressings and how to apply and wrap gauze to different wounds, and also examined hemostatic agents, which are used to speed the clotting process.
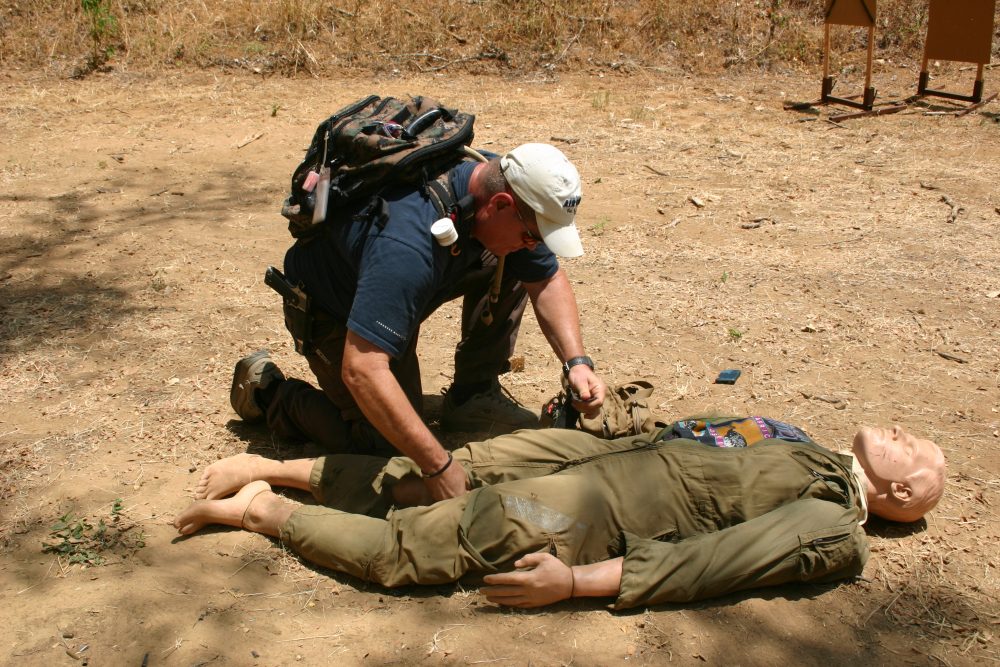
Assessing dummy.
HEMOSTATIC AGENTS AND CHEST WOUNDS
Hemostatic agents are typically applied when there is massive bleeding in a location where you cannot apply a tourniquet. When using hemostatic agents, Caleb advised using gauze impregnated with the agent as opposed to the powder versions. Powder can blow into people’s eyes and cause other complications to the casualty. With the advent of impregnated gauze, powders are now considered obsolete. He also cautioned that hemostatic agents should not be used on the head or chest, and in the abdominal region only if the exact source of the bleeding can be pinpointed.
Speaking of chest wounds, we covered treating both open pneumothorax, otherwise known as a sucking chest wound, and tension pneumothorax, a condition that occurs when air collects in the space around a lung following a penetrating wound.
The open pneumothorax is treated with a Bolin chest seal or dressing backed by a makeshift plastic that is taped on three sides.
The tension pneumothorax requires the insertion of one or more catheter needles into the chest to affect decompression. Though Caleb recommended having this in our IFAKs in the event that a properly trained person were present, he felt the application of this was beyond the scope of the class, and requires at least a paramedic-level skill set to employ.
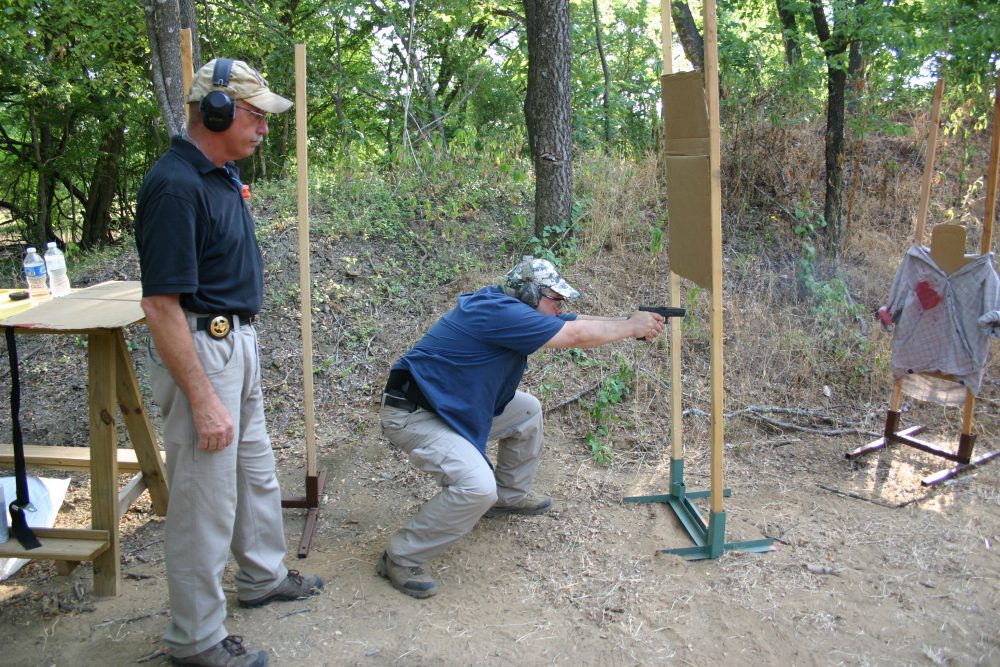
Engaging attackers from below simulated barrier.
IFAK
Caleb and company arrived with several bins containing a wide cross-section of everything they lectured about, including pouches to pack them in. These pouches came in handy when it was time for each student to pack his own IFAK.
The IFAK is typically designed to be worn on the body and stabilized by attachment to a tactical vest, belt or chest rig. We also went over setting up a larger first-aid kit for a vehicle. The essential components of a first-aid kit as covered in class are:
- Tourniquet
- Pressure dressing
- Hemostatic agent
- Nasopharyngeal airway (a flexible rubber tube designed to be inserted into the nasal passageway to secure an open airway)
- Bolin chest seal for treating open pneumothorax
- 14-gauge 3.5-inch needle catheter for treating tension pneumothorax
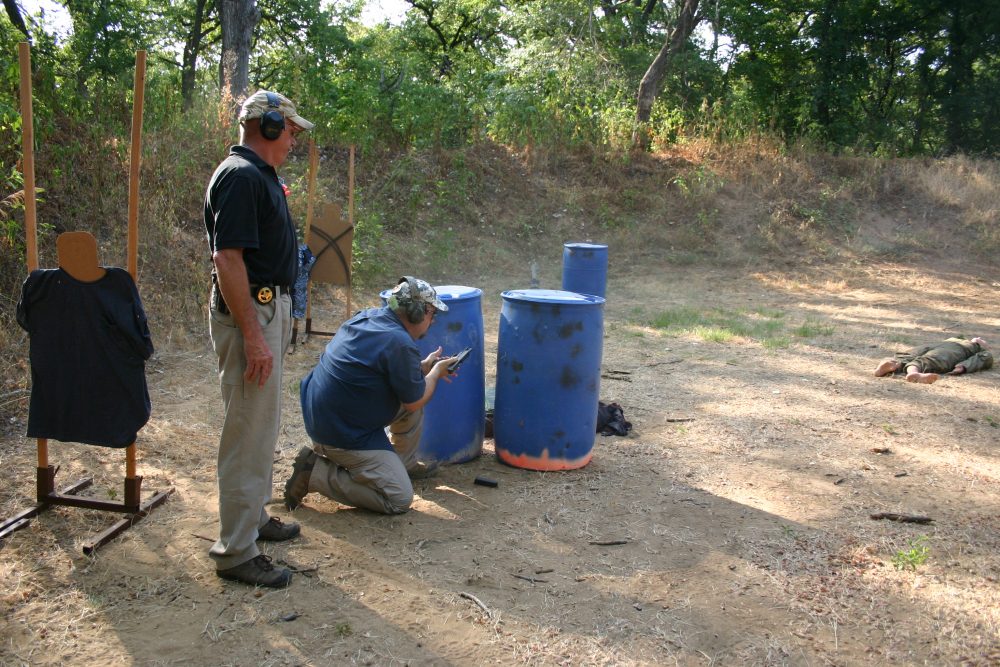
Reloading behind simulated cover.
PRACTICE TIME
Everyone set up their own IFAK from the huge quantities of supplies the instructors had brought, and then it was time to break off and practice the skills on each other and the mannequins. While the students practiced, the instructors circulated, observing and providing a great deal of assistance and feedback.
After we had become familiar with the basic skills, Caleb and crew amped up the stress by putting together scenario drills using blue guns and role-playing. One or more students were secretly chosen to be active shooters, while the rest of the class was divided into armed citizens with medical kits and bystanders.
If the student defenders or responders did something tactically incorrect, like exposing themselves rather than properly applying simulated cover, or failing to secure the gun from a downed gunman, they were penalized in the form of a simulated injury on themselves, which they then had to self-treat.
Next we covered treatment of burns and shock. Since this course was taught in the height of summer in Texas, dehydration was covered in depth, including spotting heat issues such as heat exhaustion and heat stroke, treating them, and prevention through prehydration and constant hydrating.
Prehydrating and keeping hydrated proved essential to our second day of the course, which took us out of the comfort of an air-conditioned conference room and into the heat of an east Texas summer.
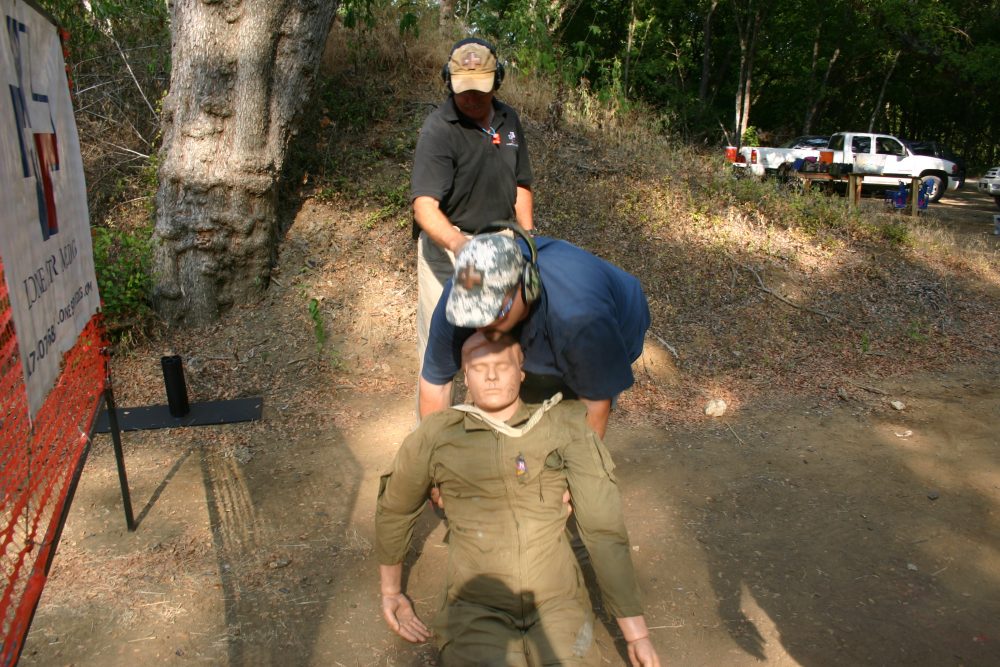
Dragging 170-pound dummy behind cover.
DRILLS
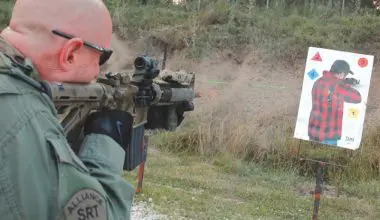
The Lone Star Medics put together a variety of scenarios that would test the students’ newly learned medical skills along with shooting ability and tactical decision-making. Drills were run individually. Before we could get to the injured dummy, we had to make it through courses of fire consisting of a mix of paper and reactionary plate targets that had to be engaged by handgun. Caleb stressed this was not a speed drill and if we had any questions, we should stop and ask.
Drills included use of cover, movement, and multiple targets. Once the targets were neutralized, it was time to render aid to the downed mannequin, all the while maintaining situational awareness lest any targets pop back up—which they sometimes did.
Once the student got the mannequin behind cover and assessed it for wounds, an instructor told them where it had been hit, either speaking as the dummy or in response to their examination. In the event students failed to notice targets that popped up or didn’t get the mannequin behind cover before treatment, they were rewarded by having the instructor inform them that they had a simulated injury they had to self-treat using their first aid supplies before they could go on.
Dragging dummy with aid of purpose-designed device.
Each student shot approximately eight different scenarios. Caleb and crew threw in some interesting additions, like a quick lesson and hands-on practice with a breaching shotgun, and a bit of long-range rifle work with instructor-provided long arms.
While many of the scenarios seemed excessive in terms of the number of targets engaged and rounds fired, when compared to most real civilian armed encounters, they served to provide more extensive training and practice, as well as make the class more fun and exciting.
The most important part of the class was what most people had the least experience in—the medical portion. In a situation where you are applying this knowledge, you are trying to buy time so the casualty can get to an operating room.
I’ve provided an overview of the training and philosophy that drives the Medicine X class. This is not designed to enable you to apply the techniques described. Take the course and you’ll be better prepared to handle yourself when facing armed bad guys!
SOURCES:
Lone Star Medics
Dept. S.W.A.T.
P.O. Box 170994
Arlington, TX 76003-0994
(817) 405-9576
www.lonestarmedics.com
Lone Star Armory
Dept. S.W.A.T.
6207 Renwood Drive
Fort Worth, TX 76140
(817) 988-4716
www.lonestararmory.net
