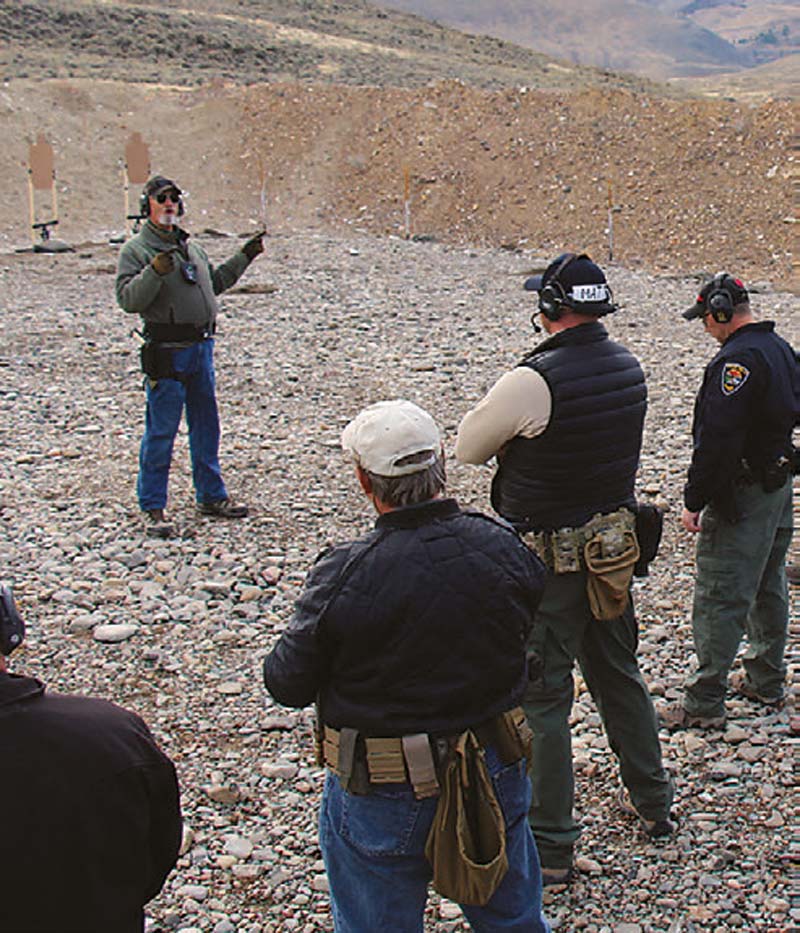
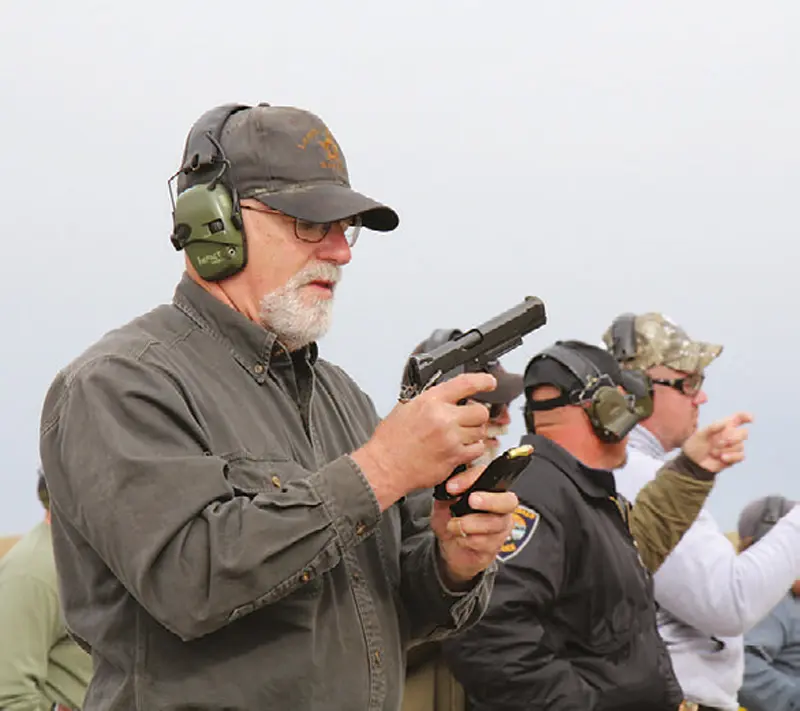
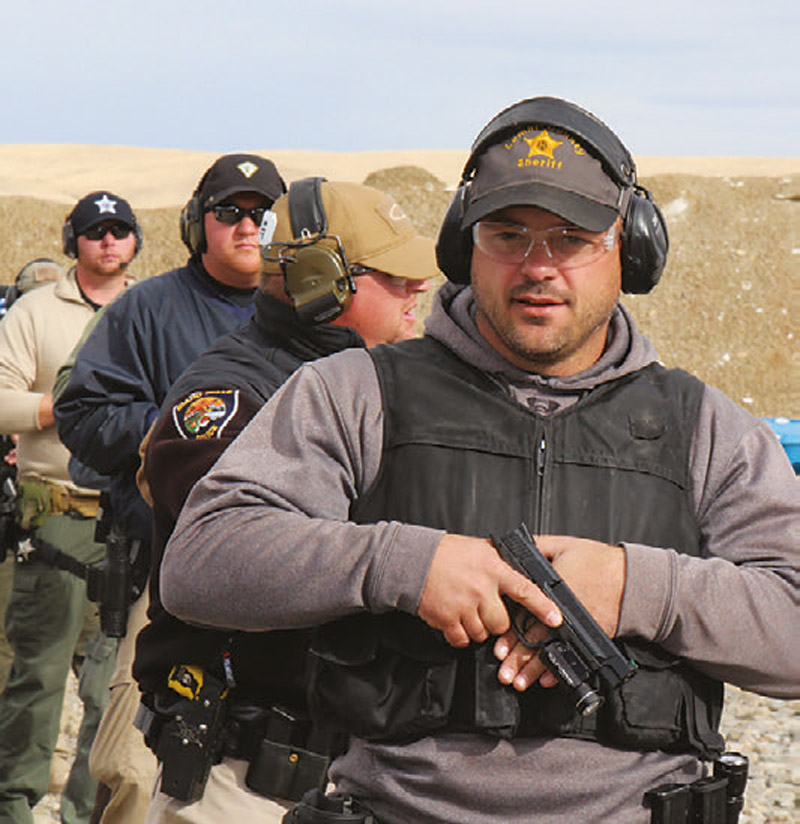
Recently I had the honor to attend Law Enforcement Firearms Instructor training taught by Ken Hackathorn.
I became certified as an NRA Police Firearms Instructor in 1982 and have attended many firearms training courses over the years. I could relate to Ken’s rendition of how training in law enforcement began and has changed over the years. Hackathorn’s training focuses on the things we have learned from shootings. Love or loathe dash-cam and body cameras, they have taught us a lot about the logistics leading up to the fight and the actions and reactions of the players. This is the basis of Ken’s training.
The class consisted of a mix of several agencies of law enforcement firearms instructors from eastern Idaho. Idaho just changed the firearms qualification, bringing it to a superior standard over the old one, and Ken included the new qualification drills in the training. Qualifications are just that, a test of skills, but they are not training.
Hackathorn uses the phrase “real world” a lot in his training. When asked what the real world is, he replied, “The real world is not what is here on the range. In the real world, the target is shooting back. We practice stationary on the range from a firing line on one stationary target. We are concerned with range safety. The firing line in the real world is 360 degrees. In the real world, there are people in front of you and behind you, not on a line. And they’ll be moving when the loud noise starts.”
Hackathorn falls back on two important rules of firearms safety. Don’t cover things you don’t want to destroy, and keep the finger indexed well off the trigger until you’re ready to send lead into the bad guy. Following these rules, you can work around your partner or citizens safely and still be ready to engage threats.
Table of Contents
DISTANCE
Studying incidents of police shootings shows us that the distance of encounters is usually ten yards or less. Hackathorn points out that an officer’s shooting distance is most likely closer than a private citizen’s because the policeman is usually closer to the bad guy as he gets close to investigate the problem.
Coming up to a vehicle on a car stop, moving into talking distance of a domestic call, or walking into a group of people to find out what’s going on puts him at ten yards or a much shorter distance to the threat.
Years ago, training spent a lot of ammo on longer distances, but recent statistics show ten yards or less is the norm. Ken advocates practicing at longer distances but spending more time on the more likely situation.
LOW/NO-LIGHT SHOOTING
There was a lot of discussion about low light/no light as they are prevalent conditions in defensive shooting. Even in the daytime, when you go into a building or certain areas, the light will be reduced. Why does most of our training take place during the day? In this course, we spent several hours practicing low-light shooting in the evening.
One thing I liked about Hackathorn’s training is how he covered all aspects of shooting at night. We trained with handheld and weaponmounted lights. The majority of departments and officers are now using weapon-mounted lights, and a number of holster manufacturers are producing equipment to allow the light to be on the weapon all the time. Lights are smaller and brighter than ever before.
I grew up in police work before all this technology and learned the various ways to shoot with a handheld light, but I admittedly shoot better with the light on the pistol.
Hackathorn uses the acronym LIE for light use. Locate the person, Identify the threat, Engage if necessary. However you carry your light, you must be able to LIE. With a weapon-mounted system, an alternate light is desirable for non-threat searches and administrative uses.
We did several drills using a light in as much darkness as the outdoors would allow. This was a low-light situation where you could see and locate the target and engage without a light, but after three shots the flash of the shot made it hard to see the target, let alone identify a threat. As it got darker, the light was used to locate, then identify and engage.
Hackathorn had us shoot at night with duty ammo. Some ammo has lower flash powder and doesn’t create as much night blindness from the flash. I was using practice ammo and the flash was blinding. We shot and observed everyone in the class shooting different ammo.
This brightest flash was mostly white, with yellow and orange being less. Some ammo produced a red flash, which was noticeably less bright. Most of the duty ammo we shot was red, and even that ammo varied in the amount of flash.
Another part of the training was to light up the target, identify, engage, and immediately shut off the light while moving a step to the right or left. We also practiced walking toward and away from the threat using light. Remember, the light also tells the bad guy where you are.
ACTORS, AKA BAD GUYS
Statistics show that bad guys are usually pack animals, and a likely encounter is between one and three individuals.
Police qualifications are usually at a stationary single target, but training should be on multiple targets. We did several drills with three targets to practice engaging multiple attackers. This is one reason it is important to assess after the primary threat is down. Look to the left, right, and rear to make sure the bad guy’s partner isn’t an active threat.
Hackathorn points out to check the guy you just shot before assessing. He has the final vote if the fight is over.
ACTION OF ACTORS
This refers to moving. Nothing will be stationary in the real world like it is on the range. Bad guys will be moving and you will be moving, most likely away from the shooting. At times it will be appropriate to move toward the threat while shooting, but mostly away would be desirable, to put distance between you and the attacker.
We practiced forward, backward, and lateral movement while shooting.
NUMBER OF SHOTS FIRED
Ken divides this into two categories: shootings and gunfights. Shootings are when only one person is shooting, and the average is one to three rounds. Gunfights are when bullets are going back and forth, and magazines will be emptied.
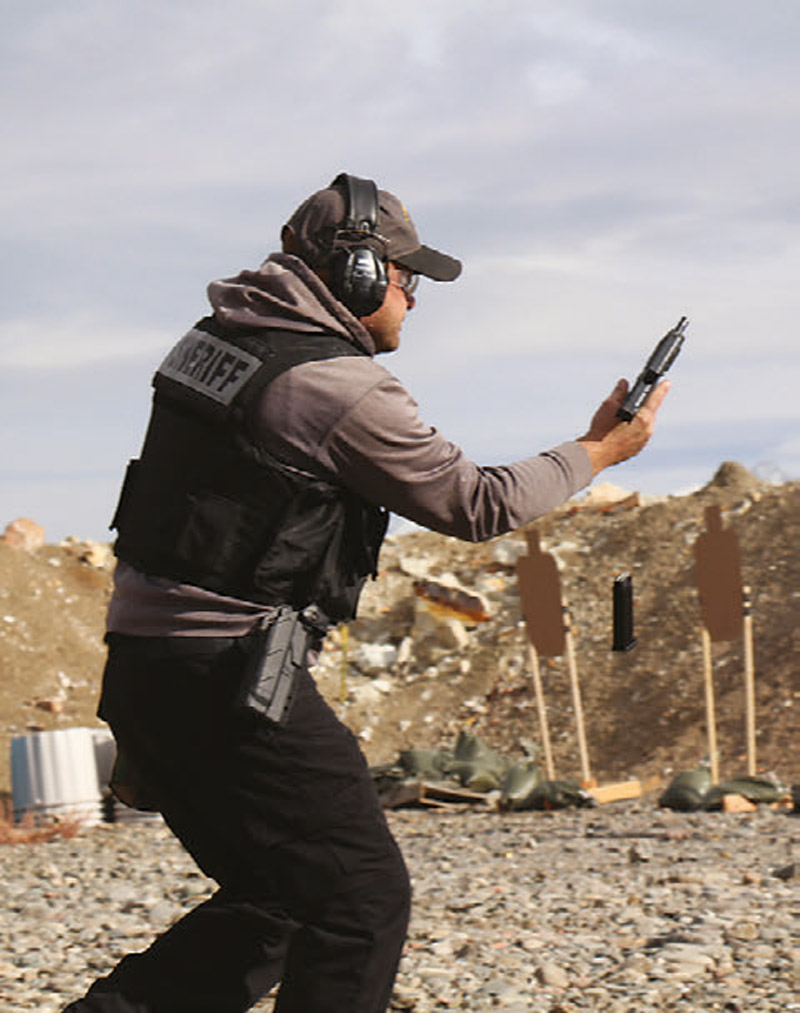
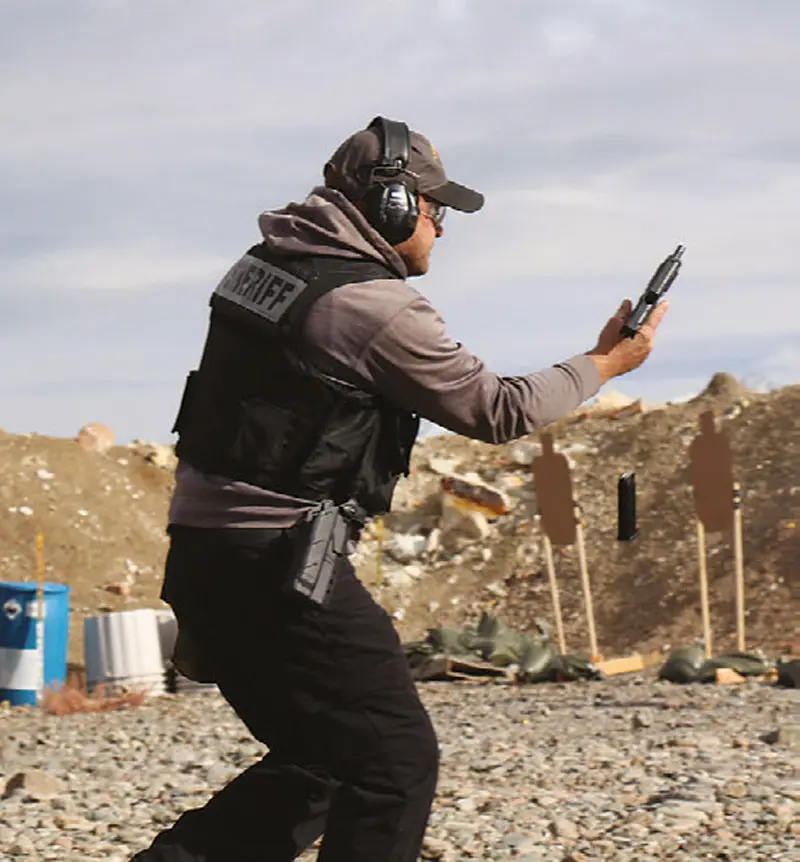
This brings us to reloading. Hackathorn advocates that when the fight is on, reload when you have to. This is the emergency reload. The slide is locked back and the pistol won’t go bang. Many of the drills were set up so a mandatory emergency reload was needed to complete the drill.
The time for the drill wasn’t generous enough for a sloppy reload. It is a skill that needs to be practiced. As far as tactical reloads, when the drill was over and the shooting stopped, the pistol was brought to maximum capacity using a tac load before leaving the line.
So far it sounds like an ordinary class, right? As I said, I have been to numerous trainings over the years and most were excellent, some not so much, but I always managed to get something worthwhile from each.
FUNDAMENTALS
The first paradox of this training was that by learning how to teach others to shoot well, we shot better. Hackathorn advocates whatever drill you ask the student to shoot, you need to be able to demonstrate it with skill.
The second paradox of the training was fundamentals. Hackathorn is big on fundamentals and says there is no magic in shooting. Most of the training he conducts is going back to teaching students to master the fundamentals, after which, noticeable improvement occurs when shooting the drills. As Ken said, “Don’t practice stupid s##t!” Practice the fundamentals correctly so that when doing a more complex drill, the fundamentals will automatically be correct.
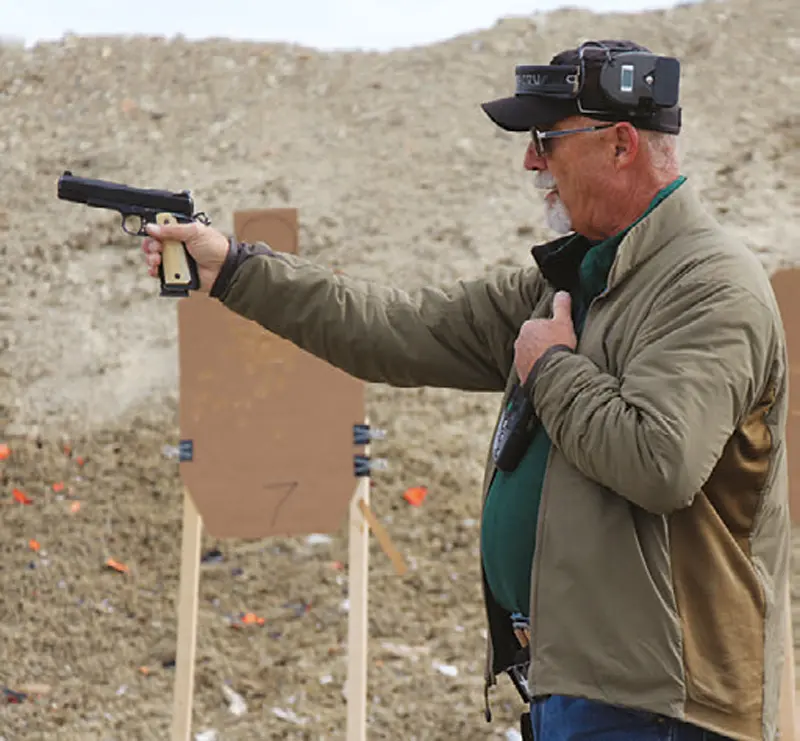
The first two fundamentals of good shooting are sight alignment and trigger press. Nothing new here. Of the two, Hackathorn teaches the more important is a smooth, straight-back trigger press.
Sight alignment is important, but Ken had us do an exercise that shows the sights can be slightly misaligned and still get accurate hits on the target. He had us take shots with the front sight slightly to the left in the notch, slightly to the right in the notch, and the same up and down. With the front sight out of alignment slightly but somewhat in the notch, the shots were still in the “A” box on the target.
We also found that a slight trigger snatch was not as forgiving on the target, with either an out-of-the-box hit or complete miss.
TRIGGER RESET
Hackathorn is not a fan of teaching trigger reset as far as learning to keep the finger on the trigger after reset to avoid slapping the trigger on the next shot. It is important to make the student aware that there needs to be reset before the next shot, but training to keep the finger on the trigger for the next shot isn’t that important.
He demonstrates this by pointing out he is a fan of indexing the finger as high on the side of the pistol as possible. He likes to see the finger close to the ejection port. Practice making good trigger presses from here, so presses just off the trigger—such as in a double tap slightly in front of the trigger—will be correct.
We did some experimental shots with the timer to prove keeping the finger indexed is plenty fast and only 10ths of a second more than shooting with the finger on the trigger. For students who think they need the finger on the trigger to be able to get a defensive shot off, this is a drill to show them.
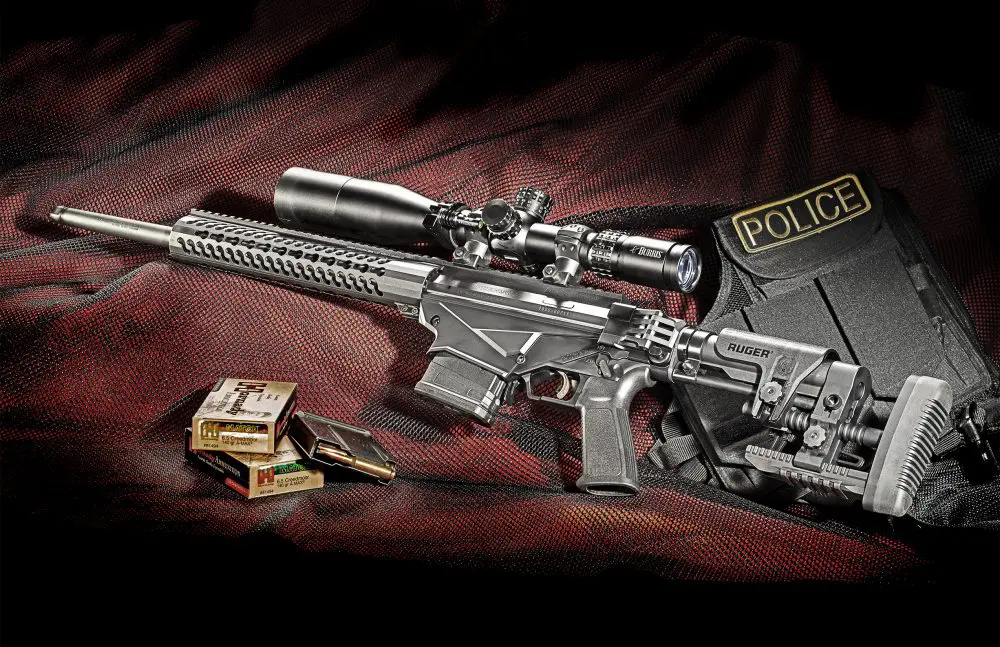
Keeping the finger on the trigger comes from the revolver and double-action auto days, when the first trigger pull was 16 pounds or the trigger travel was greater than an inch. Today most law enforcement guns are striker fired and still many 1911s (which by the way is the finest close-combat fighting tool of all time) have four-pound triggers and ¼ inch or less of travel.
Keep the trigger finger indexed off the trigger. Don’t practice stupid s##t!
We did another valuable exercise prior to moving and shooting. One challenge to moving and shooting is keeping a good sight picture on the target for an accurate shot. The sights are moving around because of the nature of walking. Much of this can be controlled by placing the feet while in a lightly crouched position with the knees bent. We have all been taught that. The trick is to avoid snatching the trigger at that perfect time when the sights are on target and aligned. This results in a miss.
Hackathorn had us practice first from a stationary position, moving the sights up and down and side-to-side, keeping the sights inside the target “A” box while depressing the trigger. We also did this while moving the sights in a figure eight, keeping them in the box.
By pressing the trigger smoothly, the pistol goes off while the sights are in the box without a violent snatch and a miss. We then started moving and shooting and used the same technique. It quickly shows a guy that snatching the trigger is what causes the miss.
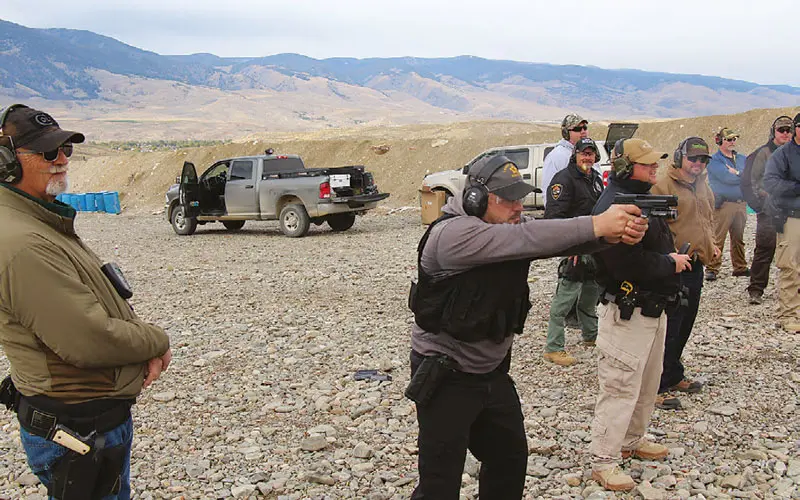
Another difference in Ken’s training was when we got into the moving and shooting. After we practiced for a while, he staggered the line so the guy next to me was forward of the firing line and he was moving back while I moved forward, putting me forward of the firing line.
I use the words “firing line” to describe it, but in reality Ken had removed the firing line concept from the training, giving people shooting next to, beside, and behind me experience while I was doing the same. I know this will make some people cringe and give early coronary problems to administrators, but I believe it is necessary for professional gunfighters.
ONE-HANDED SHOOTING
As you would expect, this training also covered one-handed shooting. We did strong-hand and weak-hand drills. When talking about the strong hand, Hackathorn pointed out that if the officer or citizen is surprised, the shot will likely be one handed. If you think about it, in a close-quarter surprise attack— especially from the strong side—the natural reflex will be to draw, assess, shoot.
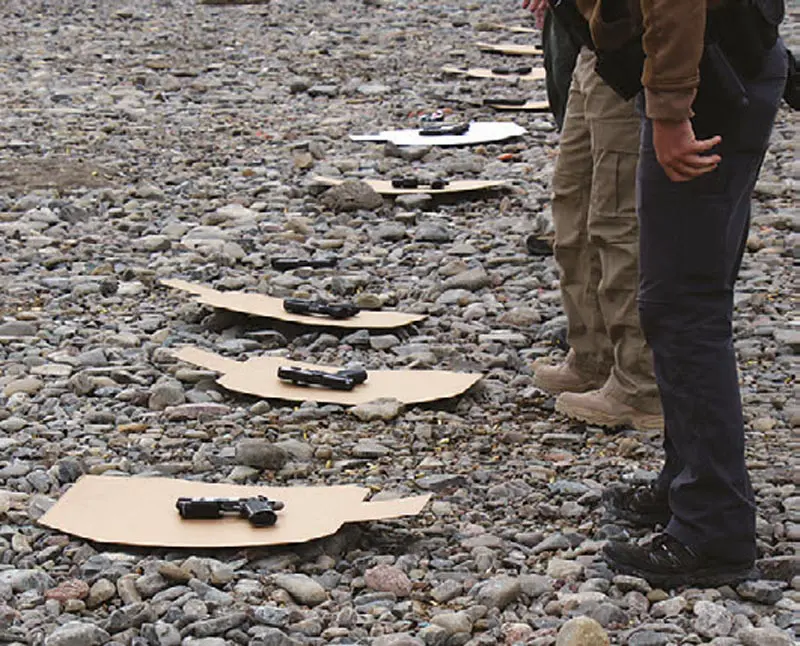
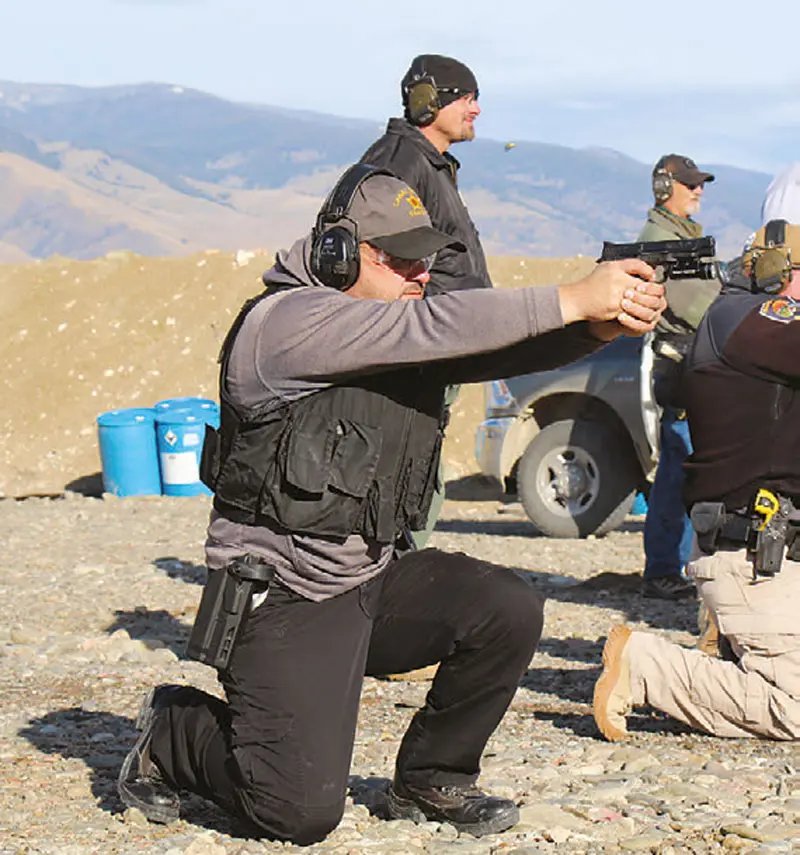
In the real world, you may be using only your weak hand because the strong hand is out of play due to an injury or being shot. What is the most likely position of your weapon? It will probably be on the ground.
Instead of switching hands and firing weak handed, we retrieved the gun from the ground in front of the shooter and then engaged the target both from standing and kneeling.
Another reality concept is starting position. Some instructors have students start with hands up, to the side, or whatever silly competition deal we pick up from different schools of thought. Ken comically responds to the hands up by saying, “I’m not going to rob you.” He had us start in the interview position—a non-threatening position used while talking to people and that most officers will be in.
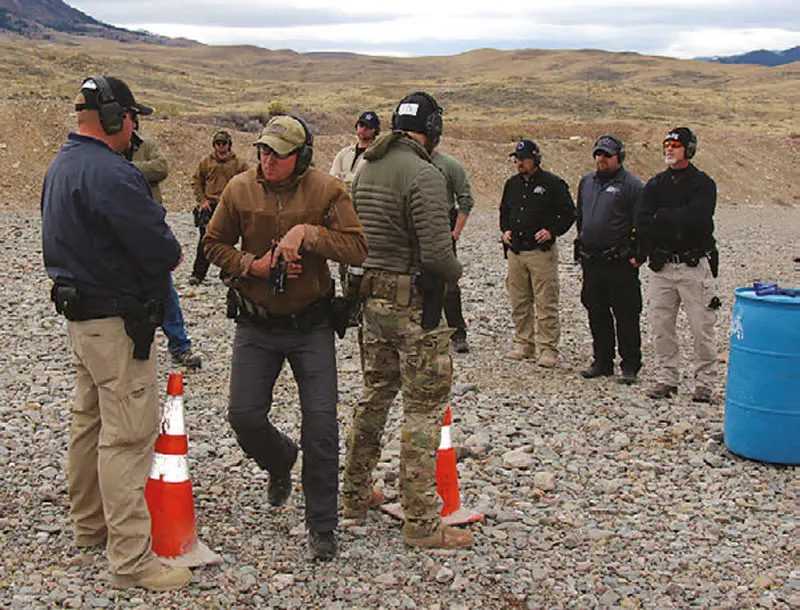
SNAKE DRILL
One of the last drills we did was moving and shooting in between non-hostiles, sometimes referred to as the “snake drill.” We lined up three students, one in front of another perpendicular to the target line and seven to ten yards from three paper targets. The three students had three feet between them, so there was enough room for a shooter to weave in and out of the line.
The shooter moved and engaged the first target, then traveled through the first gap, finger off the trigger and pistol in Position Sul, stepping on the other side off the line and engaging the second target and through the line again for the third.
This totally throws the firing line and range technique out the window, but can be safely done with personal safety rules like keeping the finger indexed and not covering noncombatants as you move.
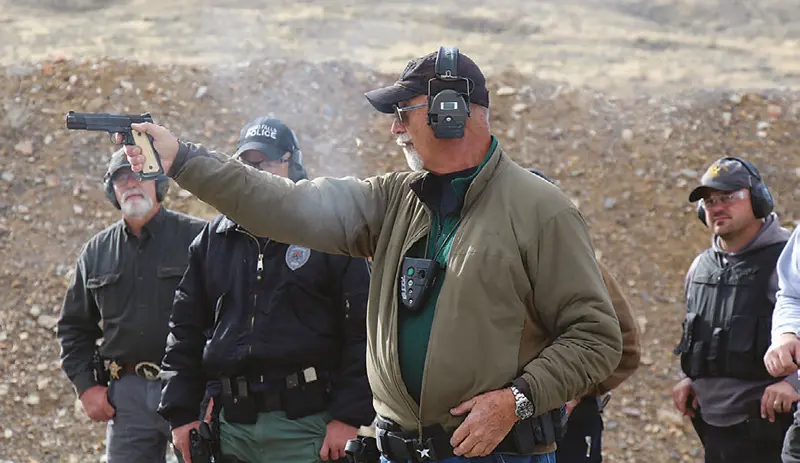
Hackathorn demonstrated a number of drills to test our skills. The 1-2-3 Drill, The Wizard Drill, The Test, The Bill Drill, The BFM Drill (a combination of three drills), and of course the old standby El Presidente.
One last thing I noticed with Ken: He demonstrated all the drills he taught and watching him was learning in itself. Hackathorn is a modern embodiment of what Wyatt Earp meant when he said, “Take your time, but be in a hurry” referring to gunfights. Ken moves through the drills with a smoothness and perfection that actually look like he is going in slow motion, but when you look at the timer, it’s really fast.
His efficiency in movement, eliminating unnecessary motion, and taking time for the perfect press when the sights are on were also demonstrations of confidence in ability— the final and really important lesson of the class.
That, and don’t practice stupid s##t!