
“On rappel and on belay” are words I remember from my Boy Scout days in the late 1980s. Over the next 25 years, I would find myself tying knots, climbing, and hanging on rope for recreational, fire and rescue, tactical, and, of course, military purposes.
Rappelling requires dedication, diligence, but most of all, commitment. Many teams may question if starting a tactical rappelling program will enhance their teams’ capabilities. Is tactical rappelling any less dangerous than drilling on live-fire building entries? No. But through discipline, training, diligence, and education, the hazards can be reduced and minimized. The big difference between those two examples is that chances are, the “bread and butter” operations of your team are in fact building entries.
If you are able to justify moving toward this mission, someone will most likely ask how rappelling can enhance the team’s mission and capabilities.
Let’s begin with the tactical component of rappelling. Teams can utilize rappelling to conduct reconnaissance or gain intelligence. If you can gain intelligence by scaling a building to look into a window or utilize a search camera, then that activity is worth its weight in gold.
Teams may also be able to introduce distraction and/or less-than-lethal devices at an incident through a window or other elevated platform. You may be able to insert your sniper/ observer teams or gain access to an austere environment.
The non-tactical aspect of rappelling is where team building comes into play. This type of training can enhance the tactical and technical proficiency of your operators, motivating and inspiring others to succeed because it fosters teamwork and furthers the team mission. It provides a different platform for your operators to excel and master.
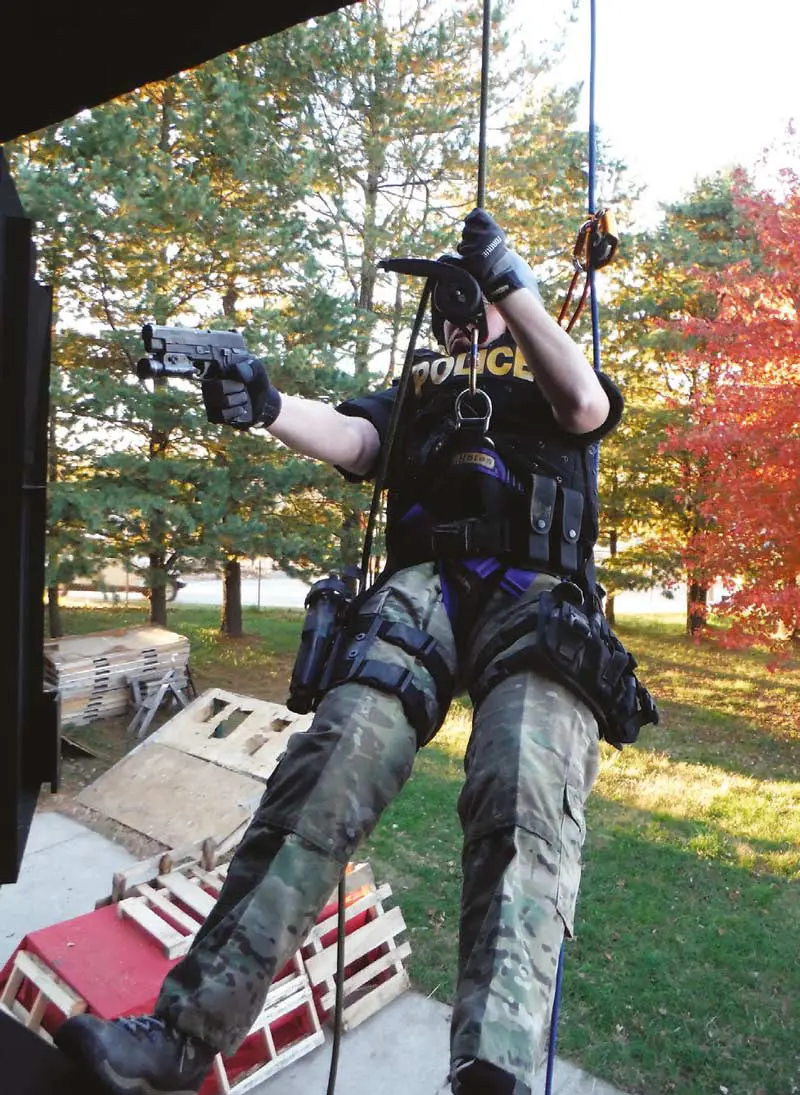
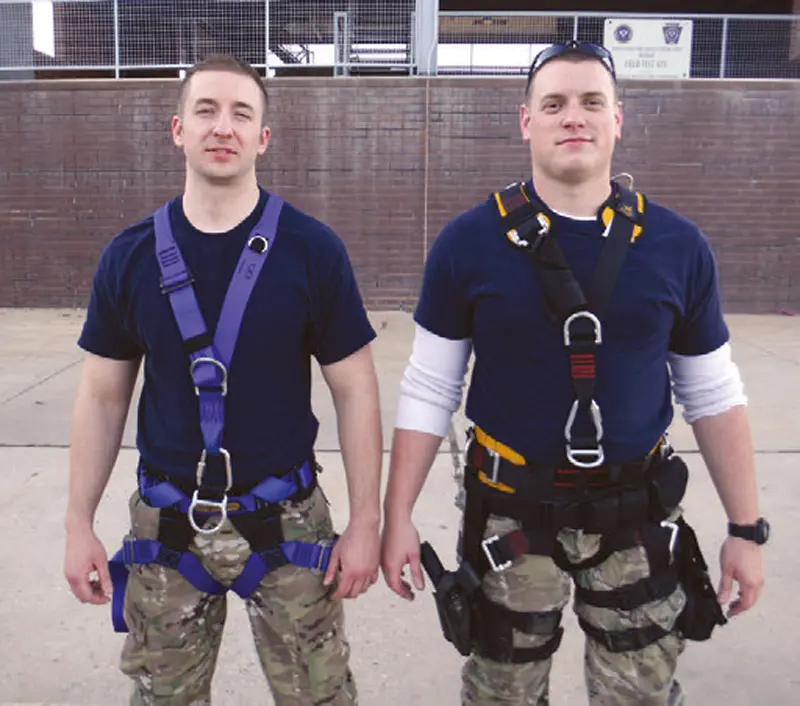
Table of Contents
NOTABLE LAW ENFORCEMENT RAPPELLING OPS
A number of operations in law enforcement have utilized rappelling as a means for resolution. Two recent incidents come to mind: one occurred in January 2014, when a unit of the Israel Border Police conducted a successful rappel to rescue a child. On that day, a 25-year-old man allegedly kidnapped his niece. After negotiations failed, a decision was made to execute a hostage rescue by rappelling from the rooftop.
While the suspect was on the balcony, a team of highly skilled operators simultaneously rappelled to the apartment and introduced flash bangs, executed a “brake and rake” at one of the windows, secured the suspect and rescued the hostage.
The second recent incident took place in London, Ontario, Canada in April 2014 and involved an emotionally disturbed female who barricaded herself inside an apartment. She refused to come out, and a decision was made to rappel down from the roof to the apartment balcony and gain entry through the balcony door.
Ultimately, the incident was resolved peacefully, and the London Police Service credits this successful resolution to the rappel mission. When I was researching the London rappelling incident, I spoke with Sgt. Guilford, a supervisor with their Emergency Response Unit. He informed me that in the last 15 years, they have rappelled about 30 times for real-world tactical incidents. Many of their rappel missions are to retrieve or subdue mentally unstable persons.
Of course, none of this would have occurred successfully if they were not highly trained, motivated, and proficient in their tasks and drills.
Before you decide to start a rappel mission, look at the following steps so you can properly assess your team and response area.
EVALUATE YOUR TACTICAL TEAM
One of the issues to examine is whether your response district has locations where having a rappelling program would be most beneficial. Examine the potential hazards in your response district (schools, high-rise buildings, commercial and corporate sites, bridges). Look at neighboring departments and see if they already provide this level of service.
At some point, you need to talk to the command staff and team members. You may want to do this first. If there is no “buy in” from either above or below, this mission will not be successful.
Last, reach out to teams that have this mission or contact subject-matter experts in rappelling and pick their brains.
Once you have determined there may be a need for the service, establish an official committee to oversee the project. The committee should consult all applicable standards, regulations, policies and procedures. At some point in your research process, discuss this with the risk management people. This communication should be clear and early on.
Your risk management people (if applicable) may say yes or no. If they say no, find out why and go from there. They may say no simply because they’re not informed on rappelling and don’t understand it. This is where your research and education come into play, to make them aware of the purpose and capabilities of a tactical rappelling program. It’s incumbent upon you to educate and sell them on this idea.
EVALUATE THE POTENTIAL FOR FINANCIAL SUPPORT
In these tough economic times, purchasing tactical rappelling equipment may not be your department’s top priority. Financial support can come from many sources. Begin at the organizational level. Can this expense be budgeted for next year? If not, look at other options such as donations from charitable organizations, a prominent member of the community or philanthropist, or maybe a local company or manufacturer.

Perhaps the best way to finance a new program is through a grant, many of which are available in the U.S. Become knowledgeable about the grants and their specific applications. Your department may qualify for some of this money through a terrorism task force or other applicable Homeland Security grants.
Whichever way you are able to secure funding, you want to purchase an entire cache of equipment, not just rope or harnesses. This will ensure uniformity and standardization.
EQUIPMENT CACHE AND PURCHASING
At this stage, you must determine which equipment is essential and which would be “nice” to have. Involve individuals who have a background in this field.
I recommend purchasing steel over aluminum hardware whenever possible. Steel is generally stronger than aluminum. Aluminum equipment that’s just as strong as steel does exist, but may be out of your budget.
Descent control devices (DCD) allow you to descend the rope safely, and there are various types. DCDs can be anything from a simple one, like a figure-eight plate with ears, to a mechanical one, like a Petzl I’D. A figure-eight plate requires the user to constantly mind the rope and maintain contact at all times with at least one hand. Some mechanical DCDs, such as the Petzl I’D, can enhance safety in that if you let go of the device, you will stop moving.
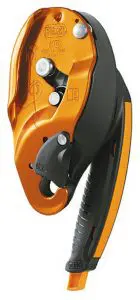
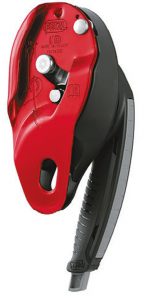
The Petzl I’D is a self-braking descender with anti-panic function and multi-function handle that allows descent control, horizontal movement, and positioning without the need to tie off the device. The integrated anti-error catch limits the risk of an accident due to user error.
Petzl makes two versions of the I’D: a large version in red/black that’s designed for 11.5 to 13mm (1/2 inch) rope, and a small version in gold/black, designed for 10 to 11.5mm (7/16 inch) rope.
Other Petzl devices include the EXO EASHOOK and RIG. The former is a self-braking system for quickly giving slack and controlling and stopping a descent, with rope that resists abrasion and high temperatures. The EXO is designed for 7.5mm (slightly larger than ¼ inch) rope.
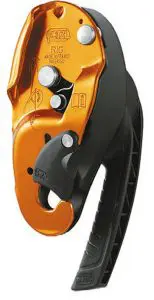
The RIG is a compact self-braking descender primarily designed for experienced rope access workers. Its multi-function handle allows control of the descent and positioning without the need to tie off the device. The RIG does not have some of the anti-error and panic features that the Petzl I’D has. Smaller ropes mean more compact, but keep in mind that you are now sacrificing safety.
The Petzl RIG and I’D look very similar and can be easily mistaken if someone is not educated and trained. Quickly looking at the small Petzl I’D and the RIG, someone may only know the difference between them by reading the device name or looking at the handle. The Petzl I’D has a button at the top of the handle, whereas the RIG does not. Some versions of these devices can be quickly deployed, rigged in, and taken off of rope without opening and disconnecting a carabiner, giving you added tactical advantage.
Auto versus manual-locking carabiners are another piece of hardware to consider and properly evaluate. Auto-locking carabiners can enhance safety because of their auto-locking capability. Get samples of each so you can properly evaluate them for your purposes.
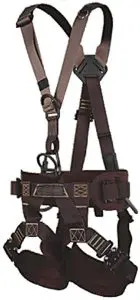
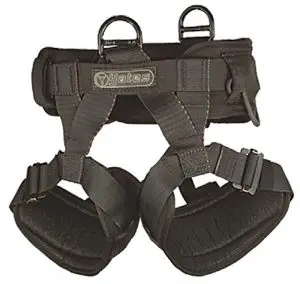
When looking at harnesses, you may want to consider a Class III harness. There are different classes of harness that fire/rescue services use. For example, Class II harnesses encompass the thighs, waist, and buttocks. Class III harnesses encompass the thighs, waist, buttocks, and shoulders. A Class III harness ensures the operator will not fall out of the harness when inverting because of the shoulder straps. If you’re going to purchase a harness in a subdued color, look into getting one with contrasting colored thread, so inspecting the harness is easier.
Last, look at purchasing static kernmantle rescue rope, not dynamic kernmantle rope. Dynamic rope is used for rock climbing. Many tactical teams use 10 to 11.5mm (7/16 inch) static kernmantle rope. In many cases, if you’re using a mechanical DCD, it may only be rated for 10 to 11.5mm rope. This is where doing your homework pays off, because 10 to 11.5mm static kernmantle rescue rope could have a minimum breaking strength (MBS) of 6,000 pounds, whereas 11.5 to 13mm (1/2 inch) static kernmantle rescue rope could have an MBS of over 9,000 pounds.
You may want the added safety of a larger rope, but make sure the equipment you’re purchasing is rated and can be used with that size rope. If you purchase multiple ropes, get different colors.
Manufacturers such as Pigeon Mountain Industries (PMI) and California Mountain Company (CMC Rescue) make rope in various dark colors, so you can get different subdued colors. Keeping different colors in your stockpile can ensure you don’t mix up black rope #1 with black rope #2.
In short, make sure your descent control device works with the size rope you are purchasing. Get the best equipment possible with the highest safety factor, so your risk is minimized.
ESTABLISH TRAINING GUIDELINES
Ask yourself the following: Who is going to be trained? What are the minimum training requirements? Will the training be conducted in-house or outside the department? Will there be departmental requirements for training? Consider and budget for all these features. Having a competent trainer in your department will make life much easier. If not, where are you going to find someone who can train your people?
You can start by contacting your fire training center, community college, or specialty training services. If you contract a specialty service for this training, research these companies and their instructors’ levels of training. Ask for a list of organizations they recently trained. Check with those organizations and get feedback regarding the content of the training and the professionalism of the company. You can use the Internet to find respected training organizations, but do your homework.
Although it is ideal to train every person in your organization, funding and other factors may make this unlikely. Therefore, you may want to designate a group of people to go through the more rigorous training. Another option is to send a small group of people who are good with rigging and knots to a Rappel Master Program, or send them to specialized train-the-trainer programs. Keep in mind that just because someone is good at doing something does not mean they will be good at teaching it.
Train all members to the level that, at the very least, they can assist with and support the operation. Also contact other agencies and get copies of their policies and procedures. You want to have some type of policy in writing that addresses topics such as minimum training requirements, equipment maintenance, safety, and deployment.
TRAINING AND EXECUTION
As a seasoned trainer, rappel master and rope rescue instructor, I cannot stress enough the need to constantly practice these skills to maintain a high level of proficiency. If you were successful in all the above steps, you may be in a position to move forward with this program.
Start at the ground level and work your way up. Conduct this training in crawl, walk, and run phases. Chances are you can train at the local fire training tower. If not, you may be able to get permission from a local business, building, parking garage, etc (hopefully a training location is something you considered prior to moving forward).
Train on basic rappelling, anchoring, problem solving on ropes, weapons management, communications, and introduction of distraction devices. Like any other training, this takes time. Be patient. This capability can improve your team both tactically and technically. It’s also a good idea to have a safety-briefing checklist you can use prior to any rappelling training. This will greatly enhance your margin of safety.
Public demonstrations and “dog and pony shows” also offer significant opportunities for public-relations support. What you gain out of these demonstrations is invaluable, and they are also a chance to train.
CONCLUSION
At the end of the day, you need to decide if this mission is right for you. Weigh all the facts and do the research and homework. Don’t just jump into it. Look at the pros and cons and consider the future.
Technology is ever-evolving, and having this capability may help you move forward and stay up to date on tactics, techniques and procedures. Whatever your rationalization for starting a tactical rappelling program, it should be based on the needs of the team.
This training will enhance your team’s capabilities. Rappelling is nothing to take lightly. Train hard and train safe, so everyone goes home.