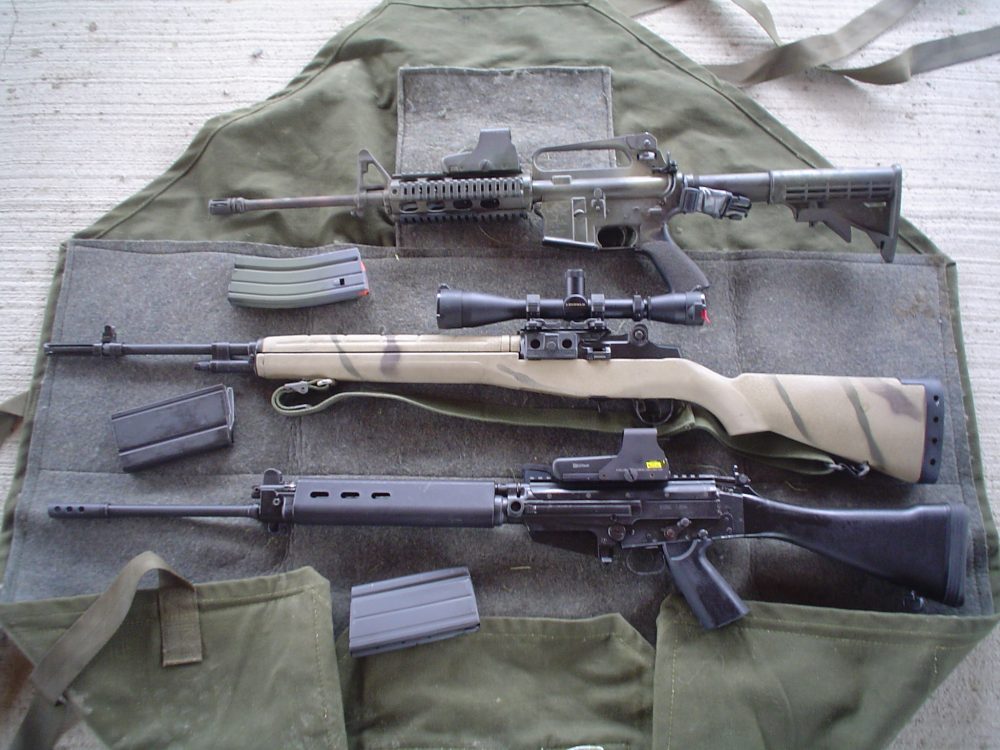
From top to bottom: AR-15 lightweight CAR, M1A, FAL.
The FAL earned the moniker “Right Arm of the Free World” because it was adopted in over 90 countries all over the globe and was manufactured in ten different countries. It saw action in every kind of extreme climate. The FAL might still be in widespread use today if most countries hadn’t traded in their heavier, more powerful battle rifles chambered in 7.62mm NATO for the lighter assault rifles seen today, chambered in 5.56mm NATO.
As our military is finding out, a battle rifle still has a role in modern combat, as evidenced by the “dusting off” of many M14s to be utilized as Squad Designated Marksman weapons. If you are looking for something with a little more range and power than an assault rifle, you will be well served by a FAL.
While you could purchase a completed FAL from such respectable companies as DS Arms or Entréprise Arms, building a FAL is the best way to get to know your rifle. Replacement parts are widely available, and kits are still relatively cheap. Building your own rifle allows you to spread out your purchase, and may end up saving you a little money in the long run. However, because of the many different types of FAL kits, there are a few things you need to know before getting started. Since a single article could never cover the entire process, the following is meant as a primer to help you get started.
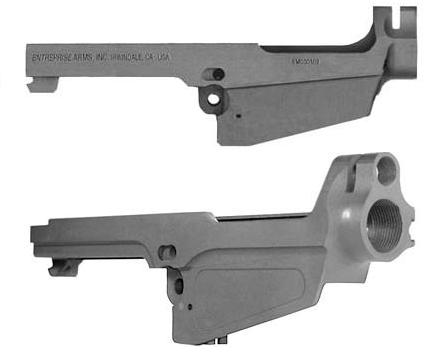
Top: Type 1 receiver. Bottom: Type 3 receiver. Photo: Entréprise Arms
Table of Contents
WHAT YOU WILL NEED
There are two main types of FAL rifles—inch pattern and metric pattern. The inch pattern FAL is usually known as L1A1 or C1A1 depending on the country of origin, and is most easily identified by the nifty folding charging handle. The metric pattern FAL is most commonly referred to as G1, STG 58, or IMBEL—again depending on the country of origin—and usually has a fixed charging handle and a carrying handle attached at the front of the upper receiver. Metric kits are most common, and magazines are usually much cheaper than the inch pattern magazines, so I highly recommend purchasing a metric pattern kit.
Of the metric kits, the IMBEL and the STG 58 are current favorites. The STG 58 kits seem to be a little newer and are thought to have better barrels, but some of the IMBEL kits have chrome-lined bores. I prefer having a chrome-lined bore in a fighting rifle to protect against corrosion. If I were building a precision rifle, I might prefer the STG 58, but keep in mind the FAL was considered to have acceptable accuracy, not exceptional. What makes the FAL a great weapon are its reliability, range and power.
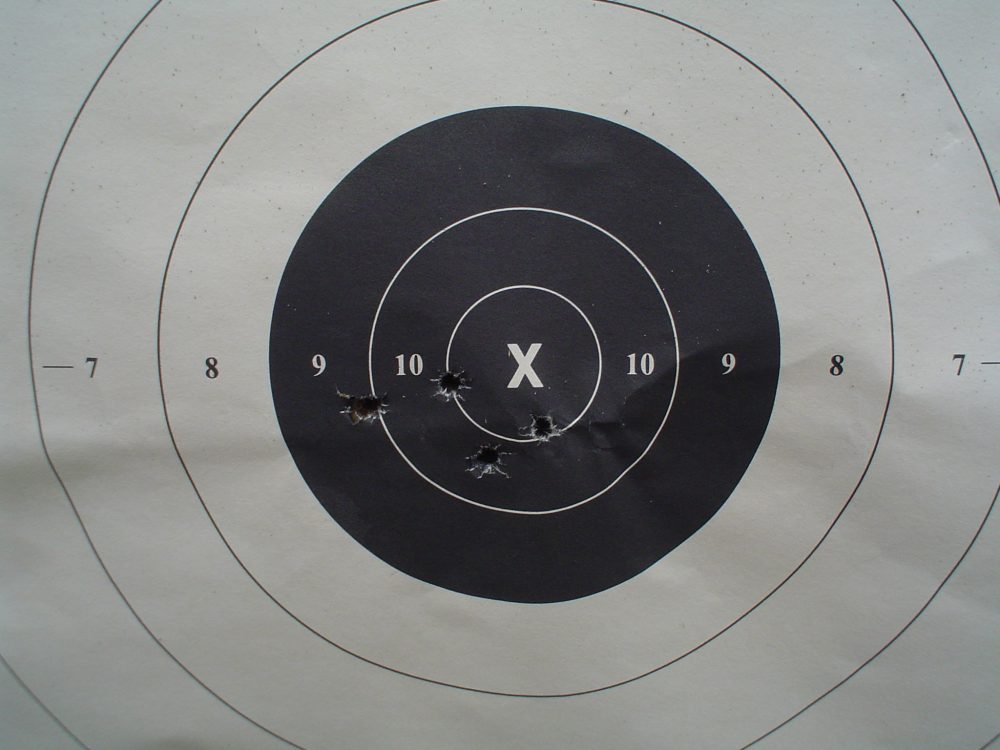
Four-shot group measuring 1.87 inches with military surplus ammunition at distance of 50 yards. Conditions were 60 degrees with rain and 15 knot full-value wind.
At some point, all parts kits were actually whole rifles imported into the U.S. and their receivers destroyed according to U.S. import laws. It is ironic that we are about to legally undo what our government has required importers to do—re-build the rifle onto a new receiver. While we’re on the subject of U.S. laws, here is another very important note: According to U.S. law, the FAL must have a minimum of seven American-made parts to be legal. Entreprise Arms sells a U.S. parts kit for approximately $150 that contains six U.S. parts; your U.S.-made receiver will make it seven. Please see Title 18, United States Code, Section 922r for complete information.
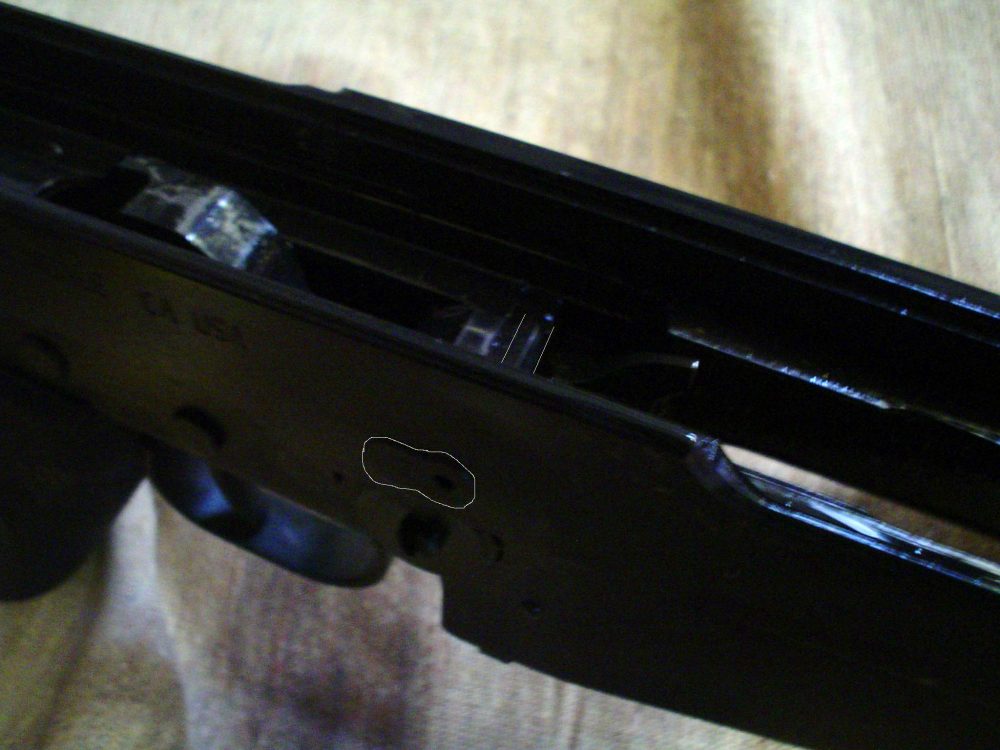
Close-up of replaceable locking pin, highlighted in white. As headspace wears, larger locking pins can replace older ones to keep headspace optimum.
When searching for receivers, you will notice that there are different types. Each receiver has a different amount of material machined from it. Types 1 and 2 have the most lightening cuts, while type 3 is usually the heaviest, and my personal favorite since the difference in weight is really imperceptible and makes for a sturdier receiver. Make sure if you purchased an inch kit, that you get an inch receiver. The same holds true, of course, with metric kits and receivers. You can mix some parts between these kits, but that is beyond the scope of this article. Also, if you don’t like carrying handles, select a receiver without a carrying handle relief cut.
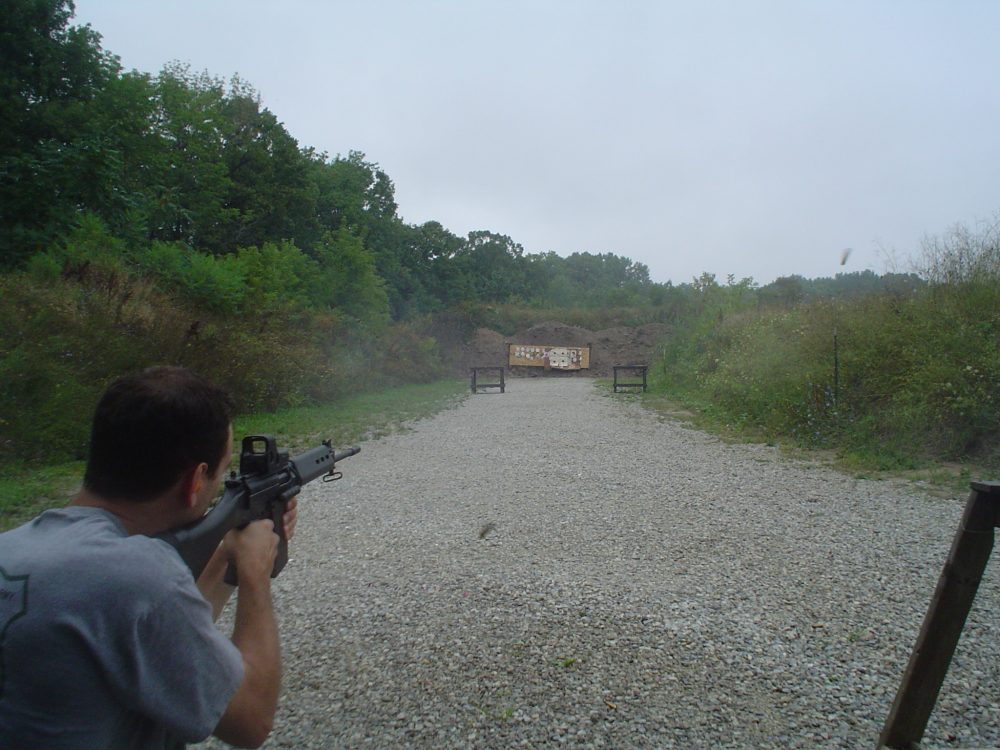
FAL with Entreprise Arms “no-climb” muzzle brake was manageable during rapid fire. Note two pieces of brass.
ASSEMBLY
Now we have a parts kit, receiver, and U.S. compliance kit. The next step is assembly. To install a FAL barrel you need special tooling that can cost you $300 or more, and possibly some lathe work. Better to save some money and hire a competent gunsmith to install the barrel unless you’ve already planned to build many more FALs. A gunsmith will charge you a fraction of what the tooling would cost, and I certainly don’t mind supporting my local gunsmiths. Besides, if you install the barrel incorrectly, and the timing is off by as little as a degree, accuracy and reliability may be greatly hindered.
The end user can do the rest of the assembly. Instructions abound on the Internet, but I highly recommend the FAL gunsmithing videos by AGI. The DVD provides excellent instruction for the first-time builder, and scene selection allows you to jump around the video instantly. If you think you might ever install the barrel yourself, the AGI video is a must have. The video even covers which parts are interchangeable between inch and metric pattern kits.
FAL with Entreprise Arms “no-climb” muzzle brake was manageable during rapid fire. Note two pieces of brass.
Headspacing on the FAL is adjustable. A simple tool called a FAL headspace rod (available from Brownells, part #997-100-100) is inserted in place of the locking pin. The rod has a locking surface just like the locking pin, which the bolt seats against. The rod is tapered and when used with a “go” gauge (also available from Brownells), the correct sized locking pin is determined. The rod is about $90, so you may want to have your gunsmith gauge the headspace when he’s assembling the barrel and receiver. Once the correct sized locking pin is in place, insert a “no-go” gauge and your bolt should not close. If this seems a little over your head, don’t worry, it is much simpler than it sounds, and when that AGI video hits your doorstep, all will be made clear. Plus you will sleep soundly knowing that you can check your new rifle’s headspace, and can adjust for wear by properly replacing the locking pin when the time comes.
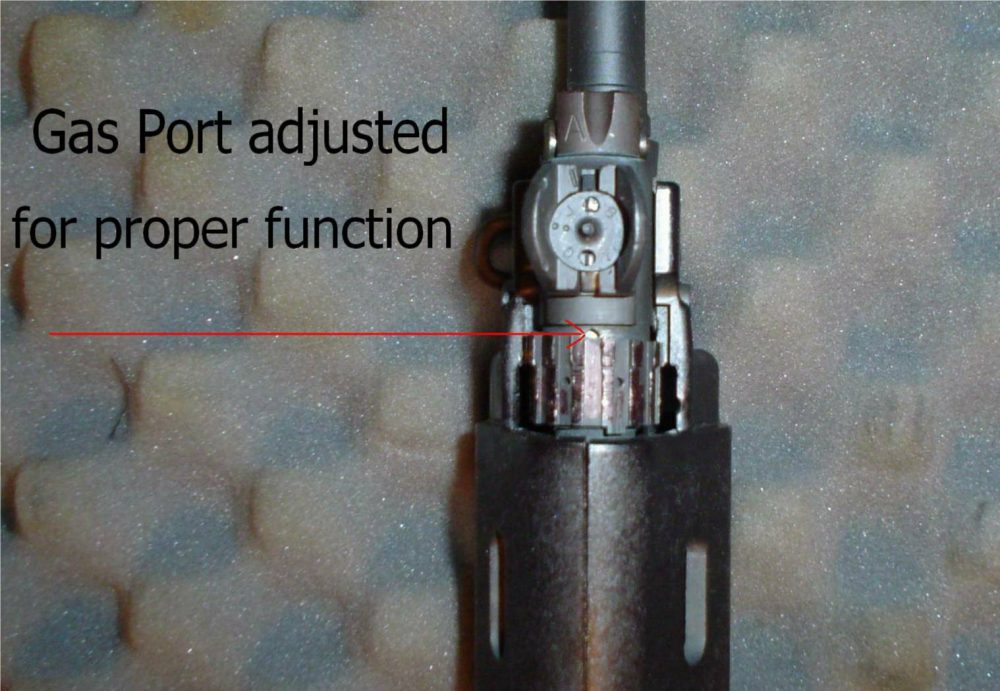
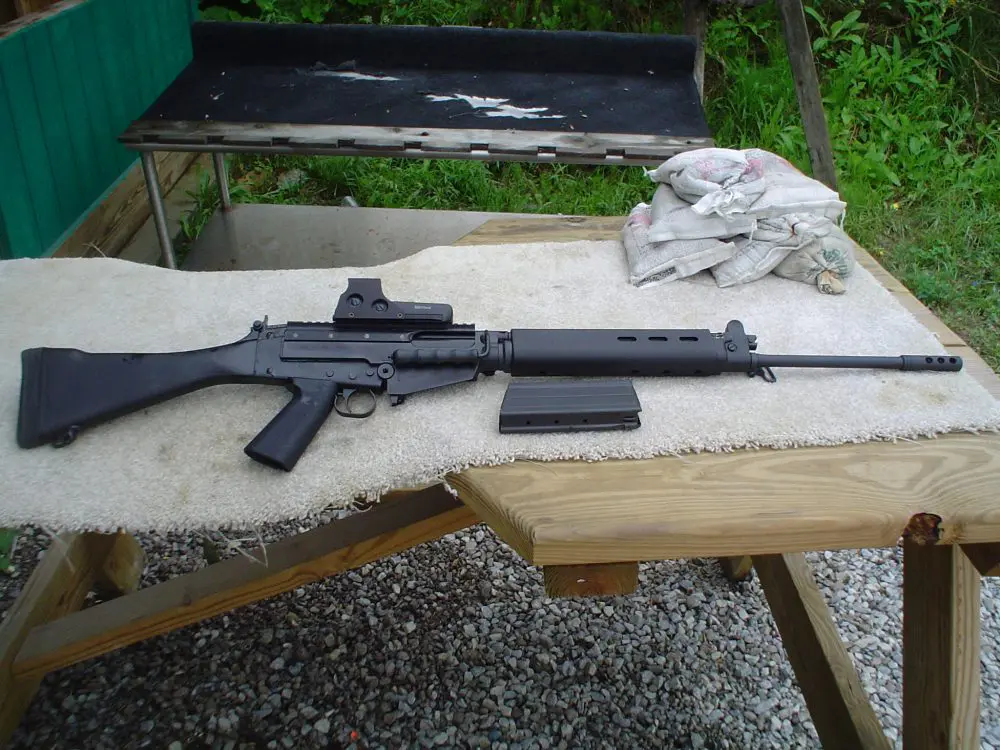
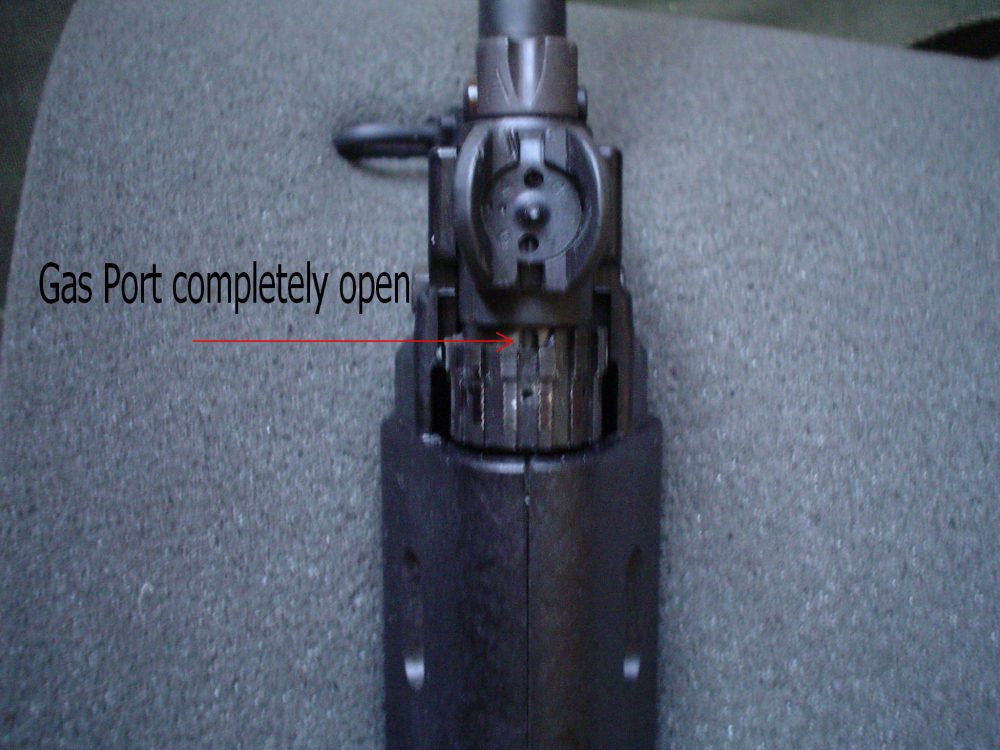
FAL with gas port fully open and adjusted for proper operation.
The FAL also has an adjustable gas valve that must be properly tuned the first time you get to the range. This feature was built into the FAL because its users were sometimes third-world armies that produced very poor ammunition varying wildly from the now standard NATO 7.62mm round. Since you will likely be using NATO 7.62mm military surplus or commercial ammunition, you will not need to adjust the gas regulator except for the first time you fire the rifle.
Adjusting the gas regulator starts by opening the valve all the way. If your gas regulator is numbered, seven is the most “open” setting. Load one round only in the magazine and fire downrange. You will feel the least amount of recoil at this setting because the most amount of gas is escaping the regulator. This will likely cause a short-stroke, and the bolt will not come back far enough to stay open (that is why you load only one round in your magazine). Adjust the regulator to the next lowest setting, and fire another round downrange. Each time you fire a round at the next lowest setting, you will feel more recoil. Once you reach a setting in which the bolt holds open, load five rounds in the magazine and fire them all to test for reliability. If you are getting reliable operation, you could leave the setting here, but it is recommended to close the regulator by one or two more levels to ensure reliable function in adverse conditions.

IMBEL parts kit built on Entreprise Arms Type 3 receiver.
Once you have your gas regulator set, you should not need to touch it again unless you use very different loads, or your environment changes dramatically. Forward of the gas regulator is the gas shutoff valve. The valve has a spring loaded locking pin – turning the valve shuts the gas completely off for grenade launching. In other words, you will never need to do this. Turning the valve farther allows you to remove it completely, to access the piston and gas chamber for cleaning.
Sights on the FAL have been widely criticized, especially by those accustomed to M14 or M16 type rifles. In my opinion this is because the FAL sights are not easily adjustable for windage, and their elevation settings leave much to be desired. However, the FAL sights are sturdy and adequate, and have a very low line of sight over the bore. To adjust the front sight, it is easiest to purchase a front sight tool, and the front sight simply screws up and down. The rear sight is adjusted by loosening a slotted screw on the side of the sight in which you want the sight to move, then tightening the screw on the opposite side of the sight. For example, if you want to move the sight to the right, you loosen the screw on the right side of the rifle. You tighten the sight again by screwing down the slotted screw on the left side of the rifle. This makes it difficult to change your rear sight for windage unless you have a screwdriver handy. If you prefer to have better sights on your FAL, a number of manufacturers make replacement sights, including rear sights with windage knobs similar to the AR.
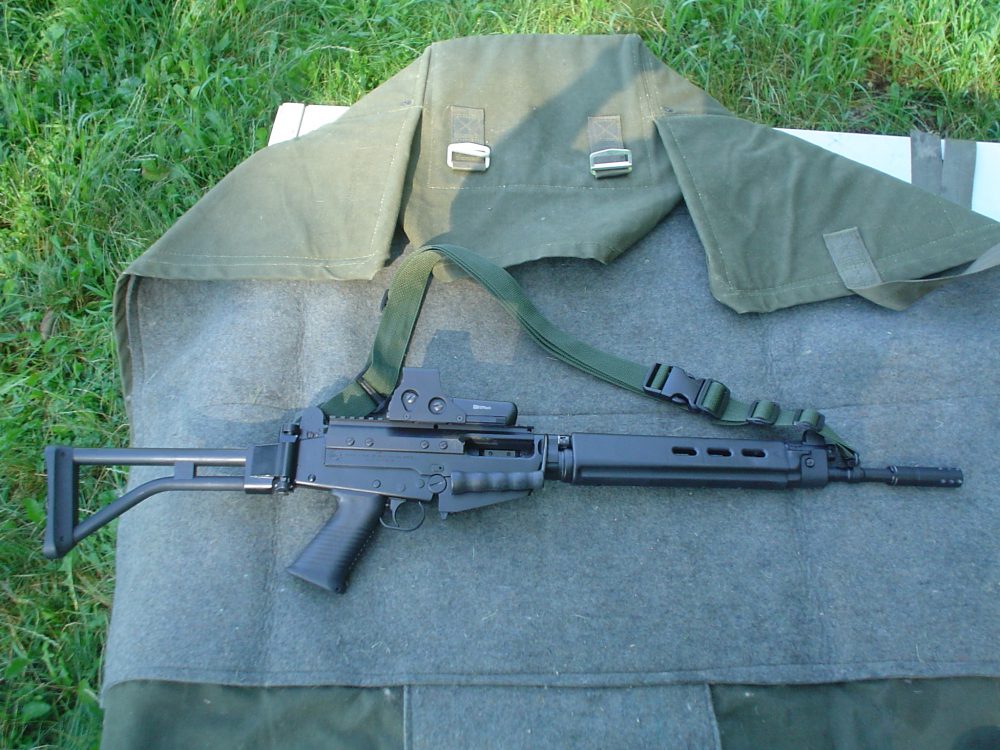
“Para” version of the FAL, with protected rear sights, folding stock, and 16.1” barrel.
ACCESSORIES
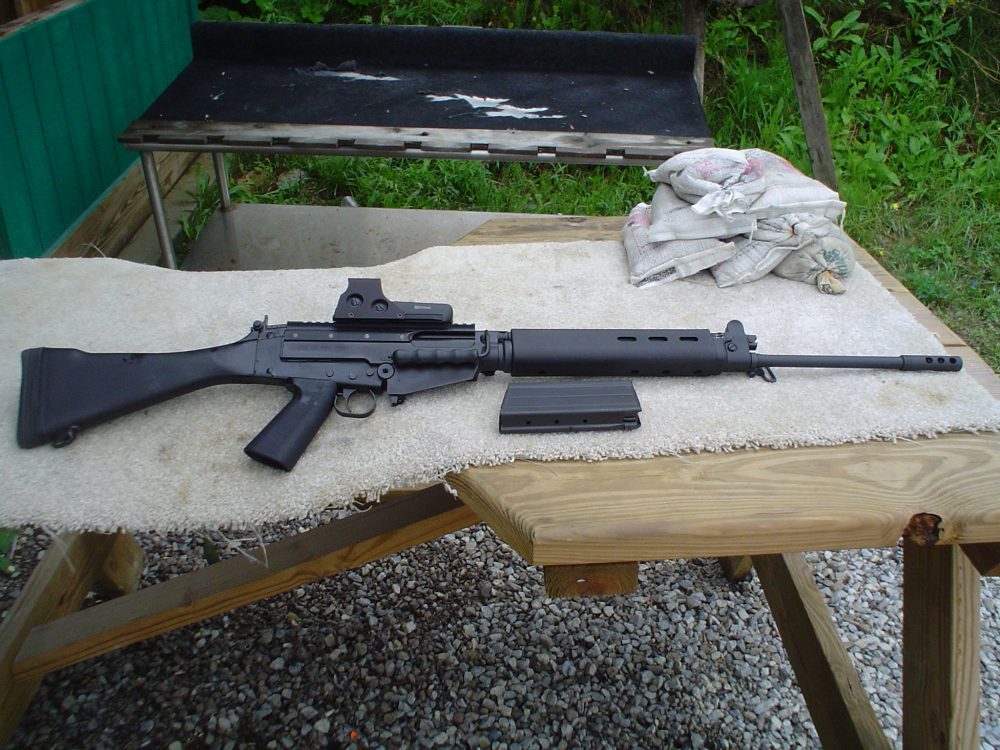
There are many accessories for the FAL—almost as many as for the AR. You can outfit the FAL with a number of different stocks, pistol grips, lights, lasers and any other Buck Rogers bolt-on gizmos you like. For mounting optics, there are two very good rail mounts available. The first is a bolt-on optics rail made by DS Arms. It is inexpensive and reliable, but it does stick out a bit. I went with the second option made by ARMS, which costs more, but has a lower profile and lighter weight than the DS Arms optics mount. The ARMS optics mount simply replaces the normal dust cover on the FAL for a very OEM look. I mounted an EOTech on the ARMS mount atop my FAL and was very pleased with the results. At 50 yards, under less than ideal conditions, three-shot groups were about 1.5 inches in size.
Another view of IMBEL parts kit built on Entréprise Arms Type 3 receiver.
The compensator on my FAL was a creation of Entréprise Arms that they call the “zero-climb” muzzle brake. I hate brakes on my rifles, especially on 7.62 caliber rifles. They tend to be deafening, and I had yet to encounter one that noticeably reduces recoil or muzzle climb. However, I was pleasantly surprised to see that the Entréprise Arms brake worked exceptionally well. The report was not any louder than any other battle rifle that I have shot, and while I wouldn’t say there was zero muzzle climb, I was able to maintain control of the FAL as I pulled the trigger as fast as possible.
Speaking of the trigger, the FAL has a very reliable trigger design, but that also means it tends to feel heavy and sloppy to most people. Keep in mind this is a battle rifle, not a precision rifle. But if you want to have a gunsmith smooth it out some, it won’t hurt– just don’t expect any miracles. I happen to think the standard trigger feels fine, even if it is a far cry from the National Match trigger on my M1A.
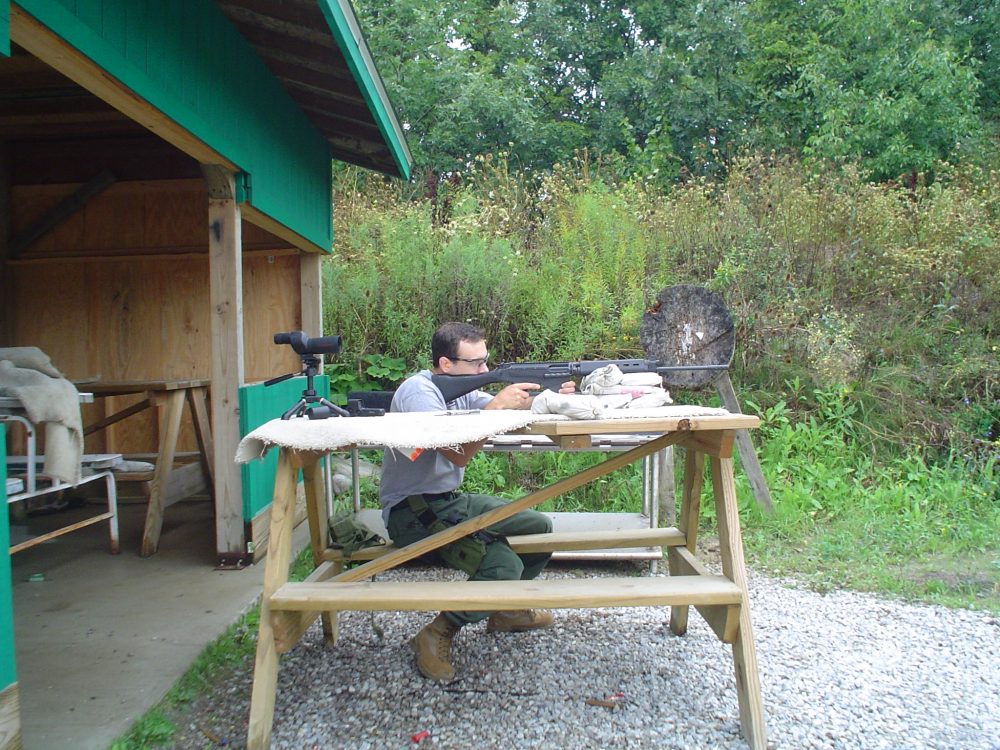
Sighting in iron sights for first time.
CONCLUSION
After some trigger time with an FAL, it is easy to see why more countries adopted this weapon than the M1A or the HK G3. With an adjustable gas regulator and adjustable headspace, its design is perhaps the most ingenious and reliable of all semi-auto rifles (yes, arguably even more so than the AK-47). The trigger and accuracy on the FAL are acceptable, and the cost to build one is manageable, especially when compared to other 7.62mm rifles.
Firearms laws are in constant fluctuation, and the next President could ban imported rifle parts altogether. There’s no time like the present to build your own FAL.
SOURCES:
Entréprise Arms
Dept. S.W.A.T.
5321 Irwindale Ave.
Irwindale, CA 91706-2025
(626) 962-8712
www.entreprise.com
DS Arms
Dept. S.W.A.T.
P.O. Box 370
Barrington, IL 60011
(847) 277-7258
www.dsarms.com
Brownells Inc.
Dept. S.W.A.T.
200 South Front Street
Montezuma, IA 50171
www.Brownells.com
AGI (American Gunsmithing Institute)
Dept. S.W.A.T.
1325 Imola Ave. W #504
Napa, CA 94559
(800) 797-0867
www.americangunsmith.com