Table of Contents
PRE-SHOOT
Stopping the threat from further immediate hostilities via bullet placement in the lethal column of heart, spine or brain is the end goal of every shooter forced to pull the trigger. But the gunfight neither starts nor stops there. Training as if it did can lead to tragic consequences for the shooter and those he is defending.
Excepting a few extraordinary scenarios usually limited to the domain of special operations, fighting with a handgun is a reactive endeavor. In other words, the shooter’s action begins with a reaction to some hostile action. The enemy’s action is preceded by any number of verbal and nonverbal cues.
These could be anything from the bad guy announcing his intention to end your life, to his buddies moving to flank you. Regardless of the details, the point is that at some time the shooter will cycle through the force spectrum from orange to red alert status, or in law enforcement terms, red to black— deadly force.
GUNFIGHTS DON’T START WITH BUZZERS OR WHISTLES
Using whistles or buzzers for competition is one thing. Utilizing them in combat pistolcraft training is something else entirely. Overemphasizing a ready stance or issuing range commands such as “Watch your target” leads students to an unrealistic expectation that they will have such time in a gunfight, and most significantly emphasizes speed over smooth transition.
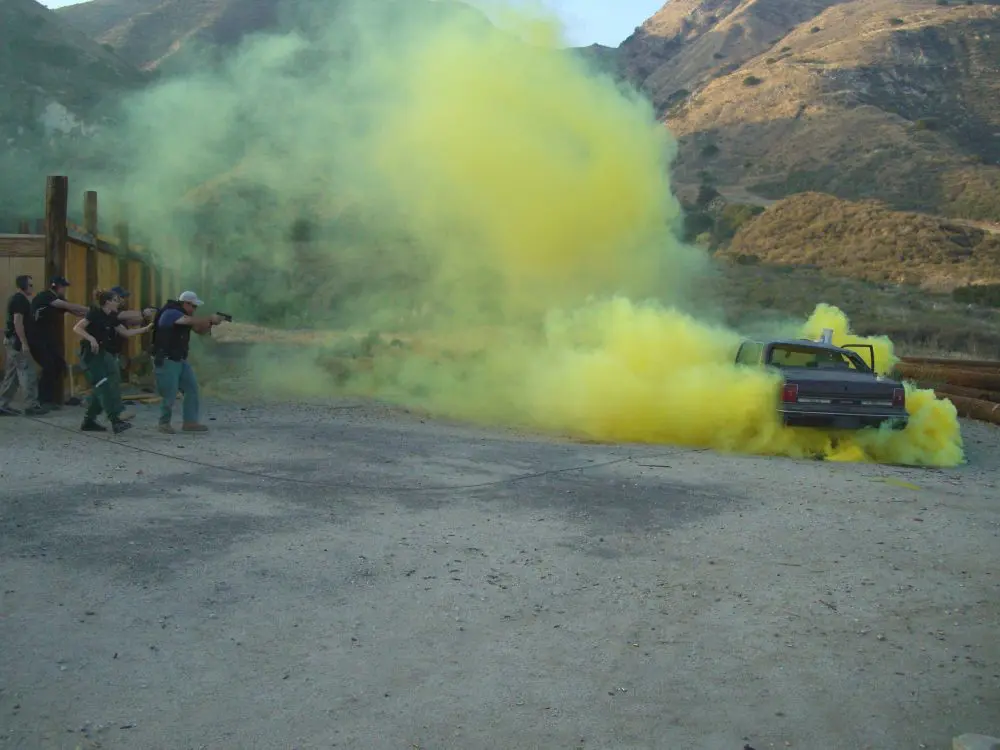
Engaging students in civil conversation while the hostile target appears abruptly is an excellent way to train the transition from talking to fighting, and flowing from passive, non-lethal inaction to explosive, aggressive lethal force. Many students are surprised at how long this transition takes them. Speed is the realm of competitive shooters. Smooth, seamless reaction is the purview of gunfighters.
Realize that the visual and auditory threat data that your eyes and ears process in a tenth of a second must still be input, evaluated and then acted upon. Under a zero-sum threat, that is a situation where there is no compromise and only one winner. The first reaction of your body’s natural survival mechanism will normally be a synaptic startle response. Your body will naturally crouch, may void itself, and you may experience what my friend Dave Grossman calls “an auditory blink” when you fire, as well as tunnel vision on the threat.
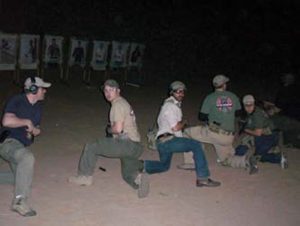
MOVEMENT
Your opponent is likely experiencing similar survival phenomena. He too has tunnel vision. Beginning your reaction with a slight lateral side step may remove you completely from his enclosed field of vision. Invisibility, even for an instant, can be more than enough make-up time in a gunfight that is measured in seconds to counter the advantage of his action versus your reaction.
Which way is best to move? Terrain and situation dictate, but all other things being equal, for domestic gunfighters who read right to left, a right side step is best because your enemy is likely to have an ingrained eye movement of right to left as well. Therefore your step to his left will be slightly disorienting to his accustomed eye movement and therefore slow his response.
POINTABILITY
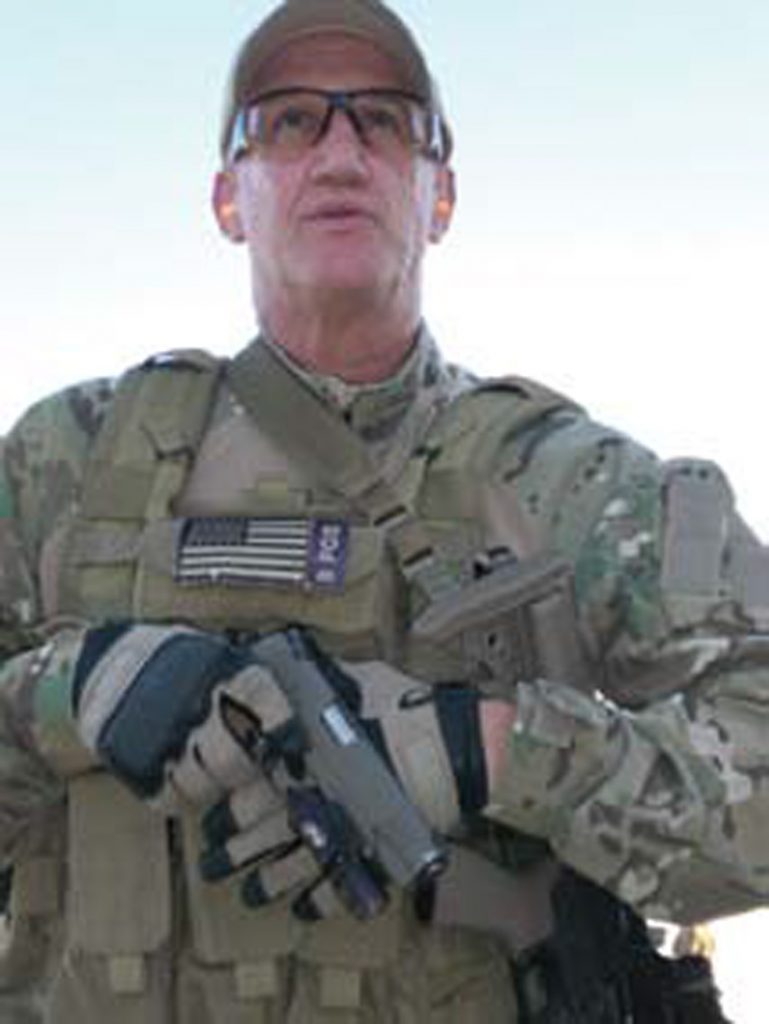
Next, as the shooter grips his weapon to draw, rolling the gun hand up to the highest index possible on the frame positively releases grip safeties, prevents weak wrist malfunctioning, and allows the shooter the most natural pointing of the muzzle at the target.
This natural “pointability” may be relatively insignificant in a firing sequence performed on a square range in static firing positions against targets that don’t move or shoot back. It is, however, absolutely crucial in efficiently minimizing time usage in the combat firing sequence.
Pointing at objects is an action we have performed countless times since childhood. Aiming a firearm is not. Getting the hand as high on the frame—and therefore as closely aligned with the barrel as possible—greatly increases the shooter’s ability to get on target fast.
Pointing the thumb of the non-firing hand reinforces the above process. Locking out the wrists and arms in Isosceles while leaning aggressively forward points the shooter’s body itself. Turning the toes slightly inward to lock the hip carriage and thus limit movement of the shoulder structure helps. In effect, the shooter’s entire body becomes the sight index. An additional benefit of leaning out to the point of almost stepping forward is that recoil, and thus time back to target after the shot, are greatly reduced.
THREAT ENGAGEMENT SEQUENCE
As soon as the muzzle clears the holster, it should point at the threat while pushing out to the centerline, rather than staying on the side while the support hand comes to meet it or raising it to shoulder height. This allows the shooter to enter the fight immediately and prepares him to apply extreme close-quarter shooting techniques. When the muzzle breaks the horizontal plane, the safety should snick off and the finger should enter the trigger guard.
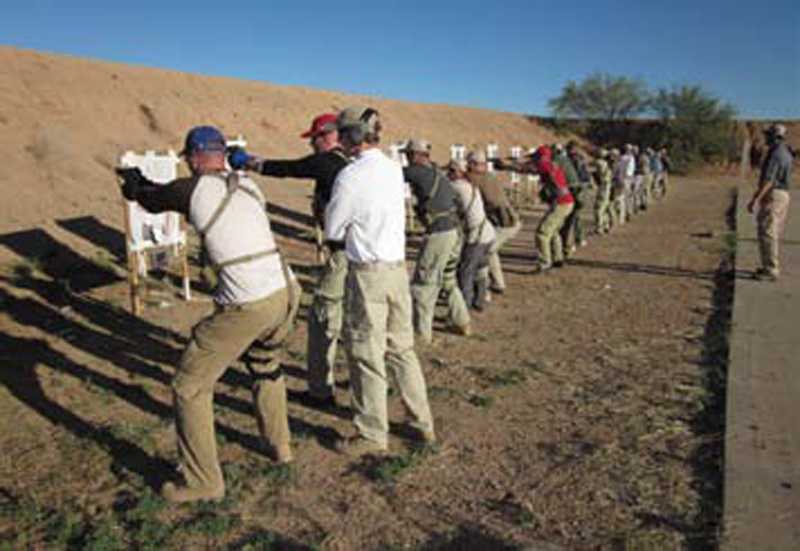
Threat engagement sequence comes next. Threat, front sight, rear sight, front sight in focus and all else in a peripheral blur is the classic traditional sequence. However, this sequence can be cut in half by simply sequencing threat, front sight.
At distances under seven yards— common handgun fighting distance— nothing more is needed as long as the shooter utilizes a strong locked-out or even bent-arm hold. This technique also works well for long guns. The sequence can be reduced yet again by sequencing threat and the slide in place of front sight—known as flash sight and created by master gunfighter and NYPD cop Jim Cirillo.
POST-SHOOT
Skipping over the firing sequence itself, the post-shoot protocol is even more intricate and involved, and just as crucial to a successful outcome. Having eliminated the immediate threat in front of him, the shooter should step to the side again. This prevents an unseen enemy from firing at the shooter’s last muzzle flash or report. Guidance on the direction of step is the same as before.
From this new position, a new field of view is presented to the shooter. The shooter should now scan left to right, arms locked out, on his front sight, finger on the trigger, searching for any more immediate threats that require instant engagement.
Many shooters develop a bad habit of pulling back to a low ready or collapsed low ready at this point, looking for their group. Overcome this habit by non-rhythmic and random threat target appearances.
Having found no more immediate threats, break the horizontal plane by coming to a low ready or high port, which incidentally is good for crowds. De-cock, engage the thumb safety, and remove the finger from the trigger.
Realize that having engaged in lethal close-quarter battle, the shooter is under the physiological and psychological effects thereof. Tunnel vision is now likely preventing the shooter from possible visual threat input on his periphery. It is imperative to break the tunnel vision phenomenon quickly and decisively to prevent being flanked by another enemy or unable to respond to friendly communications from a teammate, partner or even a Good Samaritan.
SHOOT, MOVE, COMMUNICATE
Accomplish this by coming to collapsed low ready and looking over each shoulder or possibly turning completely around. A good drill to ingrain this tactic is for the instructor to hold up fingers behind the line. Shooters on line must then turn and call out the number of fingers they see. Seemingly simple, this drill instills the essentials of combat: the ability to shoot, move and communicate throughout the fight.
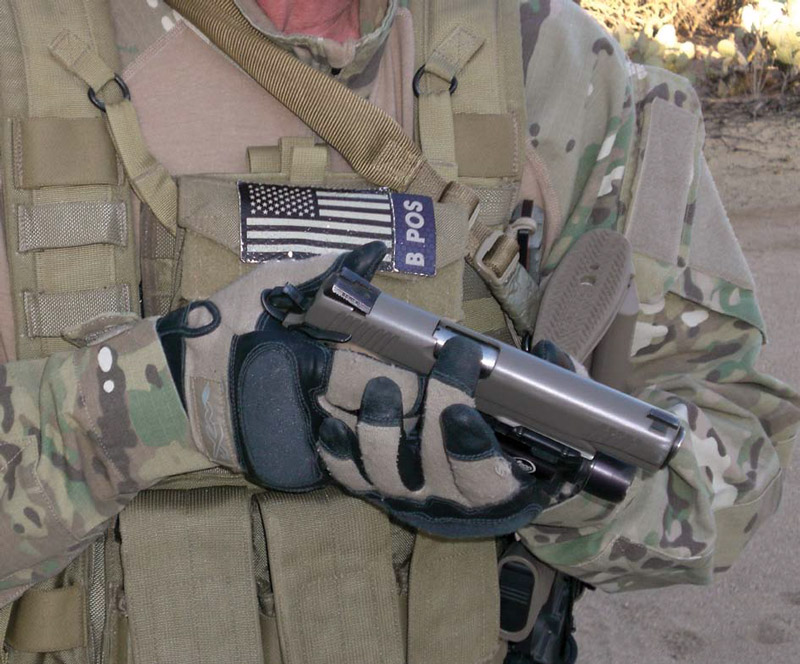
Next the shooter should ensure that his handgun is still functioning in case he needs it again. To do this, the shooter should rotate his non-firing hand underneath the handgun and touch the ejection port of the slide with the middle finger. The operator touches rather than looks, so that he keeps his eyes out for new threats. The finger should feel to ensure there is no stove-piped casing or out-of-battery slide.
Going underneath as opposed to over does not interfere with sight picture or slide operation, allows the shooter to remain ready to shoot immediately if a threat appears, and facilitates quickly reapplying a support-hand grip. The protocols described above also apply to the M4 carbine, so synaptic muscle memory is the same for both handgun and long gun post-shoot protocols.
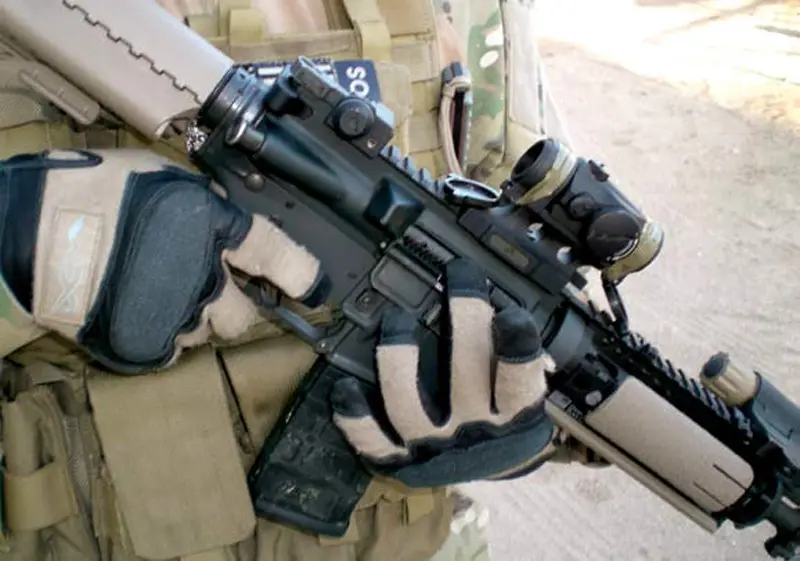
These protocols are for handgun shooters but are nearly the same for long guns. The only addition is that, when performing the malfunction check, the operator places his non-firing middle finger in the Stoner-designed indentation in the bolt carrier, pulls forward to ensure the bolt is fully seated, then flips the dust cover closed.
The shooter may now also perform a tactical reload, replacing the low round magazine. But this technique doesn’t need to be practiced in every firing sequence like the other actions should be. The shooter should only conduct a tactical reload when he perceives that the lull in the gunfight is long enough to do so.
MISSION ACC OMPLISHED
Training with tactically efficient yet thorough pre- and post-shoot protocols will help ensure that, if you ever have to perform the multiple simultaneous crisis actions that occur in microseconds within a gunfight, you accomplish the mission, stop evil and protect good.